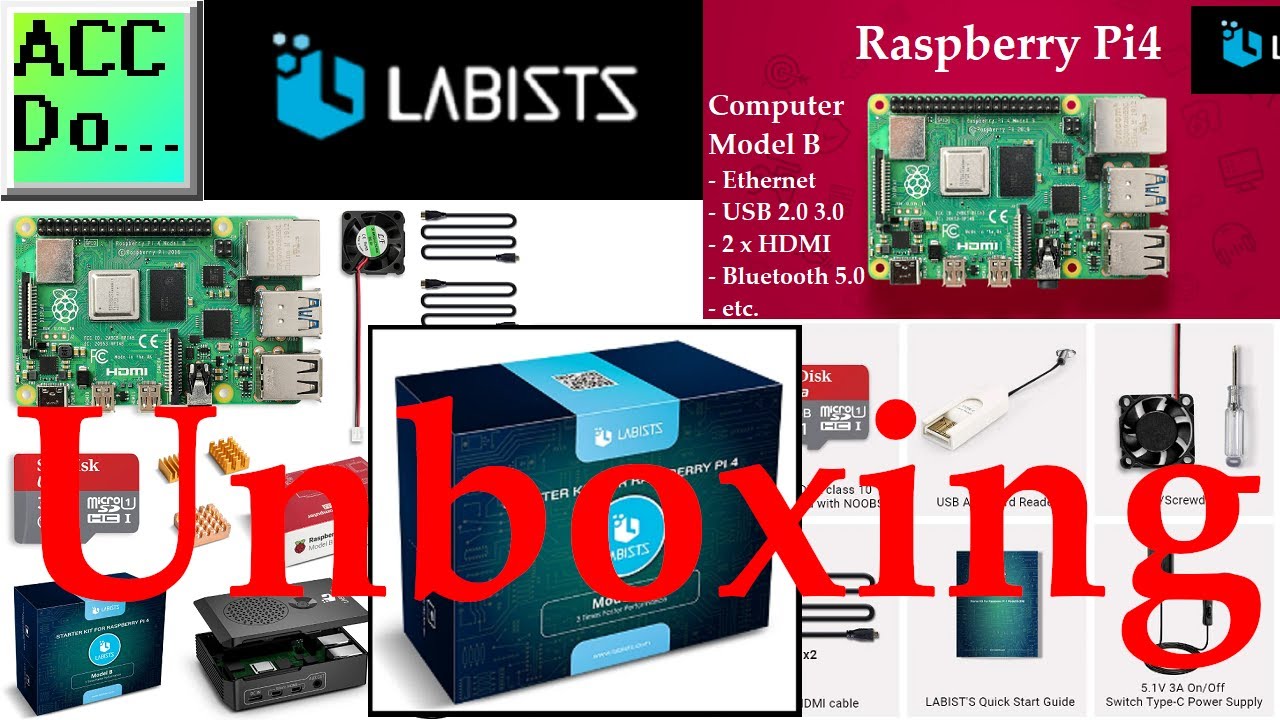
Raspberry Pi4 Unboxing Starter Kit
1K views · Oct 12, 2022 accautomation.ca
A Raspberry Pi4 is a single-board computer. We will be unboxing our Labists Raspberry Pi 4 Model B Starter Kit. The starter kits come with everything that you will need to get started using your raspberry pi. - Raspberry Pi 4 Model B 4GB RAM with 1.5GHz 64-bit Quad-core CPU - USB-C Power Adapter Specially Designed for Raspberry Pi 4 B 4 GB RAM - Set of 3 Premium Copper Heat Sinks Assures Excellent Thermal Delivery - 32GB Class 10 MicroSD Card Preloaded with NOOBS - LABISTS Premium Black Case (High Gloss) for Pi 4B - LABISTS Mini Silent Fan - Two Micro HDMI to HDMI Cables - One LABISTS Screwdriver - USB Card Reader Dongle - LABISTS Raspberry Pi Quick-Start Guide This low-cost small computer plugs into a computer monitor. A keyboard and a mouse can be attached via the USB ports. The Raspberry Pi has quickly become a fixture in the industrial environment when utilizing the internet of things. (IoT) We will be utilizing this computer to poll and log information from our PLCs using Modbus and MQTT protocols. Node-RED will be the IoT enabling software that will allow us to utilize this hardware. https://accautomation.ca/series/node-red-iot-enabling-software/ Purchase Raspberry Pi 4 Starter Kit Amazon USA https://amzn.to/3y1AAXZ Amazon Canada https://amzn.to/33ubjb1 Raspberry Pi 4 Specifications: System-on-a-chip: Broadcom BCM2711 CPU: Quad-core 1.5GHz Arm Cortex-A72 based processor GPU: VideoCore VI Memory: 1/2/4GB LPDDR4 RAM Connectivity: 802.11ac Wi-Fi / Bluetooth 5.0, Gigabit Ethernet Video and sound: 2 x micro-HDMI ports supporting 4K@60Hz displays via HDMI 2.0, MIPI DSI display port, MIPI CSI camera port, 4 pole stereo output, and composite video port Ports: 2 x USB 3.0, 2 x USB 2.0 Power: 5V/3A via USB-C, 5V via GPIO header Expandability: 40-pin GPIO header #shorts ACC Automation https://accautomation.ca/
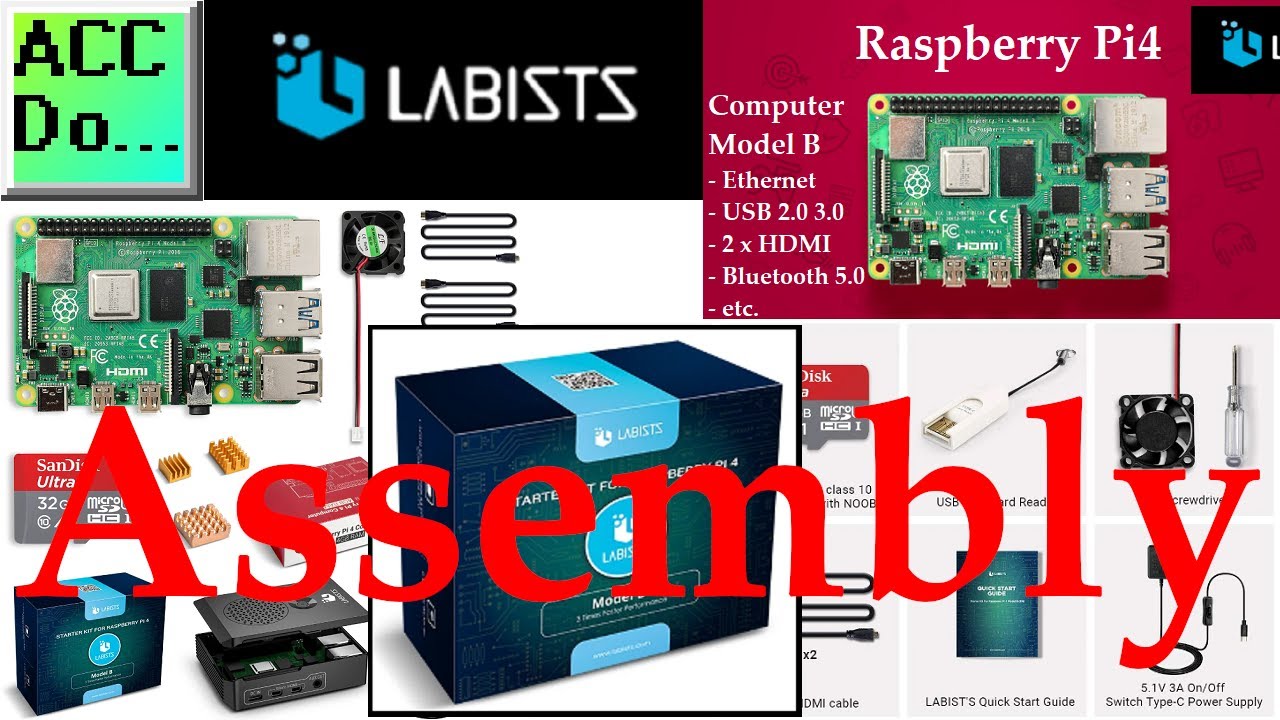
Raspberry Pi 4 Kit Assembly
31 views · Oct 12, 2022 accautomation.ca
A Raspberry Pi4 is a single-board computer. We will be assembling our Labists Raspberry Pi 4 Model B Starter Kit. https://amzn.to/2Q9auRV The starter kits come with everything that you will need to get started using your raspberry pi. - Raspberry Pi 4 Model B 4GB RAM with 1.5GHz 64-bit Quad-core CPU - USB-C Power Adapter Specially Designed for Raspberry Pi 4 B 4 GB RAM - Set of 3 Premium Copper Heat Sinks Assures Excellent Thermal Delivery - 32GB Class 10 MicroSD Card Preloaded with NOOBS - LABISTS Premium Black Case (High Gloss) for Pi 4B - LABISTS Mini Silent Fan - Two Micro HDMI to HDMI Cables - One LABISTS Screwdriver - USB Card Reader Dongle - LABISTS Raspberry Pi Quick-Start Guide This low-cost small computer plugs into a computer monitor. A keyboard and a mouse can be attached via the USB ports. The Raspberry Pi has quickly become a fixture in the industrial environment when utilizing the internet of things. (IoT) We will be utilizing this computer to poll and log information from our PLCs using Modbus and MQTT protocols. Node-RED will be the IoT enabling software that will allow us to utilize this hardware. https://accautomation.ca/series/node-red-iot-enabling-software/ Purchase Raspberry Pi 4 Starter Kit Amazon USA https://amzn.to/3y1AAXZ Amazon Canada https://amzn.to/33ubjb1 Raspberry Pi 4 Specifications: System-on-a-chip: Broadcom BCM2711 CPU: Quad-core 1.5GHz Arm Cortex-A72 based processor GPU: VideoCore VI Memory: 1/2/4GB LPDDR4 RAM Connectivity: 802.11ac Wi-Fi / Bluetooth 5.0, Gigabit Ethernet Video and sound: 2 x micro-HDMI ports supporting 4K@60Hz displays via HDMI 2.0, MIPI DSI display port, MIPI CSI camera port, 4 pole stereo output, and composite video port Ports: 2 x USB 3.0, 2 x USB 2.0 Power: 5V/3A via USB-C, 5V via GPIO header Expandability: 40-pin GPIO header #shorts ACC Automation https://accautomation.ca/
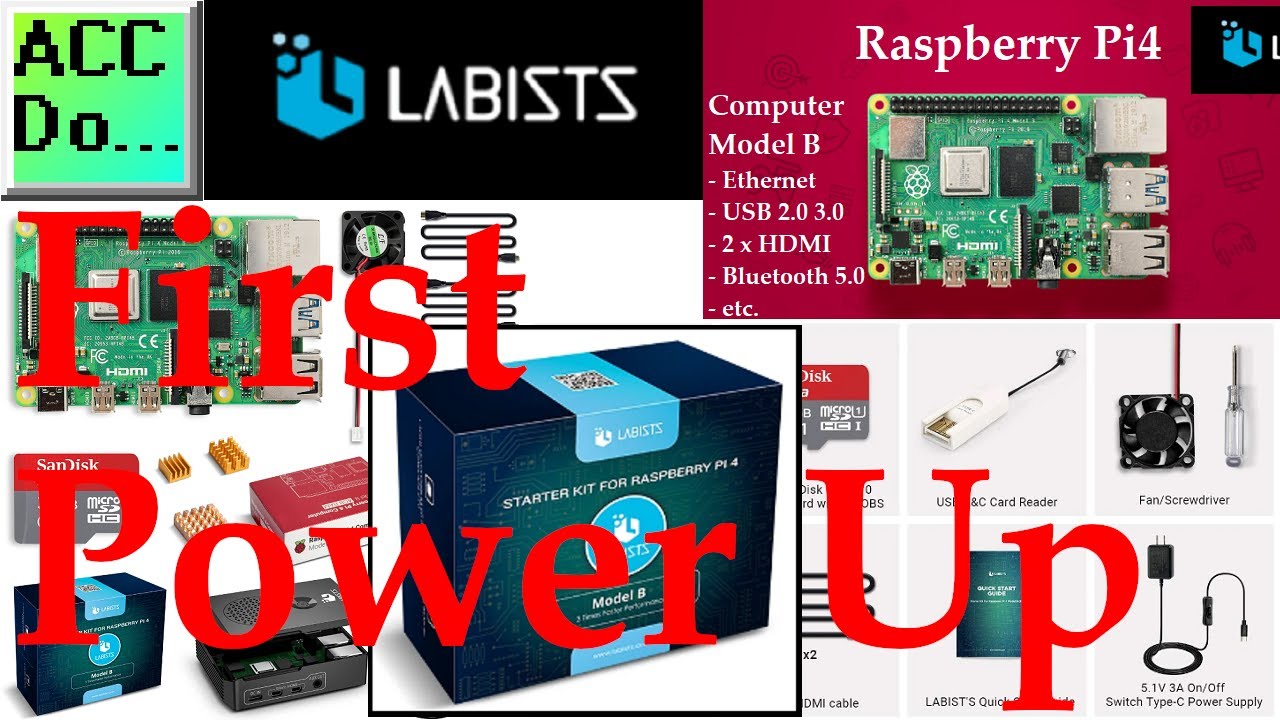
Raspberry Pi 4 First Power Up
46 views · Oct 12, 2022 accautomation.ca
A Raspberry Pi4 is a single-board computer. We will be powering up our Labists Raspberry Pi 4 Model B Starter Kit for the first time. The welcome software will walk you through setting up the Raspberry Pi for the first time. This includes the country, language, keyboard, wifi, and software update. This may take a while to load the software updates, so please be patient. https://amzn.to/2Q9auRV The starter kits come with everything that you will need to get started using your raspberry pi. - Raspberry Pi 4 Model B 4GB RAM with 1.5GHz 64-bit Quad-core CPU - USB-C Power Adapter Specially Designed for Raspberry Pi 4 B 4 GB RAM - Set of 3 Premium Copper Heat Sinks Assures Excellent Thermal Delivery - 32GB Class 10 MicroSD Card Preloaded with NOOBS - LABISTS Premium Black Case (High Gloss) for Pi 4B - LABISTS Mini Silent Fan - Two Micro HDMI to HDMI Cables - One LABISTS Screwdriver - USB Card Reader Dongle - LABISTS Raspberry Pi Quick-Start Guide This low-cost small computer plugs into a computer monitor. A keyboard and a mouse can be attached via the USB ports. The Raspberry Pi has quickly become a fixture in the industrial environment when utilizing the internet of things. (IoT) We will be utilizing this computer to poll and log information from our PLCs using Modbus and MQTT protocols. Node-RED will be the IoT enabling software that will allow us to utilize this hardware. https://accautomation.ca/series/node-red-iot-enabling-software/ Purchase Raspberry Pi 4 Starter Kit Amazon USA https://amzn.to/3y1AAXZ Amazon Canada https://amzn.to/33ubjb1 Raspberry Pi 4 Specifications: System-on-a-chip: Broadcom BCM2711 CPU: Quad-core 1.5GHz Arm Cortex-A72 based processor GPU: VideoCore VI Memory: 1/2/4GB LPDDR4 RAM Connectivity: 802.11ac Wi-Fi / Bluetooth 5.0, Gigabit Ethernet Video and sound: 2 x micro-HDMI ports supporting 4K@60Hz displays via HDMI 2.0, MIPI DSI display port, MIPI CSI camera port, 4 pole stereo output, and composite video port Ports: 2 x USB 3.0, 2 x USB 2.0 Power: 5V/3A via USB-C, 5V via GPIO header Expandability: 40-pin GPIO header #shorts ACC Automation https://accautomation.ca/
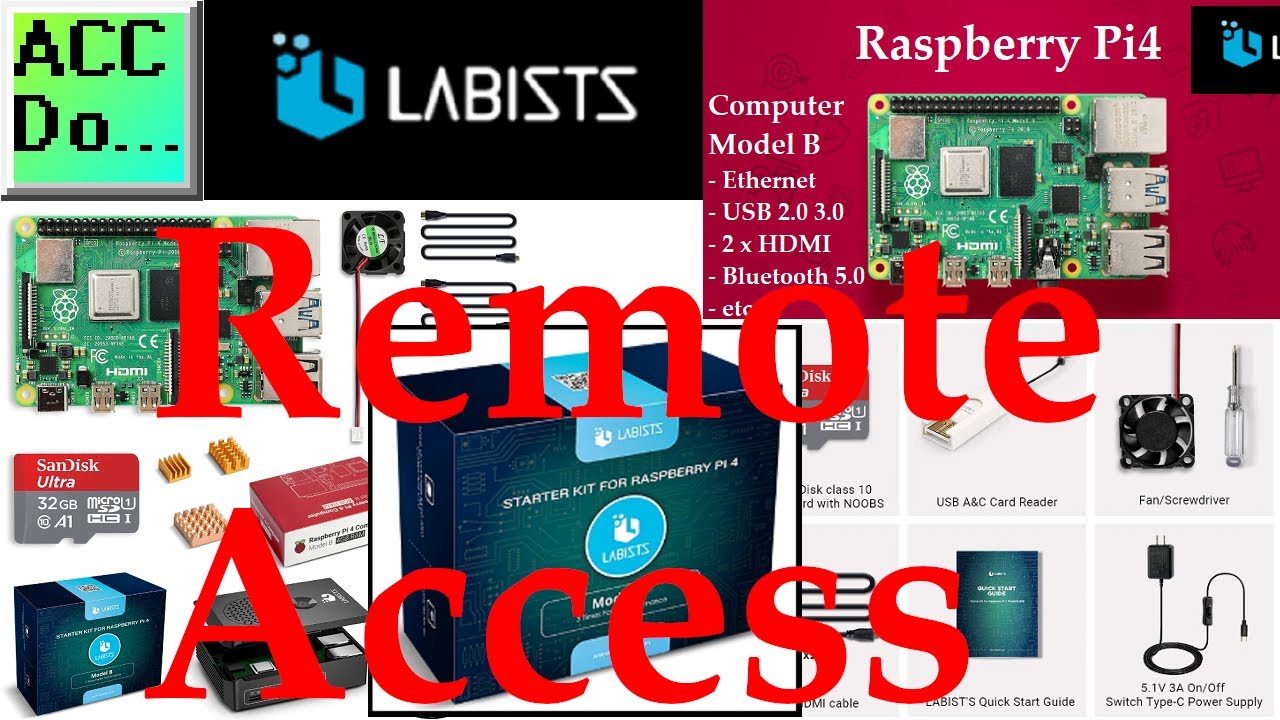
Raspberry Pi 4 Remote Access
335 views · Oct 12, 2022 accautomation.ca
Remote access is easily set up on our Raspberry Pi4 single board computer. Open the applications menu on the raspberry pie and select Raspberry Pi Configuration under preferences. Under the system tab, we will disable the auto-login. This will give some extra security to this computer. Select the interfaces tab. Enable SSH. Secure SHell protocol is a network cryptic communication protocol for operating network services securely over an unsecured network. PuTTY is an SSH client that is widely used for this type of remote communication. Enable VNC. Virtual Network Computing will allow you to use programs like RealVNC to connect remotely and give you a graphical user interface. PuTTY Download https://www.chiark.greenend.org.uk/~sgtatham/putty/latest.html RealVNC Viewer Download https://www.realvnc.com/en/connect/download/viewer/ Here are other remote access options and information for the Raspberry Pi. https://www.raspberrypi.org/documentation/remote-access/ https://amzn.to/2Q9auRV The starter kits come with everything that you will need to get started using your raspberry pi. - Raspberry Pi 4 Model B 4GB RAM with 1.5GHz 64-bit Quad-core CPU - USB-C Power Adapter Specially Designed for Raspberry Pi 4 B 4 GB RAM - Set of 3 Premium Copper Heat Sinks Assures Excellent Thermal Delivery - 32GB Class 10 MicroSD Card Preloaded with NOOBS - LABISTS Premium Black Case (High Gloss) for Pi 4B - LABISTS Mini Silent Fan - Two Micro HDMI to HDMI Cables - One LABISTS Screwdriver - USB Card Reader Dongle - LABISTS Raspberry Pi Quick-Start Guide This low-cost small computer plugs into a computer monitor. A keyboard and a mouse can be attached via the USB ports. The Raspberry Pi has quickly become a fixture in the industrial environment when utilizing the internet of things. (IoT) We will be utilizing this computer to poll and log information from our PLCs using Modbus and MQTT protocols. Node-RED will be the IoT enabling software that will allow us to utilize this hardware. https://accautomation.ca/series/node-red-iot-enabling-software/ Purchase Raspberry Pi 4 Starter Kit Amazon USA https://amzn.to/3y1AAXZ Amazon Canada https://amzn.to/33ubjb1 Raspberry Pi 4 Specifications: System-on-a-chip: Broadcom BCM2711 CPU: Quad-core 1.5GHz Arm Cortex-A72 based processor GPU: VideoCore VI Memory: 1/2/4GB LPDDR4 RAM Connectivity: 802.11ac Wi-Fi / Bluetooth 5.0, Gigabit Ethernet Video and sound: 2 x micro-HDMI ports supporting 4K@60Hz displays via HDMI 2.0, MIPI DSI display port, MIPI CSI camera port, 4 pole stereo output, and composite video port Ports: 2 x USB 3.0, 2 x USB 2.0 Power: 5V/3A via USB-C, 5V via GPIO header Expandability: 40-pin GPIO header #shorts ACC Automation https://accautomation.ca/
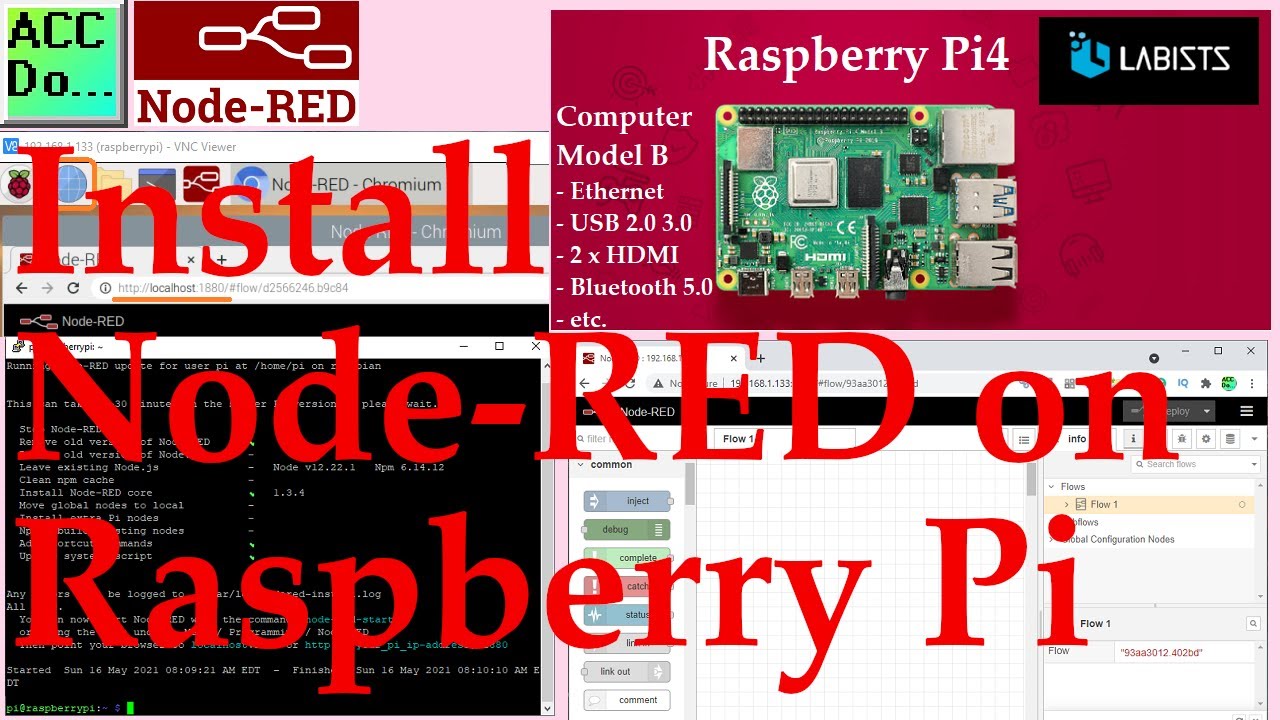
Install Node-RED on Raspberry Pi
27K views · Oct 12, 2022 accautomation.ca
We will now be installing Node-RED on a Raspberry Pi 4 single-board computer. A static IP address will also be given for both the WiFi and Ethernet connections. The Raspberry Pi has quickly become a fixture in the industrial environment when utilizing the internet of things. (IoT) We will be utilizing this low-cost computer to poll and log information from our PLCs using Modbus and MQTT protocols. Node-RED will be the IoT enabling software that will allow us to utilize this hardware. https://accautomation.ca/series/node-red-iot-enabling-software/ Let’s get started with installing Node-RED and setting up a fixed IP address on our Raspberry Pi 4 computer. More information can be obtained at our website. This includes all of the links mentioned in this video. https://accautomation.ca/install-node-red-on-raspberry-pi-4/ In this series we started using Node-RED in some of the following ways: Installing the Windows Software https://accautomation.ca/node-red-installing-the-windows-software/ https://youtu.be/xGzH2Hv31WA Modbus RTU / TCP Communication https://accautomation.ca/node-red-modbus-rtu-tcp-communication/ https://youtu.be/yX1w5vcV6cc User Interface - Dashboards https://accautomation.ca/node-red-user-interface-dashboards/ https://youtu.be/8zAG2wXwGOc SQL Database Log https://accautomation.ca/node-red-sql-database-log-modbus-logging/ https://youtu.be/QHjcNj1S_Mo SQL Database Spreadsheet Connection https://accautomation.ca/node-red-sql-database-spreadsheet-connection/ https://youtu.be/Cd3LvhoMaCI We will continue with the following: Installing Node-RED on a Raspberry Pi 4 single-board computer 00:00 Install Node-RED on Raspberry Pi 00:30 Raspberry Pi update operating system (OS) 01:37 Node-RED Raspberry Pi script to install or update 03:43 Raspberry Pi Static IP Address 04:09 MAC address 04:50 DHCP client daemon (DHCPCD) 06:50 Auto start Node-RED service 07:44 Hardware and starting the Node-RED editor There are several reasons why we are using Node-RED. Here are just a few. - Built on top of the most dependable programming language JavaScript. - JavaScript is flexible and easy to work with on web browsers, server-side, IoT, IIoT projects, and more. - Visual flow type interface making programming easy. - Node will allow JavaScript code to run directly on a computer. - Node-RED is a free, open-source logic engine. - Connect to PLC, PAC, Temperature Controllers, Process Controllers using standard protocols. - Save and read from databases - Easily make the Internet of Things (IoT, IIoT) industrial solutions. Node-RED provides the ability for you to quickly create custom control solutions. ACC Automation https://accautomation.ca/
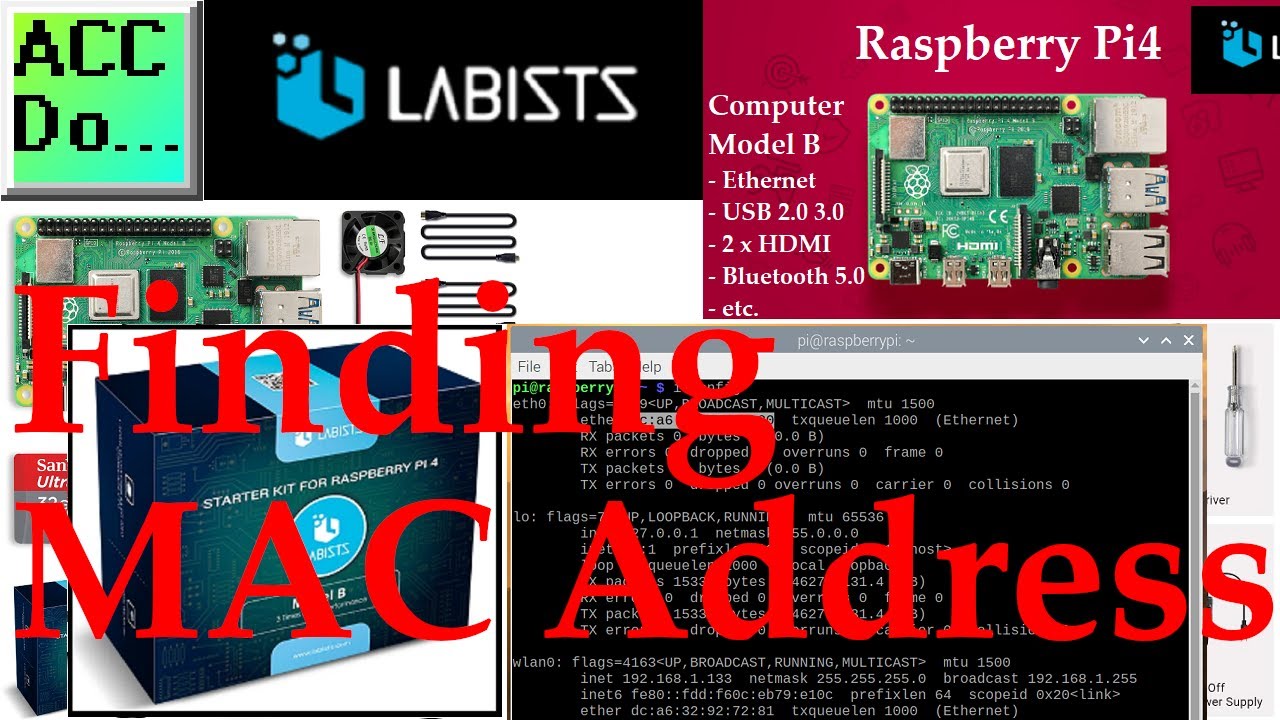
Raspberry Pi Finding MAC Address
239K views · Oct 12, 2022 accautomation.ca
The MAC (Media Access Control) Address on the Raspberry Pi can easily be found using the terminal. Type ifconfig at the prompt and hit enter. eth0 is the wired ethernet port on the Raspberry Pi. The MAC address is located beside the 'ether' subject. wlan0 is the WiFi ethernet on the Raspberry Pi. The MAC address is located beside the 'ether' subject. Example: pi@raspberrypi:~ $ ifconfig eth0: flags=4099 UP,BROADCAST,MULTICAST mtu 1500 ether dc:a6:32:92:72:80 txqueuelen 1000 (Ethernet) RX packets 0 bytes 0 (0.0 B) RX errors 0 dropped 0 overruns 0 frame 0 TX packets 0 bytes 0 (0.0 B) TX errors 0 dropped 0 overruns 0 carrier 0 collisions 0 lo: flags=73 UP,LOOPBACK,RUNNING mtu 65536 inet 127.0.0.1 netmask 255.0.0.0 inet6 ::1 prefixlen 128 scopeid 0x10 host loop txqueuelen 1000 (Local Loopback) RX packets 547 bytes 47978 (46.8 KiB) RX errors 0 dropped 0 overruns 0 frame 0 TX packets 547 bytes 47978 (46.8 KiB) TX errors 0 dropped 0 overruns 0 carrier 0 collisions 0 wlan0: flags=4163 UP,BROADCAST,RUNNING,MULTICAST mtu 1500 inet 192.168.1.133 netmask 255.255.255.0 broadcast 192.168.1.255 inet6 fe80::fdd:f60c:eb79:e10c prefixlen 64 scopeid 0x20 link ether dc:a6:32:92:72:81 txqueuelen 1000 (Ethernet) RX packets 13951 bytes 1493111 (1.4 MiB) RX errors 0 dropped 0 overruns 0 frame 0 TX packets 16864 bytes 13550791 (12.9 MiB) TX errors 0 dropped 0 overruns 0 carrier 0 collisions 0 Here is a link to using terminal mode on the Raspberry Pi. https://www.raspberrypi.org/documentation/usage/terminal/ https://amzn.to/2Q9auRV The starter kits come with everything that you will need to get started using your raspberry pi. - Raspberry Pi 4 Model B 4GB RAM with 1.5GHz 64-bit Quad-core CPU - USB-C Power Adapter Specially Designed for Raspberry Pi 4 B 4 GB RAM - Set of 3 Premium Copper Heat Sinks Assures Excellent Thermal Delivery - 32GB Class 10 MicroSD Card Preloaded with NOOBS - LABISTS Premium Black Case (High Gloss) for Pi 4B - LABISTS Mini Silent Fan - Two Micro HDMI to HDMI Cables - One LABISTS Screwdriver - USB Card Reader Dongle - LABISTS Raspberry Pi Quick-Start Guide This low-cost small computer plugs into a computer monitor. A keyboard and a mouse can be attached via USB ports. The Raspberry Pi has quickly become a fixture in the industrial environment when utilizing the internet of things. (IoT) We will be utilizing this computer to poll and log information from our PLCs using Modbus and MQTT protocols. Node-RED will be the IoT enabling software that will allow us to utilize this hardware. https://accautomation.ca/series/node-red-iot-enabling-software/ Purchase Raspberry Pi 4 Starter Kit Amazon USA https://amzn.to/3y1AAXZ Amazon Canada https://amzn.to/33ubjb1 Raspberry Pi 4 Specifications: System-on-a-chip: Broadcom BCM2711 CPU: Quad-core 1.5GHz Arm Cortex-A72 based processor GPU: VideoCore VI Memory: 1/2/4GB LPDDR4 RAM Connectivity: 802.11ac Wi-Fi / Bluetooth 5.0, Gigabit Ethernet Video and sound: 2 x micro-HDMI ports supporting 4K@60Hz displays via HDMI 2.0, MIPI DSI display port, MIPI CSI camera port, 4 pole stereo output, and composite video port Ports: 2 x USB 3.0, 2 x USB 2.0 Power: 5V/3A via USB-C, 5V via GPIO header Expandability: 40-pin GPIO header #shorts ACC Automation https://accautomation.ca/
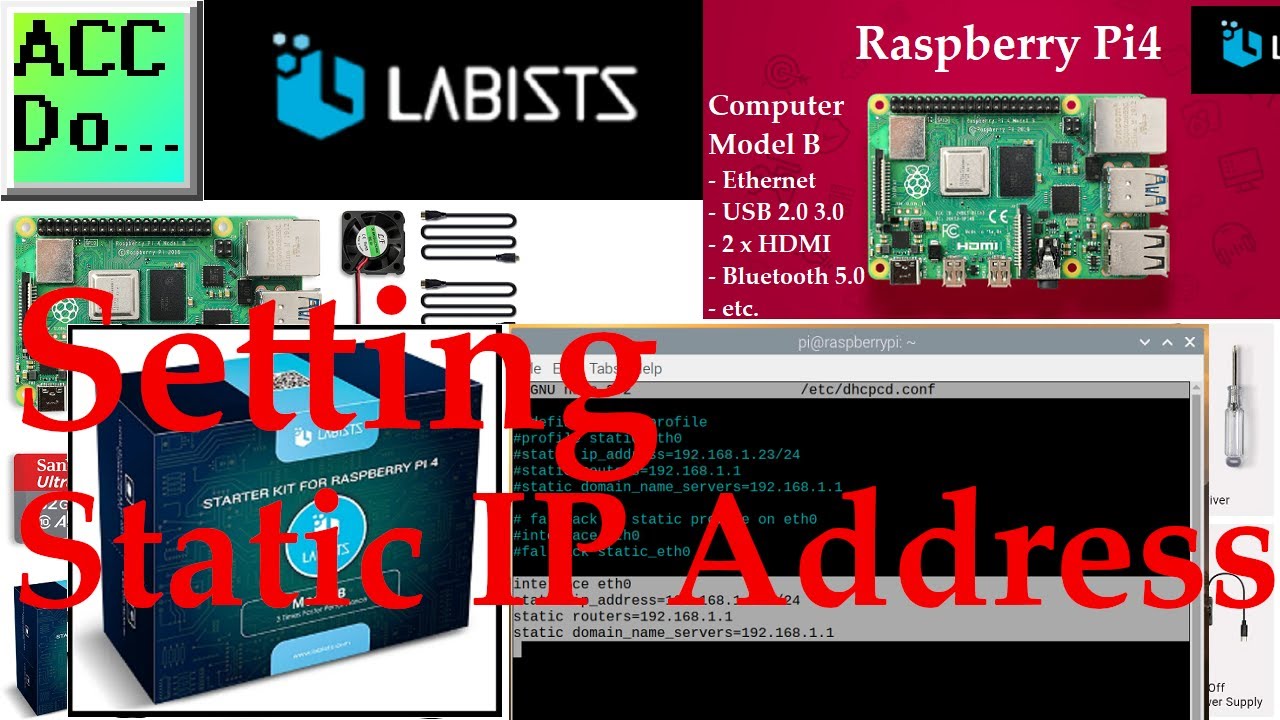
Raspberry Pi Setting Static IP Address
8K views · Oct 12, 2022 accautomation.ca
There are two ways to set a static IP address for our Raspberry Pi 4 Model B. The first is to use the MAC (Media Access Control) address value and set the IP address using your router software. The MAC address can be found by using the ifconfig in terminal mode and press enter. Here is a video on this procedure. https://youtu.be/tz0XaHKdaNI The second method to set the IP address is to use the DHCP client daemon (dhcpcd). sudo service dhcpcd status This command will show you if the dhcpcd is running. If not then use the following commands to start and run the service at startup. sudo service dhcpcd start sudo systemctl enable dhcpcd Edit the DHCP Client Daemon by using the following command: sudo nano /etc/dhcpcd.conf Add the following lines to the configuration file. interface eth0 static ip_address=192.168.1.134/24 static routers=192.168.1.1 static domain_name_servers=192.168.1.1 Note: /24 represents the mask of 255.255.255.0 Save the changes with ‘Ctrl + O’ and then press the enter key. Close the configuration file with ‘Ctrl + X’. Restart to adopt the newly assigned static IP address in the network: sudo reboot Here is a link to using terminal mode on the Raspberry Pi. https://www.raspberrypi.org/documentation/usage/terminal/ https://amzn.to/2Q9auRV The starter kits come with everything that you will need to get started using your raspberry pi. - Raspberry Pi 4 Model B 4GB RAM with 1.5GHz 64-bit Quad-core CPU - USB-C Power Adapter Specially Designed for Raspberry Pi 4 B 4 GB RAM - Set of 3 Premium Copper Heat Sinks Assures Excellent Thermal Delivery - 32GB Class 10 MicroSD Card Preloaded with NOOBS - LABISTS Premium Black Case (High Gloss) for Pi 4B - LABISTS Mini Silent Fan - Two Micro HDMI to HDMI Cables - One LABISTS Screwdriver - USB Card Reader Dongle - LABISTS Raspberry Pi Quick-Start Guide This low-cost small computer plugs into a computer monitor. A keyboard and a mouse can be attached via USB ports. The Raspberry Pi has quickly become a fixture in the industrial environment when utilizing the internet of things. (IoT) We will be utilizing this computer to poll and log information from our PLCs using Modbus and MQTT protocols. Node-RED will be the IoT enabling software that will allow us to utilize this hardware. https://accautomation.ca/series/node-red-iot-enabling-software/ Purchase Raspberry Pi 4 Starter Kit Amazon USA https://amzn.to/3y1AAXZ Amazon Canada https://amzn.to/33ubjb1 Raspberry Pi 4 Specifications: System-on-a-chip: Broadcom BCM2711 CPU: Quad-core 1.5GHz Arm Cortex-A72 based processor GPU: VideoCore VI Memory: 1/2/4GB LPDDR4 RAM Connectivity: 802.11ac Wi-Fi / Bluetooth 5.0, Gigabit Ethernet Video and sound: 2 x micro-HDMI ports supporting 4K@60Hz displays via HDMI 2.0, MIPI DSI display port, MIPI CSI camera port, 4 pole stereo output, and composite video port Ports: 2 x USB 3.0, 2 x USB 2.0 Power: 5V/3A via USB-C, 5V via GPIO header Expandability: 40-pin GPIO header #shorts ACC Automation https://accautomation.ca/
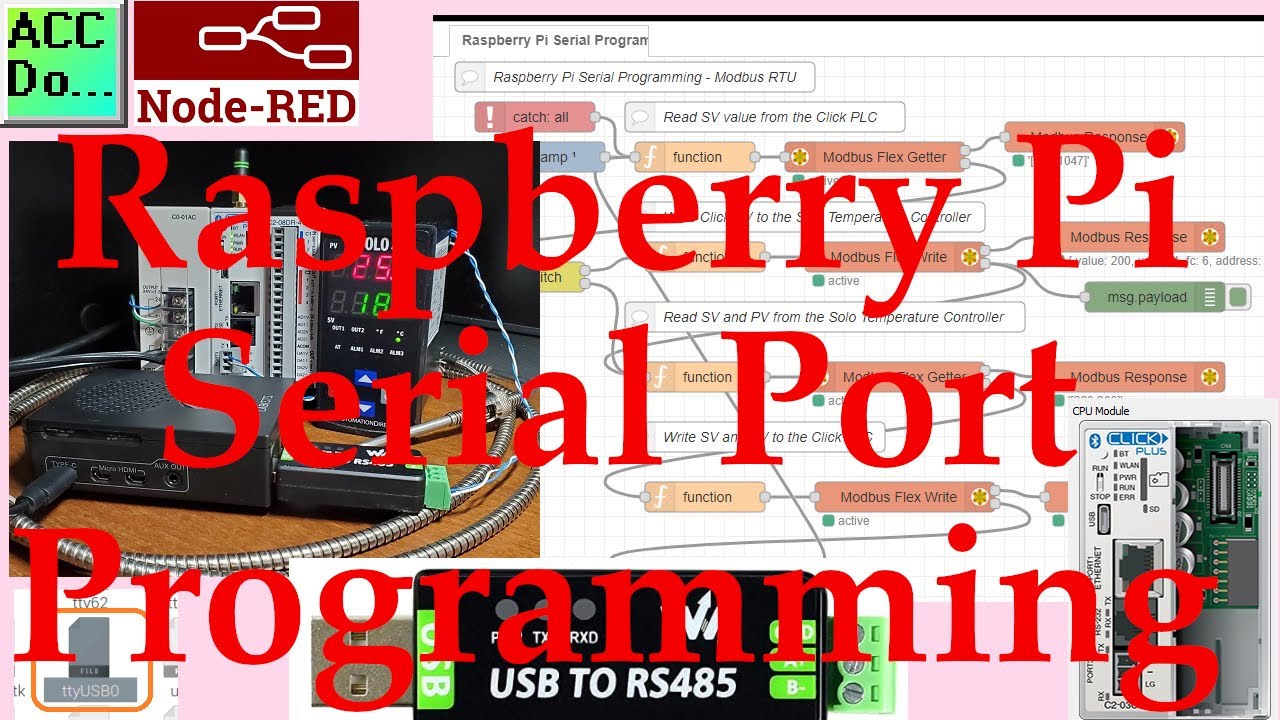
Raspberry Pi Serial Port Programming
3K views · Oct 12, 2022 accautomation.ca
Node-RED will be used on the Raspberry Pi 4 to communicate Modbus RTU to a Solo process temperature controller and Click PLC using twisted pair RS485. This will be done on the same serial network so the devices will be daisy chained together on the two wires. We will be reading the PV (present value) and SV (set value) of the Solo temperature controller and then writing these values into the Click PLC. A SV value will then be read from the Click PLC and if it has changed, the value will be written to the SV of the Solo controller. Let’s get started. More information can be obtained at our website. This includes all of the links mentioned in this video. https://accautomation.ca/raspberry-pi-serial-port-programming/ In this series we started using Node-RED in some of the following ways: The entire series can be viewed here: https://accautomation.ca/series/node-red-iot-enabling-software/ Installing the Windows Software https://accautomation.ca/node-red-installing-the-windows-software/ https://youtu.be/xGzH2Hv31WA Modbus RTU / TCP Communication https://accautomation.ca/node-red-modbus-communication/ https://youtu.be/yX1w5vcV6cc User Interface - Dashboards https://accautomation.ca/node-red-user-interface-dashboards/ https://youtu.be/8zAG2wXwGOc SQL Database Log https://accautomation.ca/node-red-sql-database-log-modbus-logging/ https://youtu.be/QHjcNj1S_Mo SQL Database Spreadsheet Connection https://accautomation.ca/node-red-sql-database-spreadsheet-connection/ https://youtu.be/Cd3LvhoMaCI Install Node-RED on Raspberry Pi 4 https://accautomation.ca/install-node-red-on-raspberry-pi-4/ https://youtu.be/KleNtxvJkU4 Do-More PLC Node-RED HTTP Request https://accautomation.ca/do-more-plc-node-red-http-request/ https://youtu.be/m-p28H9Fl5s Simple Click Data Logging https://accautomation.ca/simple-click-data-logging-node-red/ https://youtu.be/RmSn4ZSPSmg Node-RED Modbus TCP Handling Errors https://accautomation.ca/node-red-modbus-tcp-handling-errors/ https://youtu.be/CgsJozTr-8w We will continue with the following: Raspberry Pi Serial Port Programming 00:00 Raspberry Pi Serial Port Programming 01:06 Modbus RTU (RS485) Serial Network 03:06 Raspberry Pi USB to RS485 Adapter 03:36 Hardware 04:15 Solo Process Temperature Controller Modbus Slave Setup 05:05 Click PLC Modbus Slave Setup 06:32 Node-RED Serial Port Program Example There are several reasons why we are using Node-RED. Here are just a few. - Built on top of the most dependable programming language JavaScript. - JavaScript is flexible and easy to work with on web browsers, server-side, IoT, IIoT projects, and more. - Visual flow type interface making programming easy. - Node will allow JavaScript code to run directly on a computer. - Node-RED is a free, open-source logic engine. - Connect to PLC, PAC, Temperature Controllers, Process Controllers using standard protocols. - Save and read from databases - Easily make the Internet of Things (IoT, IIoT) industrial solutions. Node-RED provides the ability for you to quickly create custom control solutions. https://accautomation.ca/
Updating Raspberry Pi
137 views · Oct 9, 2022 accautomation.ca
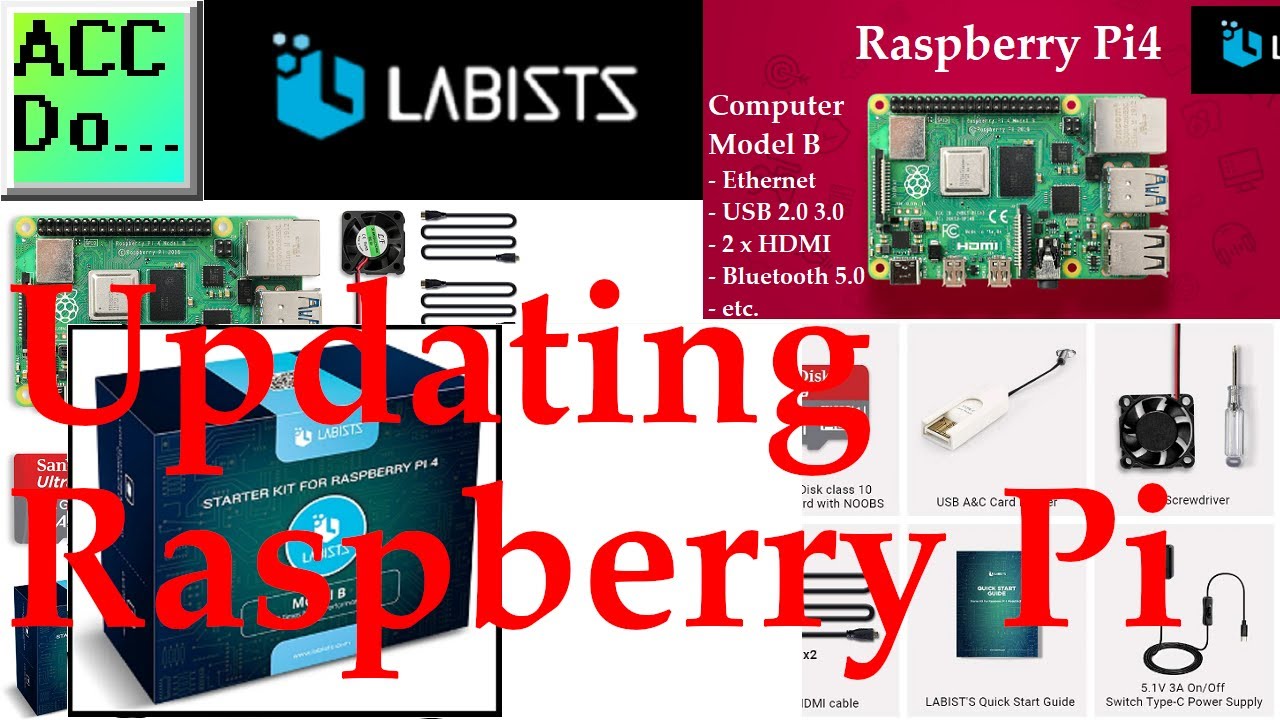
Updating Raspberry Pi Open the terminal window. Type "sudo apt update" to update the list of repository packages. Type "sudo apt dist-upgrade" to run the update command when this is done. We are updating our raspberry pi using the APT commands instead of the older APT-GET commands. This can take a while, so the video has been sped up. To delete unnecessary files uploaded during the update, type "sudo apt clean." The "sudo reboot" is used to restart your raspberry pi. You will now have the latest version of Raspbian on your raspberry pi. Here is a link to using terminal mode on the Raspberry Pi. https://www.raspberrypi.org/documentation/usage/terminal/ https://amzn.to/2Q9auRV The starter kits come with everything you will need to start using your raspberry pi. - Raspberry Pi 4 Model B 4GB RAM with 1.5GHz 64-bit Quad-core CPU - USB-C Power Adapter Specially Designed for Raspberry Pi 4 B 4 GB RAM - Set of 3 Premium Copper Heat Sinks Assures Excellent Thermal Delivery - 32GB Class 10 MicroSD Card Preloaded with NOOBS - LABISTS Premium Black Case (High Gloss) for Pi 4B - LABISTS Mini Silent Fan - Two Micro HDMI to HDMI Cables - One LABISTS Screwdriver - USB Card Reader Dongle - LABISTS Raspberry Pi Quick-Start Guide This low-cost small computer plugs into a computer monitor. A keyboard and a mouse can be attached via USB ports. The Raspberry Pi has quickly become a fixture in the industrial environment when utilizing the internet of things. (IoT) We will be utilizing this computer to poll and log information from our PLCs using Modbus and MQTT protocols. Node-RED will be the IoT enabling software that will allow us to utilize this hardware. https://accautomation.ca/series/node-red-iot-enabling-software/ Purchase Raspberry Pi 4 Starter Kit Amazon USA https://amzn.to/3y1AAXZ Amazon Canada https://amzn.to/33ubjb1 Raspberry Pi 4 Specifications: System-on-a-chip: Broadcom BCM2711 CPU: Quad-core 1.5GHz Arm Cortex-A72 based processor GPU: VideoCore VI Memory: 1/2/4GB LPDDR4 RAM Connectivity: 802.11ac Wi-Fi / Bluetooth 5.0, Gigabit Ethernet Video and sound: 2 x micro-HDMI ports supporting 4K@60Hz displays via HDMI 2.0, MIPI DSI display port, MIPI CSI camera port, 4 pole stereo output, and composite video port Ports: 2 x USB 3.0, 2 x USB 2.0 Power: 5V/3A via USB-C, 5V via GPIO header Expandability: 40-pin GPIO header #shorts ACC Automation https://accautomation.ca/
Install Node-RED on Raspberry Pi
6K views · Sep 9, 2022 accautomation.ca
We will now be installing Node-RED on a Raspberry Pi 4 single-board computer. A static IP address will also be given for both the WiFi and Ethernet connections. The Raspberry Pi has quickly become a fixture in the industrial environment when utilizing the internet of things. (IoT) We will be utilizing this low-cost computer to poll and log information from our PLCs using Modbus and MQTT protocols. Node-RED will be the IoT enabling software that will allow us to utilize this hardware. https://accautomation.ca/series/node-red-iot-enabling-software/ Let’s get started with installing Node-RED and setting up a fixed IP address on our Raspberry Pi 4 computer. More information can be obtained at our website. This includes all of the links mentioned in this video. https://accautomation.ca/install-node-red-on-raspberry-pi-4/ In this series we started using Node-RED in some of the following ways: Installing the Windows Software https://accautomation.ca/node-red-installing-the-windows-software/ https://youtu.be/xGzH2Hv31WA Modbus RTU / TCP Communication https://accautomation.ca/node-red-modbus-rtu-tcp-communication/ https://youtu.be/yX1w5vcV6cc User Interface - Dashboards https://accautomation.ca/node-red-user-interface-dashboards/ https://youtu.be/8zAG2wXwGOc SQL Database Log https://accautomation.ca/node-red-sql-database-log-modbus-logging/ https://youtu.be/QHjcNj1S_Mo SQL Database Spreadsheet Connection https://accautomation.ca/node-red-sql-database-spreadsheet-connection/ https://youtu.be/Cd3LvhoMaCI We will continue with the following: Installing Node-RED on a Raspberry Pi 4 single-board computer 00:00 Install Node-RED on Raspberry Pi 00:30 Raspberry Pi update operating system (OS) 01:37 Node-RED Raspberry Pi script to install or update 03:43 Raspberry Pi Static IP Address 04:09 MAC address 04:50 DHCP client daemon (DHCPCD) 06:50 Auto start Node-RED service 07:44 Hardware and starting the Node-RED editor There are several reasons why we are using Node-RED. Here are just a few. - Built on top of the most dependable programming language JavaScript. - JavaScript is flexible and easy to work with on web browsers, server-side, IoT, IIoT projects, and more. - Visual flow type interface making programming easy. - Node will allow JavaScript code to run directly on a computer. - Node-RED is a free, open-source logic engine. - Connect to PLC, PAC, Temperature Controllers, Process Controllers using standard protocols. - Save and read from databases - Easily make the Internet of Things (IoT, IIoT) industrial solutions. Node-RED provides the ability for you to quickly create custom control solutions. ACC Automation https://accautomation.ca/