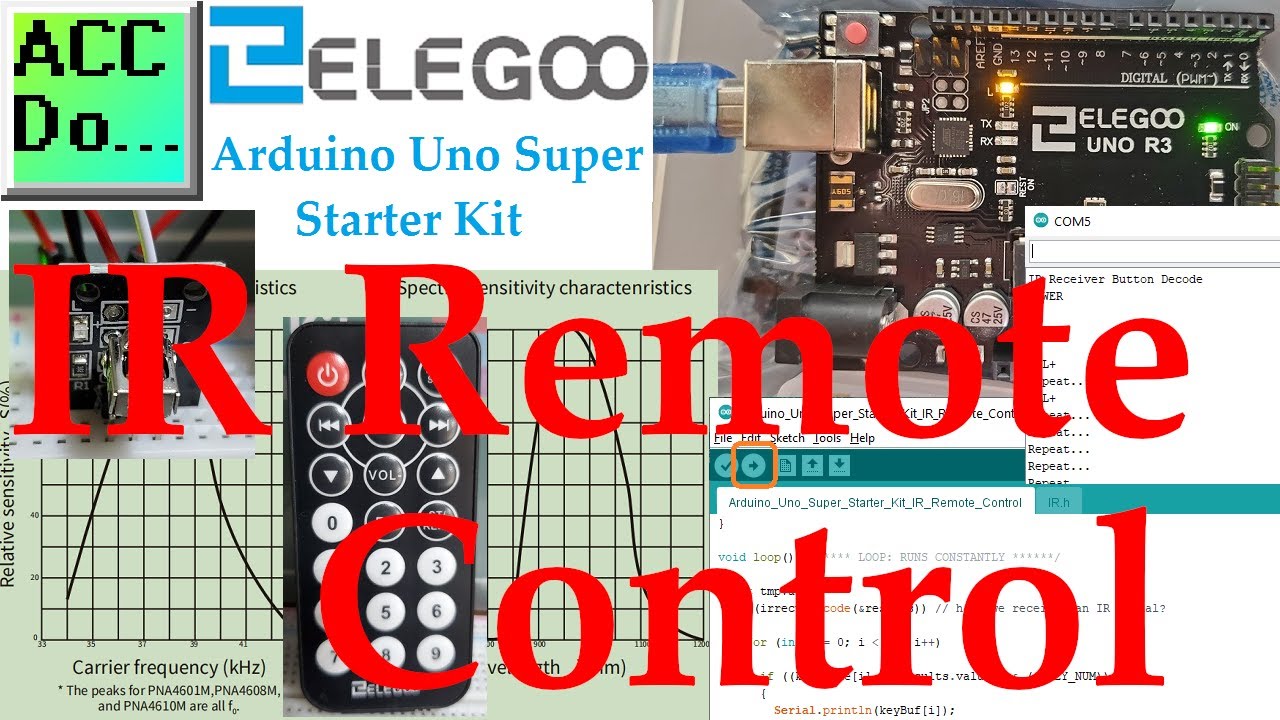
Elegoo Arduino Uno IR Remote Control
34K views · Oct 12, 2022 accautomation.ca
The IR (Infrared) remote control is a great way to incorporate wireless control of your project. Infrared receiver modules are simple and easy to use. In this post, we will be connecting the IR receiver to the UNO, and then use a Library that was designed for this particular sensor. In our sketch we will have all the IR Hexadecimal codes that are available on this remote, we will also detect if the code was recognized and also if we are holding down a key. Let’s get started. This kit is available from Amazon. Here are some affiliate links: Amazon.com - https://amzn.to/2EAxUK9 Amazon.ca - https://amzn.to/2S2veYE Additional information can be obtained from our website. https://accautomation.ca/arduino-uno-ir-remote-control-infrared/ 00:00 Arduino Uno IR Remote Control 00:54 How do IR circuits work? 03:12 Wiring the IR Receiver Module to our Arduino UNO 04:27 Arduino UNO IR Remote Control Program 07:34 Running IR Remote Control Program A full list of posts in this series can be obtained at the following location: Arduino Uno Software Super Starter Kit https://accautomation.ca/series/arduino-uno-starter-kit/ Previous posts in this Arduino Uno Super Starter Kit Series: Hardware https://accautomation.ca/arduino-uno-super-starter-kit-hardware https://youtu.be/kjVSPigu8Ls Software https://accautomation.ca/arduino-uno-super-starter-kit-software https://youtu.be/C03a_QhSKxI LEDs https://accautomation.ca/arduino-uno-super-starter-kit-leds/ https://youtu.be/QYALyRyhTBs Digital Inputs https://accautomation.ca/arduino-uno-super-starter-kit-digital-inputs/ https://youtu.be/es5t6v2nS84 Analog Inputs https://accautomation.ca/arduino-uno-super-starter-kit-analog-inputs/ https://youtu.be/0lGkx9lcJ80 Buzzers https://accautomation.ca/arduino-uno-super-starter-kit-buzzers/ https://youtu.be/3a25VaTQ9ko Tilt Ball Switch https://accautomation.ca/arduino-uno-super-starter-kit-tilt-ball-switch/ https://youtu.be/UrvyT4QXcPE Servo https://accautomation.ca/arduino-uno-super-starter-kit-servo/ https://youtu.be/pu94ljY58d0 Ultrasonic Sensor https://accautomation.ca/arduino-uno-super-starter-kit-ultrasonic-sensor/ https://youtu.be/O9MUPL3s10s Temperature and Humidity https://accautomation.ca/arduino-uno-temperature-and-humidity/ https://youtu.be/oKFEj1zeyBo Component listing for the Elegoo Arduino UNO R3 Super Starter Kit 1 - ELEGOO UNO R3 Controller Board (Arduino-Compatible) 1 - LCD1602 Module (with pin header) 1 - Breadboard Expansion Board 1 - Power Supply Module 1 - Joystick Module 1 - IR Receiver 1 - Servo Motor (SG90) 1 - Stepper Motor 1 - ULN2003 Stepper Motor Driver Board 1 - Ultrasonic Sensor 1 - DHT11 Temperature and Humidity Module 1 - 9V Battery with DC 1 - 65 Jumper Wire 1 - USB Cable 1 - Active Buzzer 1 - Passive Buzzer 1 - Potentiometer 1 - 5V Relay 1 - Breadboard 1 - Remote 1 - Tilt Switch 5 - Button (small) 1 - 1 digit 7-segment Display 1 - 4 digit 7-segment Display 5 - Yellow LED 5 - Blue LED 5 - Green LED 5 - Red LED 1 - RGB LED 2 - Photoresistor 1 - Thermistor 2 - Diode Rectifier (1N4007) 2 - NPN Transistor (PN2222) 1 - IC 74HC595 30 - Resistor 10 - Female-to-male DuPont Wire This kit is available from Amazon. Here are some affiliate links: Amazon.com - https://amzn.to/2EAxUK9 Amazon.ca - https://amzn.to/2S2veYE The Arduino UNO is one of the best boards to learn about electronics and coding. This robust board is the most used and documented board of the whole Arduino family. https://www.accautomation.ca
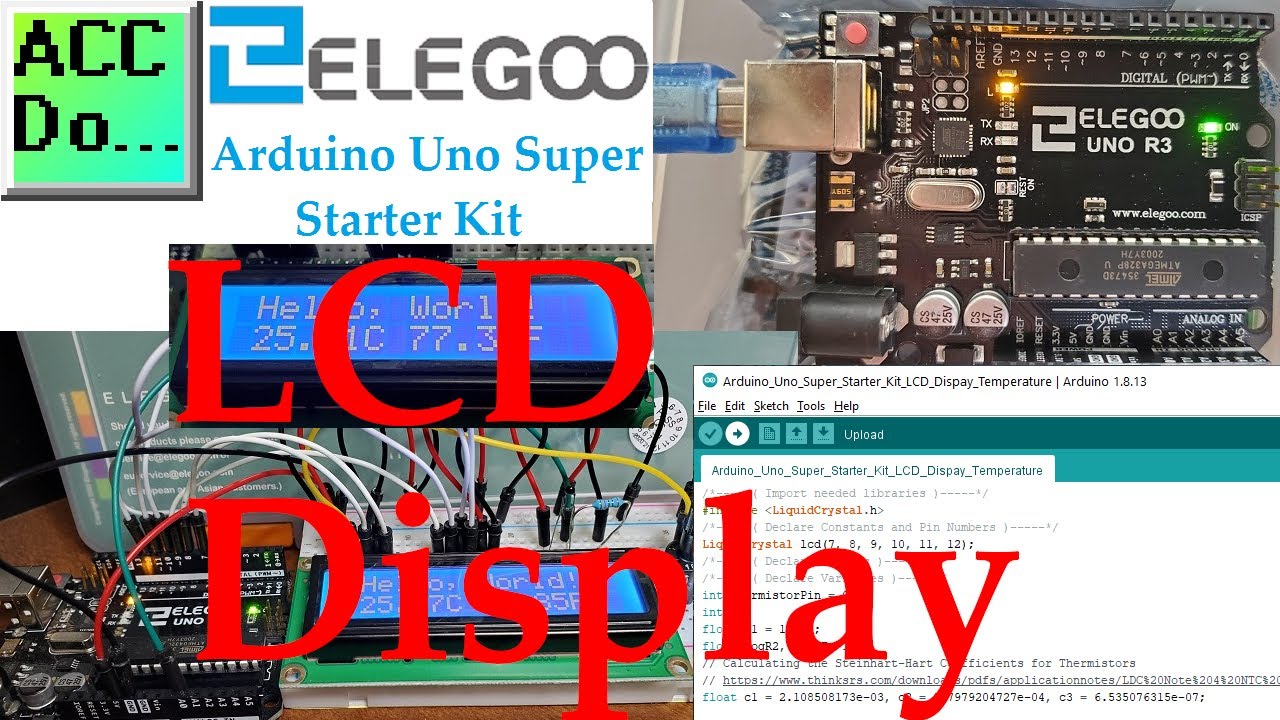
Elegoo Arduino Uno Super Starter Kit LCD Display
7K views · Oct 12, 2022 accautomation.ca
An LCD (Liquid Crystal Display) is a great way to display information in our Arduino Uno controller. We will be wiring and programming an alphanumeric, two rows with 16 characters on each row. The display has an LED (Light Emitting Diode) backlight with adjustable contrast. This white and blue LCD will display “Hello World!” on the top line and temperature on the bottom line. The thermistor temperature circuit created last time will be displayed in both Celsius and Fahrenheit degrees. Let’s get started. This kit is available from Amazon. Here are some affiliate links: Amazon.com - https://amzn.to/2EAxUK9 Amazon.ca - https://amzn.to/2S2veYE Additional information can be obtained from our website. https://accautomation.ca/arduino-uno-super-starter-kit-lcd-display/ 00:00 Arduino Uno Super Starter Kit LCD Display 00:56 How do LCD displays work? 01:40 Wiring the LCD and Thermistor Temperature Bridge Circuit to our Arduino UNO 03:46 Arduino UNO LCD Display Program 06:03 Running LCD Display with Temperature Program A full list of posts in this series can be obtained at the following location: Arduino Uno Software Super Starter Kit https://accautomation.ca/series/arduino-uno-starter-kit/ Previous posts in this Arduino Uno Super Starter Kit Series: Hardware https://accautomation.ca/arduino-uno-super-starter-kit-hardware https://youtu.be/kjVSPigu8Ls Software https://accautomation.ca/arduino-uno-super-starter-kit-software https://youtu.be/C03a_QhSKxI LEDs https://accautomation.ca/arduino-uno-super-starter-kit-leds/ https://youtu.be/QYALyRyhTBs Digital Inputs https://accautomation.ca/arduino-uno-super-starter-kit-digital-inputs/ https://youtu.be/es5t6v2nS84 Analog Inputs https://accautomation.ca/arduino-uno-super-starter-kit-analog-inputs/ https://youtu.be/0lGkx9lcJ80 Buzzers https://accautomation.ca/arduino-uno-super-starter-kit-buzzers/ https://youtu.be/3a25VaTQ9ko Tilt Ball Switch https://accautomation.ca/arduino-uno-super-starter-kit-tilt-ball-switch/ https://youtu.be/UrvyT4QXcPE Servo https://accautomation.ca/arduino-uno-super-starter-kit-servo/ https://youtu.be/pu94ljY58d0 Ultrasonic Sensor https://accautomation.ca/arduino-uno-super-starter-kit-ultrasonic-sensor/ https://youtu.be/O9MUPL3s10s Temperature and Humidity https://accautomation.ca/arduino-uno-temperature-and-humidity/ https://youtu.be/oKFEj1zeyBo IR Remote Control https://accautomation.ca/arduino-uno-ir-remote-control-infrared/ https://youtu.be/Z5DGV6zvE1M Component listing for the Elegoo Arduino UNO R3 Super Starter Kit 1 - ELEGOO UNO R3 Controller Board (Arduino-Compatible) 1 - LCD1602 Module (with pin header) 1 - Breadboard Expansion Board 1 - Power Supply Module 1 - Joystick Module 1 - IR Receiver 1 - Servo Motor (SG90) 1 - Stepper Motor 1 - ULN2003 Stepper Motor Driver Board 1 - Ultrasonic Sensor 1 - DHT11 Temperature and Humidity Module 1 - 9V Battery with DC 1 - 65 Jumper Wire 1 - USB Cable 1 - Active Buzzer 1 - Passive Buzzer 1 - Potentiometer 1 - 5V Relay 1 - Breadboard 1 - Remote 1 - Tilt Switch 5 - Button (small) 1 - 1 digit 7-segment Display 1 - 4 digit 7-segment Display 5 - Yellow LED 5 - Blue LED 5 - Green LED 5 - Red LED 1 - RGB LED 2 - Photoresistor 1 - Thermistor 2 - Diode Rectifier (1N4007) 2 - NPN Transistor (PN2222) 1 - IC 74HC595 30 - Resistor 10 - Female-to-male DuPont Wire This kit is available from Amazon. Here are some affiliate links: Amazon.com - https://amzn.to/2EAxUK9 Amazon.ca - https://amzn.to/2S2veYE The Arduino UNO is one of the best boards to learn about electronics and coding. This robust board is the most used and documented board of the whole Arduino family. https://www.accautomation.ca
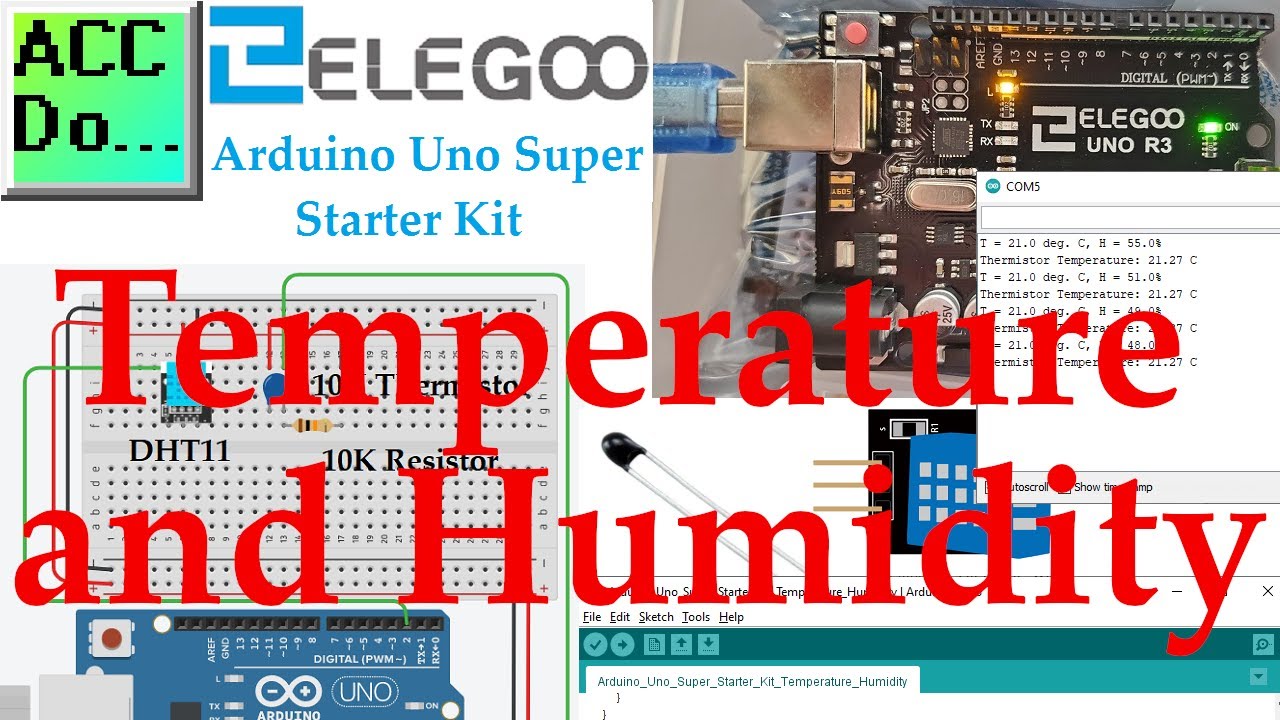
Arduino Uno Temperature and Humidity
17K views · Oct 12, 2022 accautomation.ca
The DHT11 is a digital temperature and humidity sensor. It uses a capacitive humidity sensor and a thermistor to measure the surrounding air and sends out a digital signal on the data pin (no analog input pins needed). Its simple to use, and the update timing of the sensor is about 2 seconds. Thermistor temperature circuits can be much quicker and are very accurate in measuring temperature. We will be using the DHT11 sensor to measure temperature and humidity. A separate thermistor circuit will also be used to measure temperature on an analog input. This will be all done on our Arduino UNO R3 controller on our super starter kit. Let’s get started. This kit is available from Amazon. Here are some affiliate links: Amazon.com - https://amzn.to/2EAxUK9 Amazon.ca - https://amzn.to/2S2veYE Additional information can be obtained from our website. https://accautomation.ca/arduino-uno-temperature-and-humidity/ 00:00 Arduino Uno Temperature and Humidity 00:44 What is Temperature and Humidity? 01:26 What is a DHT11 Sensor? 03:29 What is a Thermistor? 04:51 Wiring the DHT11 Sensor and Thermistor Circuits to our Arduino UNO 07:14 Arduino UNO Temperature and Humidity Program A full list of posts in this series can be obtained at the following location: Arduino Uno Software Super Starter Kit https://accautomation.ca/series/ Previous posts in this Arduino Uno Super Starter Kit Series: Hardware https://accautomation.ca/arduino-uno-super-starter-kit-hardware https://youtu.be/kjVSPigu8Ls Software https://accautomation.ca/arduino-uno-super-starter-kit-software https://youtu.be/C03a_QhSKxI LEDs https://accautomation.ca/arduino-uno-super-starter-kit-leds/ https://youtu.be/QYALyRyhTBs Digital Inputs https://accautomation.ca/arduino-uno-super-starter-kit-digital-inputs/ https://youtu.be/es5t6v2nS84 Analog Inputs https://accautomation.ca/arduino-uno-super-starter-kit-analog-inputs/ https://youtu.be/0lGkx9lcJ80 Buzzers https://accautomation.ca/arduino-uno-super-starter-kit-buzzers/ https://youtu.be/3a25VaTQ9ko Tilt Ball Switch https://accautomation.ca/arduino-uno-super-starter-kit-tilt-ball-switch/ https://youtu.be/UrvyT4QXcPE Servo https://accautomation.ca/arduino-uno-super-starter-kit-servo/ https://youtu.be/pu94ljY58d0 Ultrasonic Sensor https://accautomation.ca/arduino-uno-super-starter-kit-ultrasonic-sensor/ https://youtu.be/O9MUPL3s10s Component listing for the Elegoo Arduino UNO R3 Super Starter Kit 1 - ELEGOO UNO R3 Controller Board (Arduino-Compatible) 1 - LCD1602 Module (with pin header) 1 - Breadboard Expansion Board 1 - Power Supply Module 1 - Joystick Module 1 - IR Receiver 1 - Servo Motor (SG90) 1 - Stepper Motor 1 - ULN2003 Stepper Motor Driver Board 1 - Ultrasonic Sensor 1 - DHT11 Temperature and Humidity Module 1 - 9V Battery with DC 1 - 65 Jumper Wire 1 - USB Cable 1 - Active Buzzer 1 - Passive Buzzer 1 - Potentiometer 1 - 5V Relay 1 - Breadboard 1 - Remote 1 - Tilt Switch 5 - Button (small) 1 - 1 digit 7-segment Display 1 - 4 digit 7-segment Display 5 - Yellow LED 5 - Blue LED 5 - Green LED 5 - Red LED 1 - RGB LED 2 - Photoresistor 1 - Thermistor 2 - Diode Rectifier (1N4007) 2 - NPN Transistor (PN2222) 1 - IC 74HC595 30 - Resistor 10 - Female-to-male DuPont Wire This kit is available from Amazon. Here are some affiliate links: Amazon.com - https://amzn.to/2EAxUK9 Amazon.ca - https://amzn.to/2S2veYE The Arduino UNO is one of the best boards to learn about electronics and coding. This robust board is the most used and documented board of the whole Arduino family. https://www.accautomation.ca
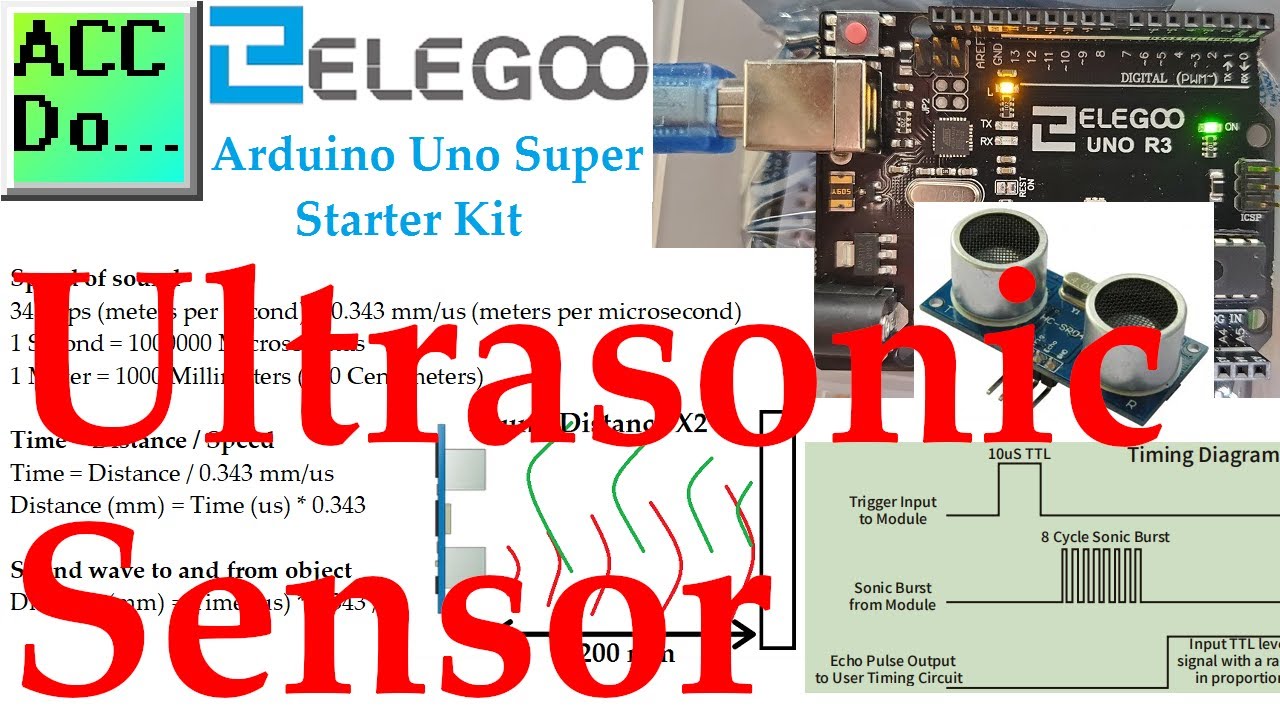
Arduino Uno Super Starter Kit Ultrasonic Sensor
22K views · Oct 12, 2022 accautomation.ca
The ultrasonic sensor (HC-SR04) is great for all kinds of projects that need distance measurements. The HC-SR04 is inexpensive and easy to use. We will be sending signals directly to the sensor and interpreting the results without the need for a library. Ultrasonic sensor module HC-SR04 provides a 2cm-400cm non-contact measurement function, the accuracy can reach 3mm. The modules include ultrasonic transmitters, receivers, and control circuits. We will be wiring the ultrasonic sensor to our Arduino UNO R3 controller on our super starter kit. Let’s get started. This kit is available from Amazon. Here are some affiliate links: Amazon.com - https://amzn.to/2EAxUK9 Amazon.ca - https://amzn.to/2S2veYE Additional information can be obtained from our website. https://accautomation.ca/arduino-uno-super-starter-kit-ultrasonic-sensor/ 00:00 Arduino Uno Super Starter Kit Ultrasonic Sensor 01:08 Ultrasonic Sensor HC-SR04 - How they work 02:46 Ultrasonic Sensor Timing Chart 03:35 Wiring the Ultrasonic Senor to our Arduino UNO 04:40 Arduino UNO Ultrasonic Sensor Program A full list of posts in this series can be obtained at the following location: Arduino Uno Software Super Starter Kit https://accautomation.ca/series/ Previous posts in this Arduino Uno Super Starter Kit Series: Hardware https://accautomation.ca/arduino-uno-super-starter-kit-hardware https://youtu.be/kjVSPigu8Ls Software https://accautomation.ca/arduino-uno-super-starter-kit-software https://youtu.be/C03a_QhSKxI LEDs https://accautomation.ca/arduino-uno-super-starter-kit-leds/ https://youtu.be/QYALyRyhTBs Digital Inputs https://accautomation.ca/arduino-uno-super-starter-kit-digital-inputs/ https://youtu.be/es5t6v2nS84 Analog Inputs https://accautomation.ca/arduino-uno-super-starter-kit-analog-inputs/ https://youtu.be/0lGkx9lcJ80 Buzzers https://accautomation.ca/arduino-uno-super-starter-kit-buzzers/ https://youtu.be/3a25VaTQ9ko Tilt Ball Switch https://accautomation.ca/arduino-uno-super-starter-kit-tilt-ball-switch/ https://youtu.be/UrvyT4QXcPE Servo https://accautomation.ca/arduino-uno-super-starter-kit-servo/ https://youtu.be/pu94ljY58d0 Component listing for the Elegoo Arduino UNO R3 Super Starter Kit 1 - ELEGOO UNO R3 Controller Board (Arduino-Compatible) 1 - LCD1602 Module (with pin header) 1 - Breadboard Expansion Board 1 - Power Supply Module 1 - Joystick Module 1 - IR Receiver 1 - Servo Motor (SG90) 1 - Stepper Motor 1 - ULN2003 Stepper Motor Driver Board 1 - Ultrasonic Sensor 1 - DHT11 Temperature and Humidity Module 1 - 9V Battery with DC 1 - 65 Jumper Wire 1 - USB Cable 1 - Active Buzzer 1 - Passive Buzzer 1 - Potentiometer 1 - 5V Relay 1 - Breadboard 1 - Remote 1 - Tilt Switch 5 - Button (small) 1 - 1 digit 7-segment Display 1 - 4 digit 7-segment Display 5 - Yellow LED 5 - Blue LED 5 - Green LED 5 - Red LED 1 - RGB LED 2 - Photoresistor 1 - Thermistor 2 - Diode Rectifier (1N4007) 2 - NPN Transistor (PN2222) 1 - IC 74HC595 30 - Resistor 10 - Female-to-male DuPont Wire This kit is available from Amazon. Here are some affiliate links: Amazon.com - https://amzn.to/2EAxUK9 Amazon.ca - https://amzn.to/2S2veYE The Arduino UNO is one of the best boards to learn about electronics and coding. This robust board is the most used and documented board of the whole Arduino family. https://www.accautomation.ca
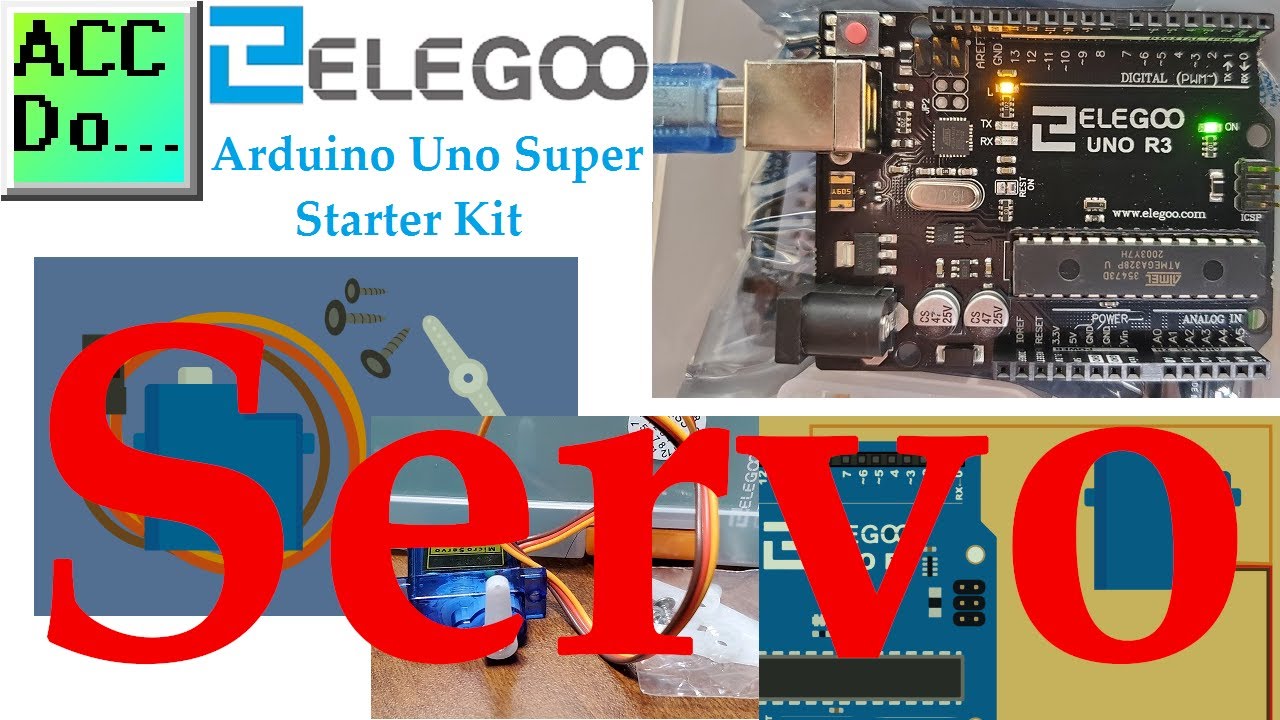
Arduino Uno Super Starter Kit Servo
14K views · Oct 12, 2022 accautomation.ca
The servomotor, RC (Hobby) Servo is a type of gear motor that can only rotate 180 degrees. It is controlled by sending electrical pulses from our UNO R3 board. These pulses tell the servo what position it should move to. We will be wiring the servo to our Arduino UNO R3 controller on our super starter kit. Let’s get started. This kit is available from Amazon. Here are some affiliate links: Amazon.com - https://amzn.to/2EAxUK9 Amazon.ca - https://amzn.to/2S2veYE Additional information can be obtained from our website. https://accautomation.ca/arduino-uno-super-starter-kit-servo/ 00:00 Arduino Uno Super Starter Kit Servo 00:50 RC (hobby) Servo Motors – How they work 01:42 Wiring the Servo to our Arduino UNO 02:04 Arduino UNO R3 Hardware 02:33 Arduino UNO Servo Motor Program A full list of posts in this series can be obtained at the following location: Arduino Uno Software Super Starter Kit https://accautomation.ca/series/ Previous posts in this Arduino Uno Super Starter Kit Series: Hardware https://accautomation.ca/arduino-uno-super-starter-kit-hardware https://youtu.be/kjVSPigu8Ls Software https://accautomation.ca/arduino-uno-super-starter-kit-software https://youtu.be/C03a_QhSKxI LEDs https://accautomation.ca/arduino-uno-super-starter-kit-leds/ https://youtu.be/QYALyRyhTBs Digital Inputs https://accautomation.ca/arduino-uno-super-starter-kit-digital-inputs/ https://youtu.be/es5t6v2nS84 Analog Inputs https://accautomation.ca/arduino-uno-super-starter-kit-analog-inputs/ https://youtu.be/0lGkx9lcJ80 Buzzers https://accautomation.ca/arduino-uno-super-starter-kit-buzzers/ https://youtu.be/3a25VaTQ9ko Tilt Ball Switch https://accautomation.ca/arduino-uno-super-starter-kit-tilt-ball-switch/ https://youtu.be/UrvyT4QXcPE Component listing for the Elegoo Arduino UNO R3 Super Starter Kit 1 - ELEGOO UNO R3 Controller Board (Arduino-Compatible) 1 - LCD1602 Module (with pin header) 1 - Breadboard Expansion Board 1 - Power Supply Module 1 - Joystick Module 1 - IR Receiver 1 - Servo Motor (SG90) 1 - Stepper Motor 1 - ULN2003 Stepper Motor Driver Board 1 - Ultrasonic Sensor 1 - DHT11 Temperature and Humidity Module 1 - 9V Battery with DC 1 - 65 Jumper Wire 1 - USB Cable 1 - Active Buzzer 1 - Passive Buzzer 1 - Potentiometer 1 - 5V Relay 1 - Breadboard 1 - Remote 1 - Tilt Switch 5 - Button (small) 1 - 1 digit 7-segment Display 1 - 4 digit 7-segment Display 5 - Yellow LED 5 - Blue LED 5 - Green LED 5 - Red LED 1 - RGB LED 2 - Photo resistor 1 - Thermistor 2 - Diode Rectifier (1N4007) 2 - NPN Transistor (PN2222) 1 - IC 74HC595 30 - Resistor 10 - Female-to-male DuPont Wire This kit is available from Amazon. Here are some affiliate links: Amazon.com - https://amzn.to/2EAxUK9 Amazon.ca - https://amzn.to/2S2veYE The Arduino UNO is one of the best boards to learn about electronics and coding. This robust board is the most used and documented board of the whole Arduino family. https://www.accautomation.ca
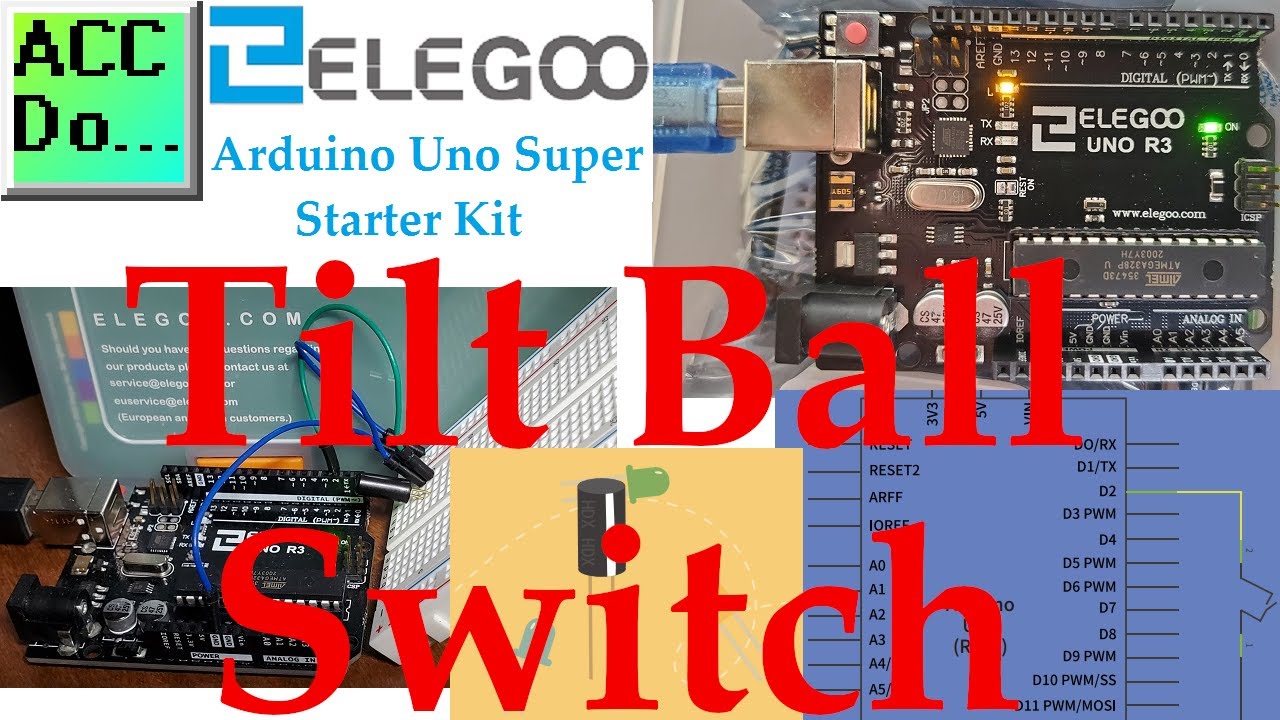
Arduino Uno Super Starter Kit Tilt Ball Switch
2K views · Oct 12, 2022 accautomation.ca
We will now look at the tilt ball switch on our Arduino Uno super starter kit. Tilt sensors (tilt ball switch) allow you to detect orientation or inclination. They are small, inexpensive, low-power, and easy-to-use. If used properly, they will not wear out. Their simplicity makes them popular for toys, gadgets, and appliances. Tilt ball switches are sometimes referred to as "mercury switches", "tilt switches", or "rolling ball sensors". We will be wiring a tilt ball switch to our Arduino UNO R3 controller on our super starter kit. Let’s get started. This kit is available from Amazon. Here are some affiliate links: Amazon.com - https://amzn.to/2EAxUK9 Amazon.ca - https://amzn.to/2S2veYE 00:00 Arduino Uno Tilt Ball Switch 00:31 Tilt Ball Switches – How they work 01:55 Wiring the Tilt Ball Switch 02:24 Arduino UNO Pull-up Resistor Programming 03:11 Hardware Tilt Ball Switch 03:37 Tilt Ball Switch Program A full list of posts in this series can be obtained at the following location: Arduino Uno Software Super Starter Kit https://accautomation.ca/series/ Previous posts in this Arduino Uno Super Starter Kit Series: Hardware https://accautomation.ca/arduino-uno-super-starter-kit-hardware https://youtu.be/kjVSPigu8Ls Software https://accautomation.ca/arduino-uno-super-starter-kit-software https://youtu.be/C03a_QhSKxI LEDs https://accautomation.ca/arduino-uno-super-starter-kit-leds/ https://youtu.be/QYALyRyhTBs Digital Inputs https://accautomation.ca/arduino-uno-super-starter-kit-digital-inputs/ https://youtu.be/es5t6v2nS84 Analog Inputs https://accautomation.ca/arduino-uno-super-starter-kit-analog-inputs/ https://youtu.be/0lGkx9lcJ80 Buzzers https://accautomation.ca/arduino-uno-super-starter-kit-buzzers/ https://youtu.be/3a25VaTQ9ko https://youtu.be/QYALyRyhTBs Component listing for the Elegoo Arduino UNO R3 Super Starter Kit 1 - ELEGOO UNO R3 Controller Board (Arduino-Compatible) 1 - LCD1602 Module (with pin header) 1 - Breadboard Expansion Board 1 - Power Supply Module 1 - Joystick Module 1 - IR Receiver 1 - Servo Motor (SG90) 1 - Stepper Motor 1 - ULN2003 Stepper Motor Driver Board 1 - Ultrasonic Sensor 1 - DHT11 Temperature and Humidity Module 1 - 9V Battery with DC 1 - 65 Jumper Wire 1 - USB Cable 1 - Active Buzzer 1 - Passive Buzzer 1 - Potentiometer 1 - 5V Relay 1 - Breadboard 1 - Remote 1 - Tilt Switch 5 - Button (small) 1 - 1 digit 7-segment Display 1 - 4 digit 7-segment Display 5 - Yellow LED 5 - Blue LED 5 - Green LED 5 - Red LED 1 - RGB LED 2 - Photoresistor 1 - Thermistor 2 - Diode Rectifier (1N4007) 2 - NPN Transistor (PN2222) 1 - IC 74HC595 30 - Resistor 10 - Female-to-male DuPont Wire This kit is available from Amazon. Here are some affiliate links: Amazon.com - https://amzn.to/2EAxUK9 Amazon.ca - https://amzn.to/2S2veYE The Arduino UNO is one of the best boards to learn about electronics and coding. This robust board is the most used and documented board of the whole Arduino family. https://www.accautomation.ca
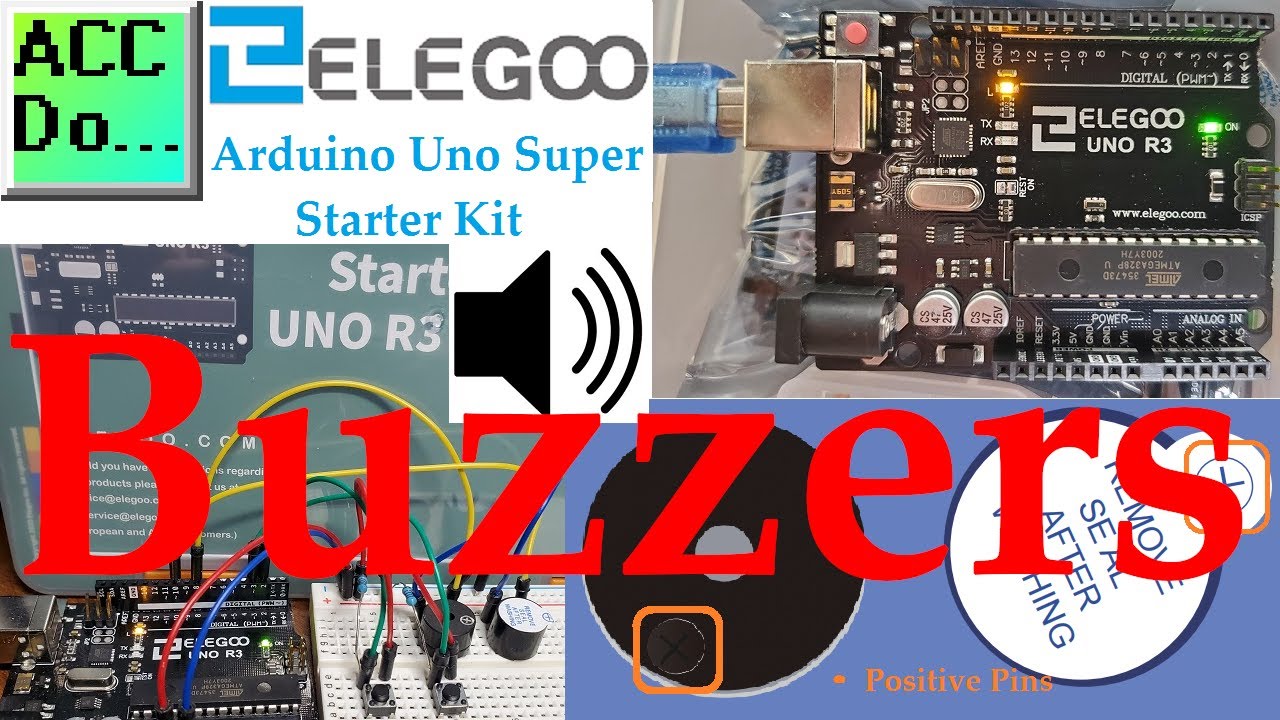
Arduino Uno Super Starter Kit Buzzers
60K views · Oct 12, 2022 accautomation.ca
We will now look at active and passive buzzer outputs on our Arduino UNO controller. Electronic buzzers are DC-powered and equipped with an integrated circuit. They are widely used in computers, printers, photocopiers, alarms, electronic toys, automotive electronic devices, telephones, timers, and other electronic products for voice devices. Buzzers can be categorized as active and passive. Turn the pins of two buzzers face up. The one with a green circuit board is a passive buzzer, while the other enclosed with black tape is an active one. We will be wiring passive and active buzzers to our Arduino UNO R3 controller on our super starter kit. Two pushbuttons with pull-down resistors will control the buzzers. Pressing the first button will play a melody on the passive buzzer. A two-tone alarm will sound using the active buzzer when the other push button is selected. Let’s get started. This kit is available from Amazon. Here are some affiliate links: Amazon.com - https://amzn.to/2EAxUK9 Amazon.ca - https://amzn.to/2S2veYE 00:00 Arduino Uno Buzzer 00:27 Active vs Passive Buzzer 01:34 Arduino Uno Buzzer Program 05:15 Upload Arduino Buzzer Program 05:45 Testing Buzzer Program A full list of posts in this series can be obtained at the following location: Arduino Uno Software Super Starter Kit https://accautomation.ca/series/ Previous posts in this Arduino Uno Super Starter Kit Series: Hardware https://accautomation.ca/arduino-uno-super-starter-kit-hardware https://youtu.be/kjVSPigu8Ls Software https://accautomation.ca/arduino-uno-super-starter-kit-software https://youtu.be/C03a_QhSKxI LEDs https://accautomation.ca/arduino-uno-super-starter-kit-leds/ https://youtu.be/QYALyRyhTBs Digital Inputs https://accautomation.ca/arduino-uno-super-starter-kit-digital-inputs/ https://youtu.be/es5t6v2nS84 Analog Inputs https://accautomation.ca/arduino-uno-super-starter-kit-analog-inputs/ https://youtu.be/0lGkx9lcJ80 https://youtu.be/QYALyRyhTBs Component listing for the Elegoo Arduino UNO R3 Super Starter Kit 1 - ELEGOO UNO R3 Controller Board (Arduino-Compatible) 1 - LCD1602 Module (with pin header) 1 - Breadboard Expansion Board 1 - Power Supply Module 1 - Joystick Module 1 - IR Receiver 1 - Servo Motor (SG90) 1 - Stepper Motor 1 - ULN2003 Stepper Motor Driver Board 1 - Ultrasonic Sensor 1 - DHT11 Temperature and Humidity Module 1 - 9V Battery with DC 1 - 65 Jumper Wire 1 - USB Cable 1 - Active Buzzer 1 - Passive Buzzer 1 - Potentiometer 1 - 5V Relay 1 - Breadboard 1 - Remote 1 - Tilt Switch 5 - Button (small) 1 - 1 digit 7-segment Display 1 - 4 digit 7-segment Display 5 - Yellow LED 5 - Blue LED 5 - Green LED 5 - Red LED 1 - RGB LED 2 - Photoresistor 1 - Thermistor 2 - Diode Rectifier (1N4007) 2 - NPN Transistor (PN2222) 1 - IC 74HC595 30 - Resistor 10 - Female-to-male DuPont Wire This kit is available from Amazon. Here are some affiliate links: Amazon.com - https://amzn.to/2EAxUK9 Amazon.ca - https://amzn.to/2S2veYE The Arduino UNO is one of the best board to learn about electronics and coding. This robust board is the most used and documented board of the whole Arduino family. https://www.accautomation.ca
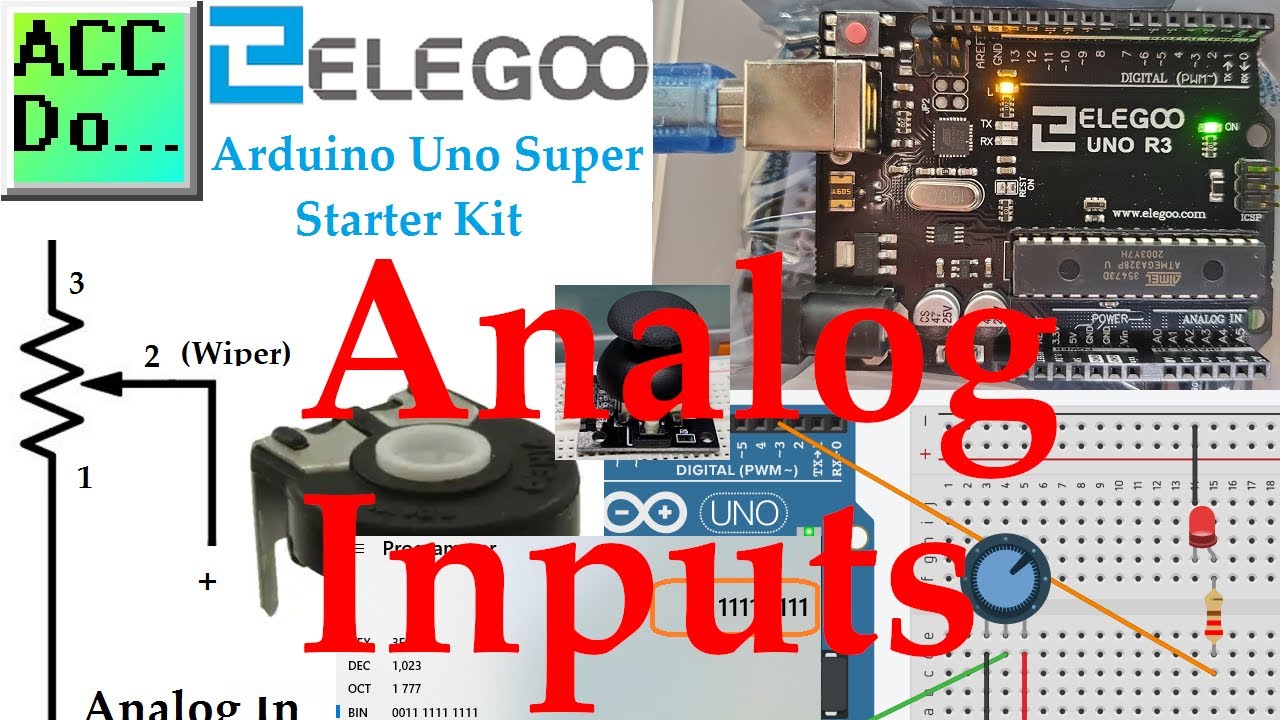
Arduino Uno Super Starter Kit Analog Inputs
6K views · Oct 12, 2022 accautomation.ca
We will now be looking at how to use analog inputs to our Arduino UNO controller. An analog input converts a voltage level into a digital value that can be used in our Arduino program or sketch. This external input signal can represent many different items. Speed, levels, distance, brightness, density, humidity, etc. are a few items that this analog input can represent. We will be wiring a 10K potentiometer to the first analog input of the controller. The Arduino Uno R3 from our Super Starter Kit will be used. As the analog values changes via our potentiometer, we will use PWM to change the brightness of an LED. We will look at how this conversion from analog voltage to digital is done. Values will be displayed on the built-in serial monitor of our Arduino IDE software. Let’s get started. This kit is available from Amazon. Here are some affiliate links: Amazon.com - https://amzn.to/2EAxUK9 Amazon.ca - https://amzn.to/2S2veYE A full list of posts in this series can be obtained at the following location: Arduino Uno Software Super Starter Kit https://accautomation.ca/arduino-uno-super-starter-kit-analog-inputs/ 00:00 Arduino UNO Analog Inputs 01:05 10K Potentiometer 02:45 Arduino UNO Analog Resolution 04:39 Analog Joystick 05:59 Wiring Analog Input 06:50 Analog Hardware 08:32 Arduino UNO analog program 13:30 Testing Analog Program Previous posts in this Arduino Uno Super Starter Kit Series: Hardware https://accautomation.ca/arduino-uno-super-starter-kit-hardware https://youtu.be/kjVSPigu8Ls Software https://accautomation.ca/arduino-uno-super-starter-kit-software https://youtu.be/C03a_QhSKxI LEDs https://accautomation.ca/arduino-uno-super-starter-kit-leds/ https://youtu.be/QYALyRyhTBs Digital Inputs https://accautomation.ca/arduino-uno-super-starter-kit-digital-inputs/ https://youtu.be/es5t6v2nS84 Component listing for the Elegoo Arduino UNO R3 Super Starter Kit 1 - ELEGOO UNO R3 Controller Board (Arduino-Compatible) 1 - LCD1602 Module (with pin header) 1 - Breadboard Expansion Board 1 - Power Supply Module 1 - Joystick Module 1 - IR Receiver 1 - Servo Motor (SG90) 1 - Stepper Motor 1 - ULN2003 Stepper Motor Driver Board 1 - Ultrasonic Sensor 1 - DHT11 Temperature and Humidity Module 1 - 9V Battery with DC 1 - 65 Jumper Wire 1 - USB Cable 1 - Active Buzzer 1 - Passive Buzzer 1 - Potentiometer 1 - 5V Relay 1 - Breadboard 1 - Remote 1 - Tilt Switch 5 - Button (small) 1 - 1 digit 7-segment Display 1 - 4 digit 7-segment Display 5 - Yellow LED 5 - Blue LED 5 - Green LED 5 - Red LED 1 - RGB LED 2 - Photoresistor 1 - Thermistor 2 - Diode Rectifier (1N4007) 2 - NPN Transistor (PN2222) 1 - IC 74HC595 30 - Resistor 10 - Female-to-male DuPont Wire This kit is available from Amazon. Here are some affiliate links: Amazon.com - https://amzn.to/2EAxUK9 Amazon.ca - https://amzn.to/2S2veYE The Arduino UNO is one of the best board to learn about electronics and coding. This robust board is the most used and documented board of the whole Arduino family. https://www.accautomation.ca
Arduino Uno Super Starter Kit Digital Inputs
14K views · Oct 12, 2022 accautomation.ca
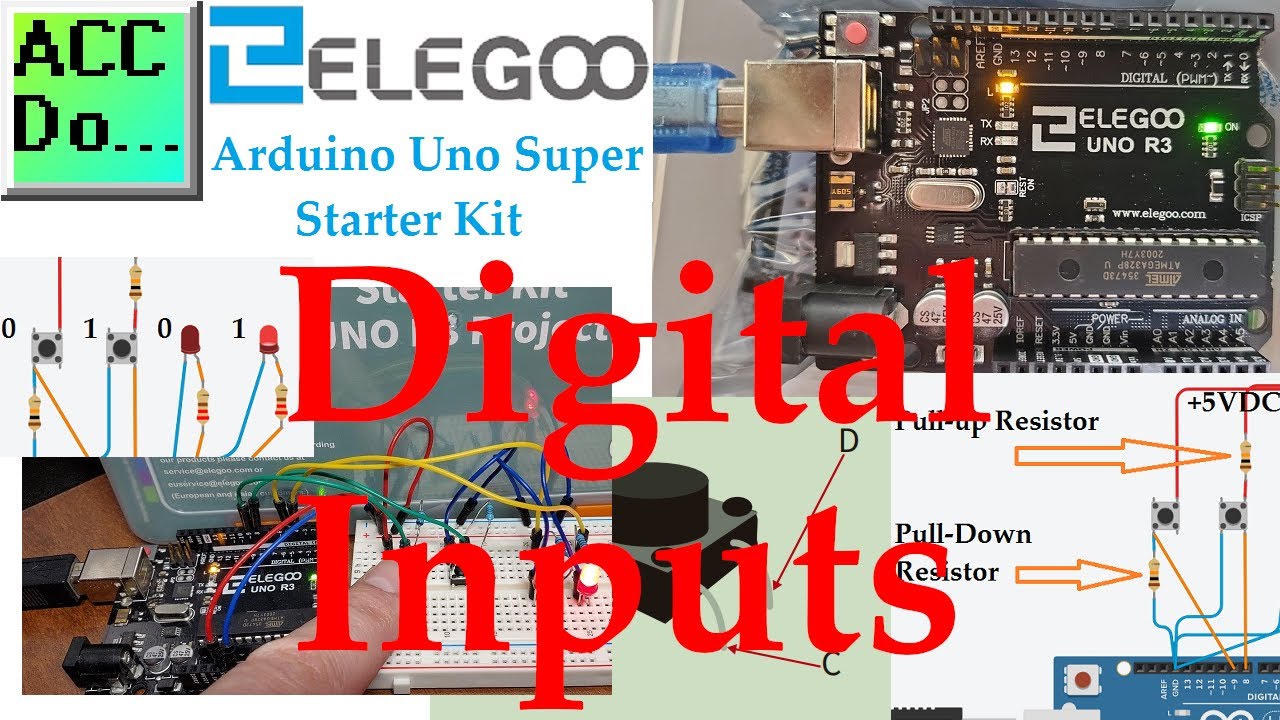
We will now be looking at using digital inputs (pushbuttons) to turn LEDs on and off. This will be programmed using our Arduino Uno R3 from our Super Starter Kit. Pushbuttons will allow actions to be performed that our Arduino program sketch will interpret and take action. We will be wiring two pushbutton switches. A pull-down resistor will be wired to the first switch and a pull-up resistor will be wired to the second switch. This will change the state of the input (High (1) or Low (0)) based on the wiring. Two LEDs will be wired to the outputs of the Arduino Uno. This will show the state of the switches and allow the switch inputs to modify the state of the LED. We will look at a couple of different programs. Eliminating switch bouncing will also be discussed and programmed using our Arduino Uno super starter kit. Let’s get started. This kit is available from Amazon. Here are some affiliate links: Amazon.com - https://amzn.to/2EAxUK9 Amazon.ca - https://amzn.to/2S2veYE 00:00 Arduino Uno Switch Inputs 00:27 Uno Pushbutton Inputs 01:19 Switches (Pushbuttons) 02:00 Wiring Pushbutton Inputs - Pull-up / Pull-down Resistors 02:25 Arduino Hardware 03:55 Arduino Digital Input Pushbutton Program 06:33 Arduino Digital Input Switch Program 09:01 Arduino Digital Input Toggle Program 09:38 Arduino Debounce Input - Positive and Negative State Inputs 10:50 Uno Debounce Program Explained and Running A full list of posts in this series can be obtained at the following location: Arduino Uno Software Super Starter Kit https://accautomation.ca/series/ Previous posts in this Arduino Uno Super Starter Kit Series: Hardware https://accautomation.ca/arduino-uno-super-starter-kit-hardware https://youtu.be/kjVSPigu8Ls Software https://accautomation.ca/arduino-uno-super-starter-kit-software https://youtu.be/C03a_QhSKxI LEDs https://accautomation.ca/arduino-uno-super-starter-kit-leds/ https://youtu.be/QYALyRyhTBs Component listing for the Elegoo Arduino UNO R3 Super Starter Kit 1 - ELEGOO UNO R3 Controller Board (Arduino-Compatible) 1 - LCD1602 Module (with pin header) 1 - Breadboard Expansion Board 1 - Power Supply Module 1 - Joystick Module 1 - IR Receiver 1 - Servo Motor (SG90) 1 - Stepper Motor 1 - ULN2003 Stepper Motor Driver Board 1 - Ultrasonic Sensor 1 - DHT11 Temperature and Humidity Module 1 - 9V Battery with DC 1 - 65 Jumper Wire 1 - USB Cable 1 - Active Buzzer 1 - Passive Buzzer 1 - Potentiometer 1 - 5V Relay 1 - Breadboard 1 - Remote 1 - Tilt Switch 5 - Button (small) 1 - 1 digit 7-segment Display 1 - 4 digit 7-segment Display 5 - Yellow LED 5 - Blue LED 5 - Green LED 5 - Red LED 1 - RGB LED 2 - Photoresistor 1 - Thermistor 2 - Diode Rectifier (1N4007) 2 - NPN Transistor (PN2222) 1 - IC 74HC595 30 - Resistor 10 - Female-to-male DuPont Wire This kit is available from Amazon. Here are some affiliate links: Amazon.com - https://amzn.to/2EAxUK9 Amazon.ca - https://amzn.to/2S2veYE The Arduino UNO is one of the best board to learn about electronics and coding. This robust board is the most used and documented board of the whole Arduino family. https://www.accautomation.ca
Elegoo Arduino Uno Super Starter Kit LEDs
11K views · Oct 12, 2022 accautomation.ca
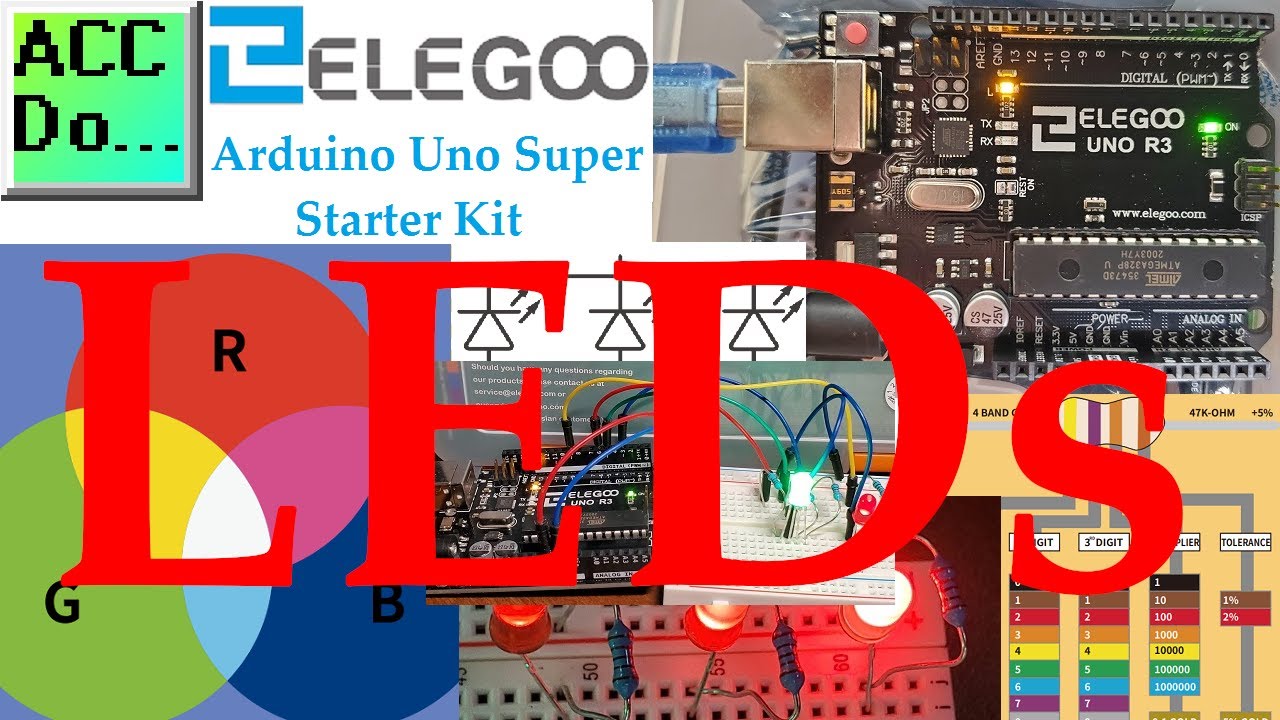
We will now look at LEDs we can wire and program using our Mk Arduino Uno super starter kit. Light-emitting diodes (LEDs) are semiconductors that will show light when current passes through them. This light is produced within the solid semiconductor material, so it can be called a solid-state lighting device. We will be looking at the wiring of LEDs with our breadboard. Different resistor values will be used to change the LED light brightness. We will discuss how we can calculate the amount of current passing through our LED. An RGB and Red LED will then be wired to our Arduino UNO. The brightness and color of our LEDs will then be changed through the programming of the Arduino Uno. PWM outputs will be used in our program (sketch). Let’s get started. More detailed information can be obtained on our website. Here is a link to this post. https://accautomation.ca/arduino-uno-super-starter-kit-leds/ This kit is available from Amazon. Here are some affiliate links: Amazon.com - https://amzn.to/2EAxUK9 Amazon.ca - https://amzn.to/2S2veYE 00:00 Arduino Uno LEDs 00:37 Breadboard 02.05 5mm LEDs 03:17 Purpose of Resistors 04:38 Ohm's Law - Online Calculator 06:15 Wiring and Operation of 3 Red LEDs with different resistors 08:54 RGB LEDs Explained 10:05 Arduino PWM Output 11:24 Arduino PWM Program - Control LED Colour and Brightness 17:38 Verify and Upload Arduino Sketch 18:13 Arduino PWM Output to LEDs A complete list of posts in this series can be obtained at the following location: Arduino Uno Software Super Starter Kit Previous posts in this Arduino Uno Super Starter Kit Series: Hardware https://accautomation.ca/arduino-uno-super-starter-kit-hardware https://youtu.be/kjVSPigu8Ls Software https://accautomation.ca/arduino-uno-super-starter-kit-software https://youtu.be/C03a_QhSKxI Component listing for the Elegoo Arduino UNO R3 Super Starter Kit 1 - ELEGOO UNO R3 Controller Board (Arduino-Compatible) 1 - LCD1602 Module (with pin header) 1 - Breadboard Expansion Board 1 - Power Supply Module 1 - Joystick Module 1 - IR Receiver 1 - Servo Motor (SG90) 1 - Stepper Motor 1 - ULN2003 Stepper Motor Driver Board 1 - Ultrasonic Sensor 1 - DHT11 Temperature and Humidity Module 1 - 9V Battery with DC 1 - 65 Jumper Wire 1 - USB Cable 1 - Active Buzzer 1 - Passive Buzzer 1 - Potentiometer 1 - 5V Relay 1 - Breadboard 1 - Remote 1 - Tilt Switch 5 - Button (small) 1 - 1 digit 7-segment Display 1 - 4 digit 7-segment Display 5 - Yellow LED 5 - Blue LED 5 - Green LED 5 - Red LED 1 - RGB LED 2 - Photoresistor 1 - Thermistor 2 - Diode Rectifier (1N4007) 2 - NPN Transistor (PN2222) 1 - IC 74HC595 30 - Resistor 10 - Female-to-male DuPont Wire This kit is available from Amazon. Here are some affiliate links: Amazon.com - https://amzn.to/2EAxUK9 Amazon.ca - https://amzn.to/2S2veYE The Arduino UNO is one of the best boards to learn about electronics and coding. This full board is the most used and documented board of the whole Arduino family. ACC Automation https://www.accautomation.ca
Arduino Uno Super Starter Kit Software
35K views · Oct 12, 2022 accautomation.ca
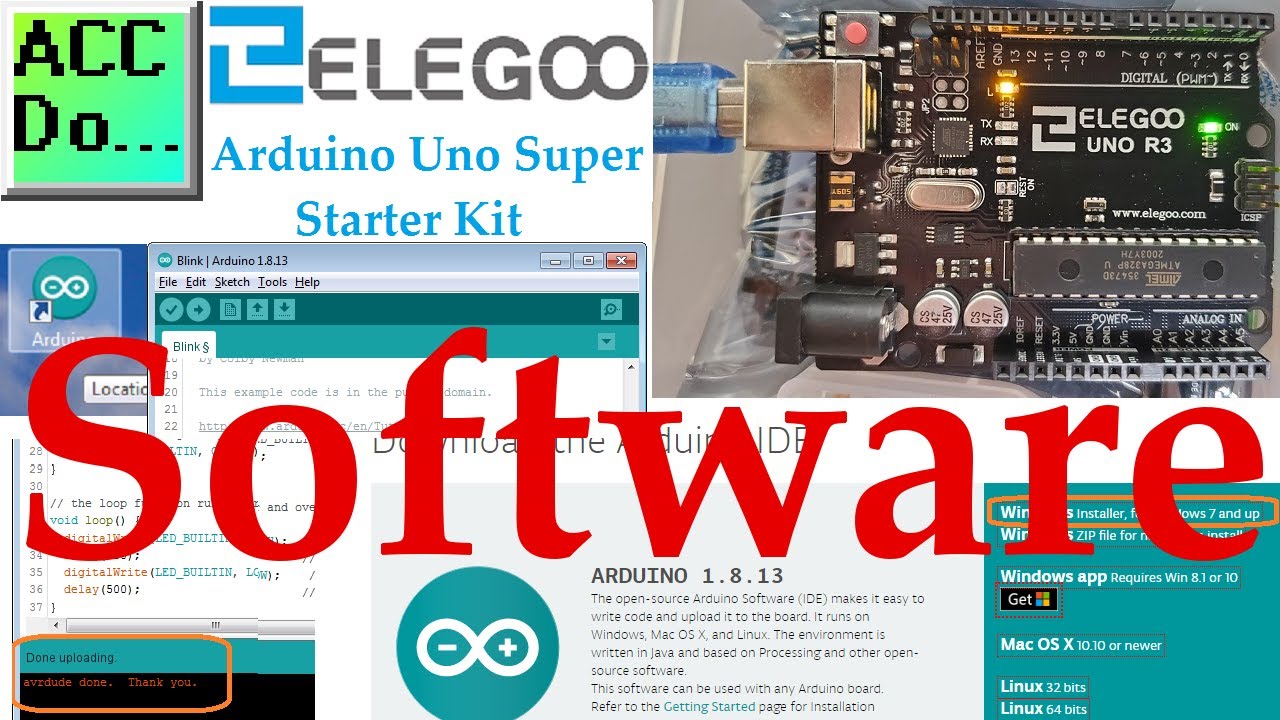
We will now install software to program our arduino uno. This arduino uno software is a free download and will operate on several operating systems. More information can be obtained on our website. This includes all of the links mentioned in this video. https://accautomation.ca/arduino-uno-super-starter-kit-software The IDE (Integrated Development Environment) software uses a streamlined version of C++ to write and upload code to the boards. This software is open-sourced and available free of charge. It will run on Windows, Mac or Linux. We will be installing the Arduino IDE on a Windows 7 machine. Connecting to our Arduino Uno, we will modify the blink program. (sketch) Let’s get started. 00:00 Introduction 01:00 Arduino IDE Download 01:47 Installation of the Arduino IDE 03:32 Running the Arduino IDE Software 04:40 Connecting to the Arduino Uno Board 05:47 Board and Port Selection for Communication 06:32 Sample Code Installed during Installation (Blink Program) 07:10 Modification and upload of Blink and Modified Blink program to the board 09:43 Conclusion This kit is available from Amazon. Here are some affiliate links: Amazon.com - https://amzn.to/2EAxUK9 Amazon.ca - https://amzn.to/2S2veYE A full list of posts in this series can be obtained at the following location: Arduino Uno Software Super Starter Kit https://accautomation.ca/series/ Previous posts in this Arduino Uno Super Starter Kit Series: Hardware https://accautomation.ca/arduino-uno-super-starter-kit-hardware https://youtu.be/kjVSPigu8Ls Component listing for the Elegoo Arduino UNO R3 Super Starter Kit 1 - ELEGOO UNO R3 Controller Board (Arduino-Compatible) 1 - LCD1602 Module (with pin header) 1 - Breadboard Expansion Board 1 - Power Supply Module 1 - Joystick Module 1 - IR Receiver 1 - Servo Motor (SG90) 1 - Stepper Motor 1 - ULN2003 Stepper Motor Driver Board 1 - Ultrasonic Sensor 1 - DHT11 Temperature and Humidity Module 1 - 9V Battery with DC 1 - 65 Jumper Wire 1 - USB Cable 1 - Active Buzzer 1 - Passive Buzzer 1 - Potentiometer 1 - 5V Relay 1 - Breadboard 1 - Remote 1 - Tilt Switch 5 - Button (small) 1 - 1 digit 7-segment Display 1 - 4 digit 7-segment Display 5 - Yellow LED 5 - Blue LED 5 - Green LED 5 - Red LED 1 - RGB LED 2 - Photo resistor 1 - Thermistor 2 - Diode Rectifier (1N4007) 2 - NPN Transistor (PN2222) 1 - IC 74HC595 30 - Resistor 10 - Female-to-male DuPont Wire This kit is available from Amazon. Here are some affiliate links: Amazon.com - https://amzn.to/2EAxUK9 Amazon.ca - https://amzn.to/2S2veYE The Arduino UNO is one of the best board to learn about electronics and coding. This robust board is the most used and documented board of the whole Arduino family. https://www.accautomation.ca
Arduino Uno Super Starter Kit Hardware
48K views · Oct 13, 2022 accautomation.ca
We will be looking at the arduino uno kit hardware. This is one of the best Arduino kits to learn. More information can be obtained on our website. This includes all of the links mentioned in this video. https://accautomation.ca/arduino-uno-super-starter-kit-hardware 00:00 Introduction 00:27 What is Arduino? Language, Shields 01:38 Arduino Uno 02:10 Hardware Kit 03:33 Arduino Uno Board Layout 05:45 Powering up the Arduino Uno 06:30 Conclusion Arduino consists of a family of single programmable circuit boards and the IDE (Integrated Development Environment) that uses a streamlined version of C++ to write and upload code to the boards. Many pre-configured circuit boards, called "shields", are available to expand the functionality of the Arduino controller. These shields can provide Ethernet, WiFi, GPS, LCD displays, and motor controls, among others, by simply "stacking" or connecting the shields to the Arduino controller board. This Lego-style building of electronic devices is becoming more popular. The Arduino UNO is one of the best board to learn about electronics and coding. This robust board is the most used and documented board of the whole Arduino family. We will be looking at the Elegoo Arduino UNO R3 Super Starter Kit. Opening up this great learning tool and discussing the Uno board itself. Let’s get started. This kit is available from Amazon Amazon.com - https://amzn.to/2EAxUK9 Amazon.ca - https://amzn.to/2S2veYE Component listing for the Elegoo Arduino UNO R3 Super Starter Kit 1 - ELEGOO UNO R3 Controller Board (Arduino-Compatible) 1 - LCD1602 Module (with pin header) 1 - Breadboard Expansion Board 1 - Power Supply Module 1 - Joystick Module 1 - IR Receiver 1 - Servo Motor (SG90) 1 - Stepper Motor 1 - ULN2003 Stepper Motor Driver Board 1 - Ultrasonic Sensor 1 - DHT11 Temperature and Humidity Module 1 - 9V Battery with DC 1 - 65 Jumper Wire 1 - USB Cable 1 - Active Buzzer 1 - Passive Buzzer 1 - Potentiometer 1 - 5V Relay 1 - Breadboard 1 - Remote 1 - Tilt Switch 5 - Button (small) 1 - 1 digit 7-segment Display 1 - 4 digit 7-segment Display 5 - Yellow LED 5 - Blue LED 5 - Green LED 5 - Red LED 1 - RGB LED 2 - Photoresistor 1 - Thermistor 2 - Diode Rectifier (1N4007) 2 - NPN Transistor (PN2222) 1 - IC 74HC595 30 - Resistor 10 - Female-to-male DuPont Wire This kit is available from Amazon Amazon.com - https://amzn.to/2EAxUK9 Amazon.ca - https://amzn.to/2S2veYE The Arduino UNO is one of the best board to learn about electronics and coding. This robust board is the most used and documented board of the whole Arduino family. https://www.accautomation.ca