We will now be installing Node-RED on a Raspberry Pi 4 single-board computer. A static IP address will also be given for both the WiFi and Ethernet connections.
The Raspberry Pi has quickly become a fixture in the industrial environment when utilizing the internet of things. (IoT) We will be utilizing this low-cost computer to poll and log information from our PLCs using Modbus and MQTT protocols. Node-RED will be the IoT enabling software that will allow us to utilize this hardware.
https://accautomation.ca/series/node-red-iot-enabling-software/
Let’s get started with installing Node-RED and setting up a fixed IP address on our Raspberry Pi 4 computer.
In this series we used Node-RED in some of the following ways:
Installing the Windows Software – Video
Modbus Communication – Video
User Interface – Dashboards – Video
SQL Database Log – Video
SQL Database Spreadsheet Connection – Video
Continuing the series with the installation of Node-RED on an edge device such as a Raspberry Pi will show that the industrial internet of things (IIoT) does not have to be expensive. This single-board computer can easily implement Node-RED for data retrieval, logging, and display. Everything that we have covered so far in this series can be done with the Raspberry Pi 4 computer.
Watch the video below to see the installation of Node-RED on the Raspberry Pi.
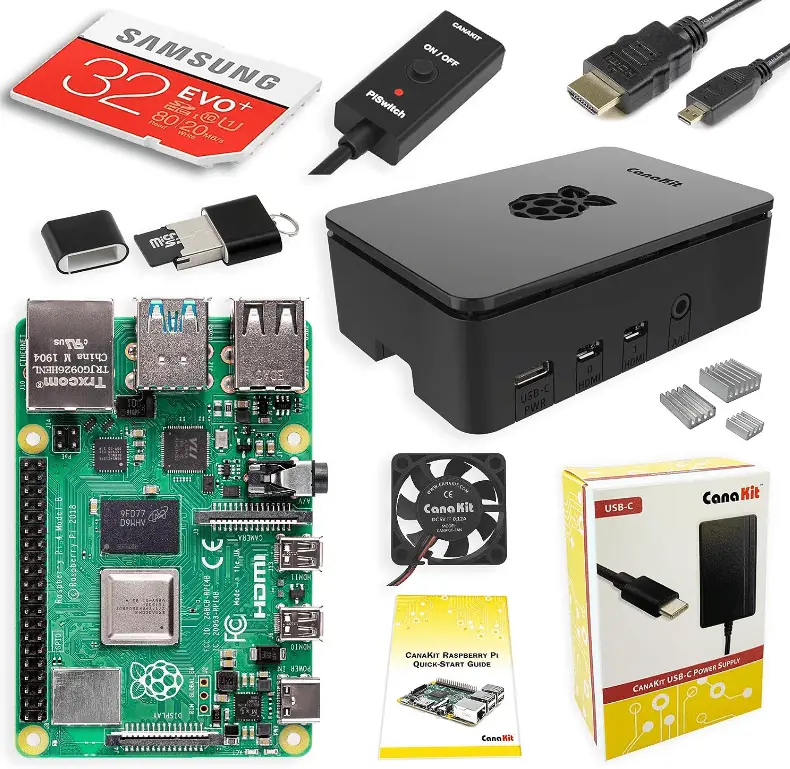
Purchase Raspberry Pi 4 Starter Kit
Amazon USA
https://amzn.to/3I5jIpz
Amazon Canada
https://amzn.to/42MyPxR
Raspberry Pi 4 Specifications
System-on-a-chip: Broadcom BCM2711
CPU: Quad-core 1.5GHz Arm Cortex-A72 based processor
GPU: VideoCore VI
Memory: 1/2/4GB LPDDR4 RAM
Connectivity: 802.11ac Wi-Fi / Bluetooth 5.0, Gigabit Ethernet
Video and sound: 2 x micro-HDMI ports supporting 4K@60Hz displays via HDMI 2.0, MIPI DSI display port, MIPI CSI camera port, 4 pole stereo output, and composite video port
Ports: 2 x USB 3.0, 2 x USB 2.0
Power: 5V/3A via USB-C, 5V via GPIO header
Expand-ability: 40-pin GPIO header
The following are short videos on how to get your Raspberry Pi kit assembled and running.
Raspberry Pi4 Unboxing Starter Kit
Raspberry Pi 4 Kit Assembly
Raspberry Pi 4 First Power Up
Raspberry Pi 4 Remote Access
Install Node-RED on Raspberry Pi
The first thing that we will do is update our Raspberry Pi. This will ensure that we have the latest software available. Open a terminal window from the taskbar or application menu. Alternately you can also do this with an SSH client like PuTTY.
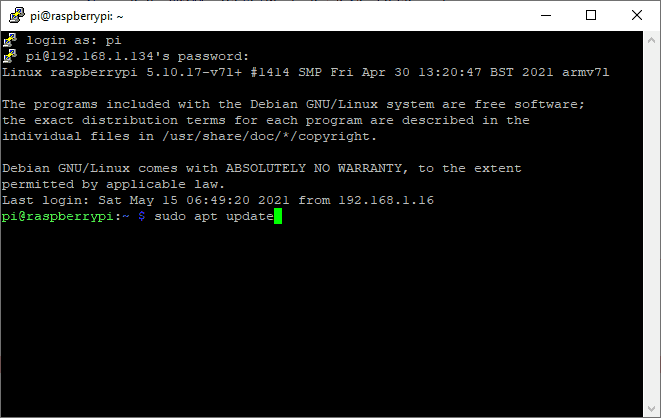
Type the following command:
sudo apt update
APT stands for Advanced Packaging Tool. It is the easiest way to update the software on the Raspberry Pi operating system Debian. (OS)
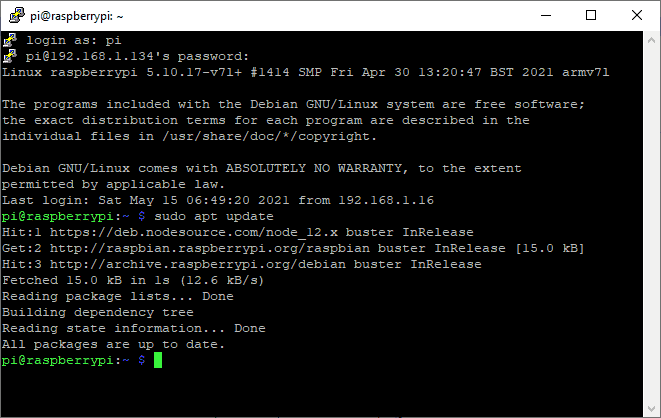
The command will check online and get any updates available for the systems operating system.
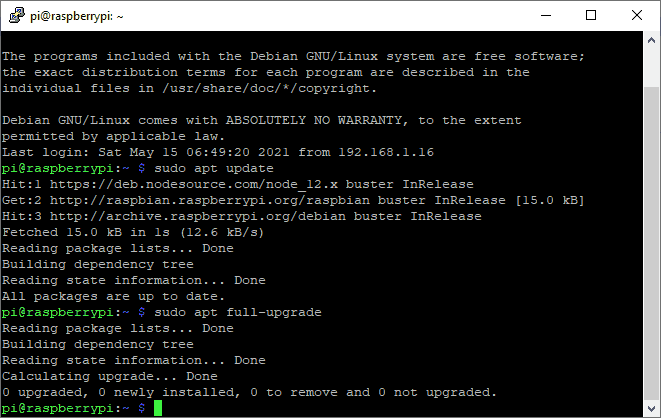
To install the packages we use the following command.
sudo apt full-upgrade
The full upgrade is used instead of an upgrade because it picks up any dependency changes as well that may have been made.
The Raspberry Pi 4 Model B has a prepackaged version of Node-RED and Node.js. It is recommended that this be updated to the latest software. A script is used to install Node.js, npm, and Node-RED onto a Raspberry Pi. The script can also be used to upgrade an existing install when a new release is available. Use the following command to start the script.
bash <(curl -sL https://raw.githubusercontent.com/node-red/linux-installers/master/deb/update-nodejs-and-nodered)
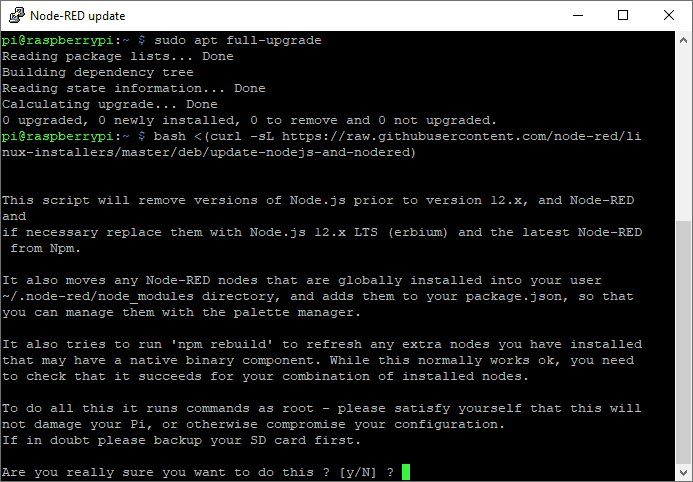
Are you really sure you want to do this? Answer y and press enter.
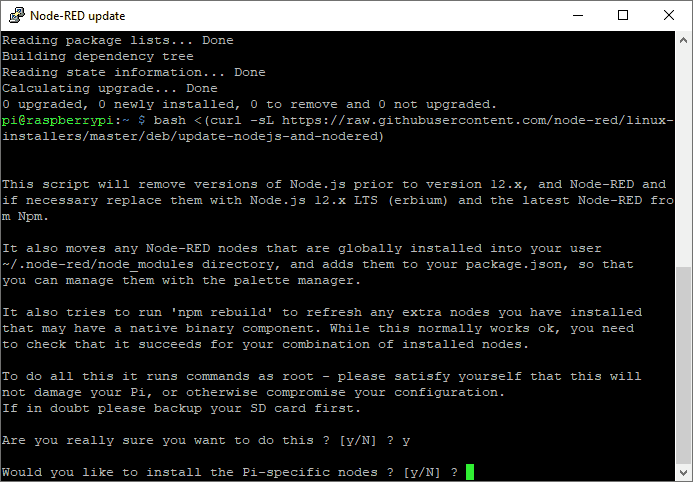
Answer y again to install specific nodes that are related to the Raspberry Pi for Node-RED.
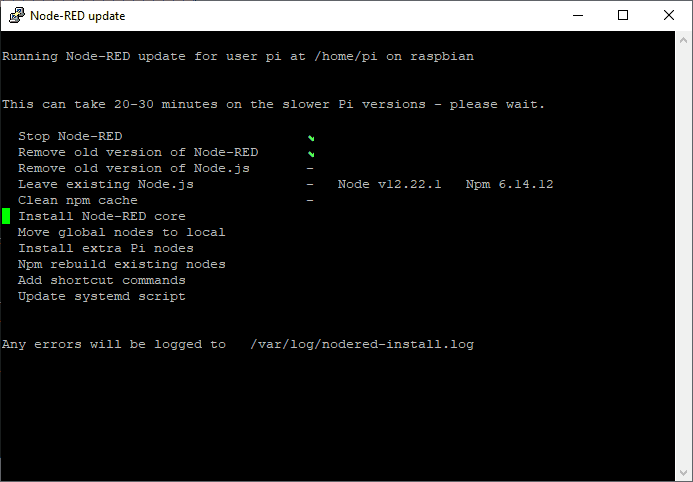
The software will now be installed/updated via the script.
This script will:
– remove the pre-packaged version of Node-RED and Node.js if they are present
– install the current Node.js LTS release using the NodeSource. If it detects Node.js is already installed from NodeSource, it will ensure it is at least Node 8, but otherwise, leave it alone
– install the latest version of Node-RED using npm
– optionally install a collection of useful Pi-specific nodes
– setup Node-RED to run as a service and provide a set of commands to work with the service
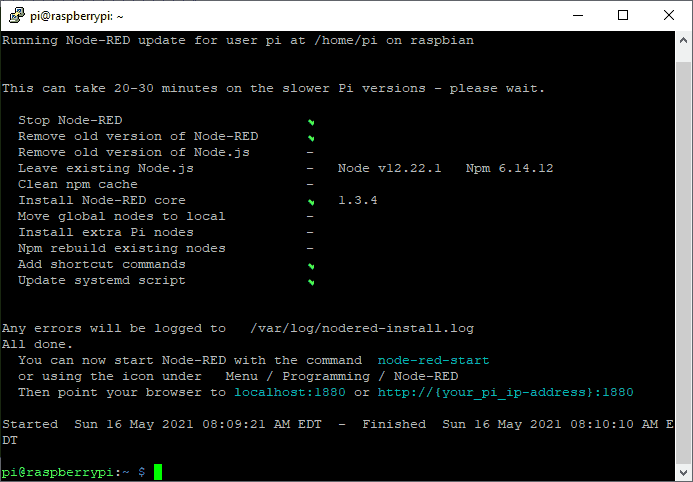
The latest Node-RED software is now installed on our Raspberry Pi.
Running Node-RED as a Service
Node-RED was installed on the Raspberry Pi as a service. This means that it will run in the background. The following commands can be used to control this service.
Start Node-RED Service
node-red-start
Stop Node-RED Service
node-red-stop
Restart Node-RED Service (Stop and then Start again)
node-red-restart
Display Node-RED Log
node-red-log
Auto-start Node-RED Service upon Power Up
When power is first applied to the Raspberry Pi, we can automatically start the Node-RED service by using the following command.
sudo systemctl enable nodered.service
To stop the auto-start service use the following command.
sudo systemctl disable nodered.service
Setting Static IP Address on Raspberry Pi
Setting a static IP address is important if you are using a dashboard or other nodes in Node-RED. There are a couple of ways to set the IP address of the Raspberry Pi. Using your router, you can assign an IP address based on the MAC (media access control) address. Every router is different, so refer to your router manual for the procedure to do this.
To find your MAC address on the Raspberry Pi for the WiFi and Ethernet connection enter the following command.
ifconfig
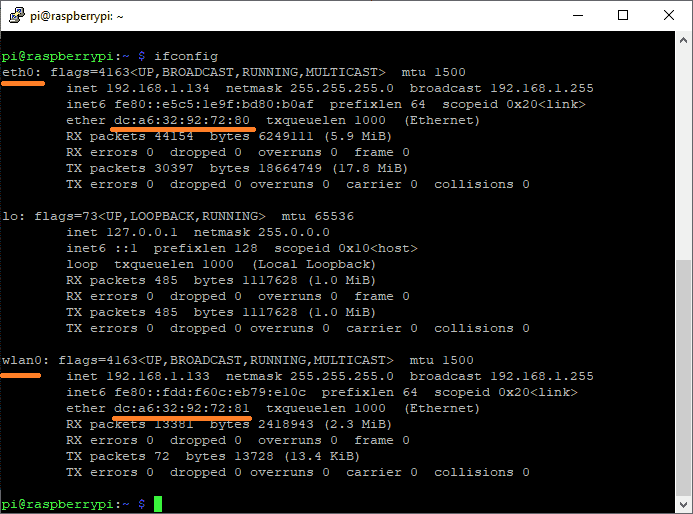
The ethernet settings can be found under the heading etho:. MAC address is underlined in the picture above. WiFi MAC address can be found under the heading wlan0:. See the picture above.
It is best to use the router to set the IP address on the Raspberry Pi this will ensure that duplicate IP addresses will not occur. However, you can use the DHCP client daemon. (DHCPCD) Dynamic Host Configuration Protocol (DHCP)
The first thing to do is see if DHCPCD is running. Use the following command.
sudo service dhcpcd status
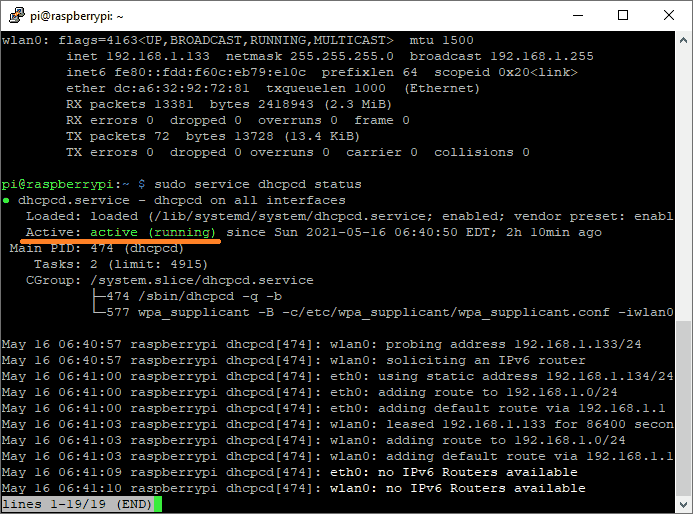
You can see that DHCPCD is started. If it was not, you can use the following commands to start the service and run it upon power-up of the Raspberry Pi.
sudo service dhcpcd start
sudo systemctl enable dhcpcd
Once the service has started we can edit the configuration file of the DHCPCD. Use the following command.
sudo nano /etc/dhcpcd.conf

We can now add the following lines to our configuration file to set the Ethernet port to IP address 192.168.1.134.
interface eth0
static ip_address=192.168.1.134/24
static routers=192.168.1.1
static domain_name_servers=192.168.1.1
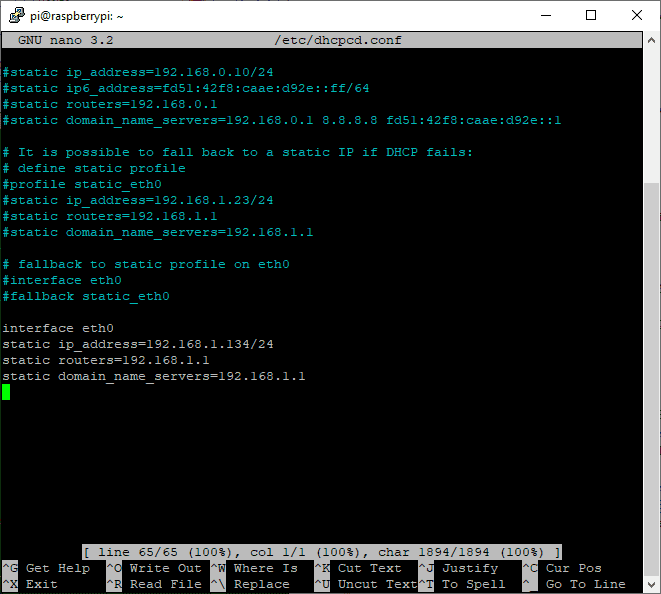
Use ctrl + o to save the file. Then ctrl + x to exit the configuration file.
In order to make your new configuration file active, you must reboot the Raspberry Pi. Use the following command.
sudo reboot
We have now set a static IP address for our Raspberry Pi. Watch the video below for a review of this procedure.
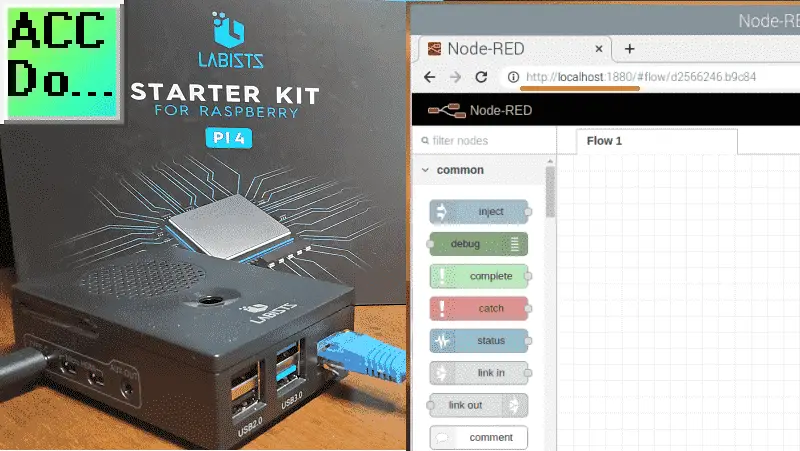
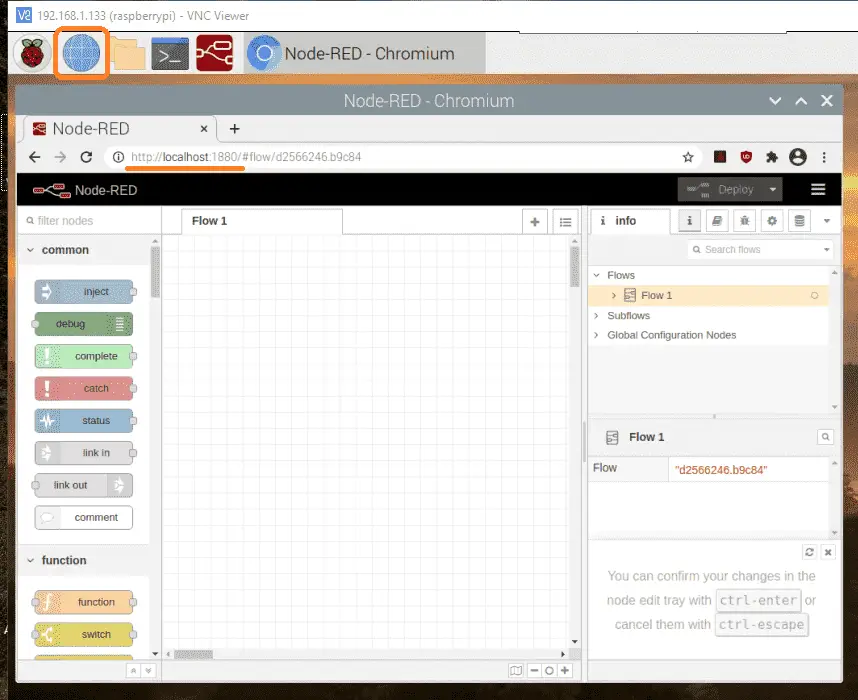
Starting the Node-RED Editor
Chromium is the default browser installed on the Raspberry Pi. Start the browser and use http://localhost:1880 to start the editor.
The editor can also be accessed from any computer on the network using the static IP address that we have set up.
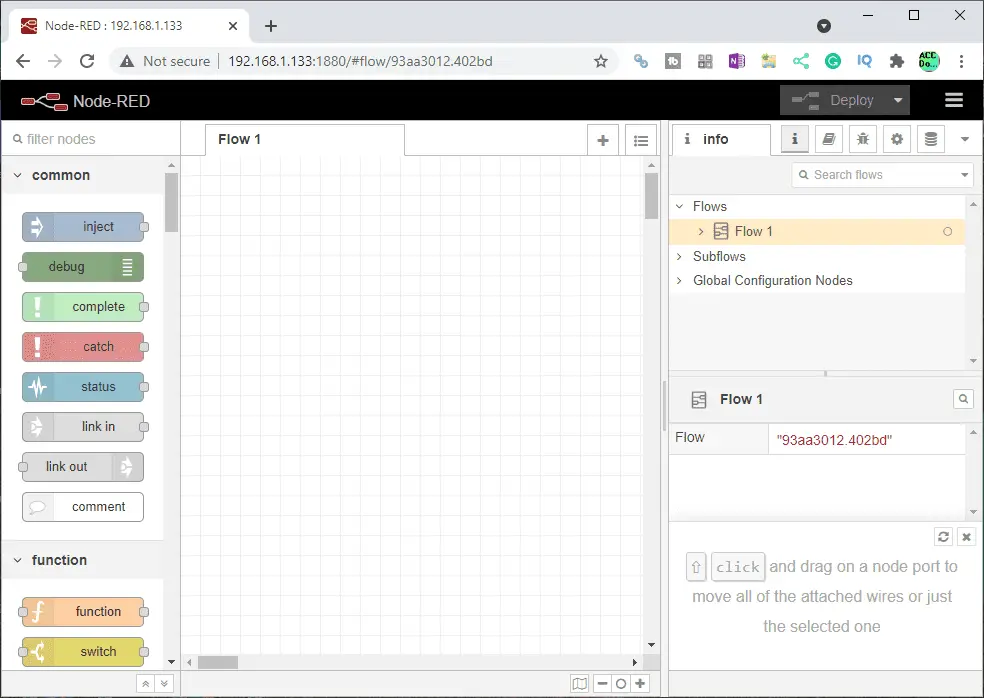
When browsing from another machine you should use the hostname or IP-address of the Pi: http://:1880
Watch the video below to see the installation of Node-RED and a static IP address on our Raspberry Pi 4 Model B.
Node-RED Links
Node-RED Organization Home Page
Getting Started – Run Locally
Node-RED running on Windows (Run at Startup)
Securing Node-RED
Node-RED Essentials Videos (Basics of the Editor)
Learn JavaScript Free
w3schools JavaScript Tutorial
learn-js.org
Node-Red JavaScript Primer
Modbus
Node-RED Modbus TCP and Serial
Dashboard – HMI
Node-RED Dashboard
Node-RED Dashboard extra nodes
SQL Database
Node-RED SQL Database
Node-RED SQL Plus – Execute queries and stored procedures
Modbus Learning Links:
Simply Modbus Frequently Asked Questions
Modbus TCP/IP Overview – Real-Time Automation
All You Need to Know About Modbus RTU – Video
Watch on YouTube: Install Node-RED on Raspberry Pi 4
If you have any questions or need further information please contact me.
Thank you,
Garry
If you’re like most of my readers, you’re committed to learning about technology. Numbering systems used in PLCs are not difficult to learn and understand. We will walk through the numbering systems used in PLCs. This includes Bits, Decimal, Hexadecimal, ASCII, and Floating Point. To get this free article, subscribe to my free email newsletter.
Use the information to inform other people how numbering systems work. Sign up now. The ‘Robust Data Logging for Free’ eBook is also available as a free download. The link is included when you subscribe to ACC Automation.