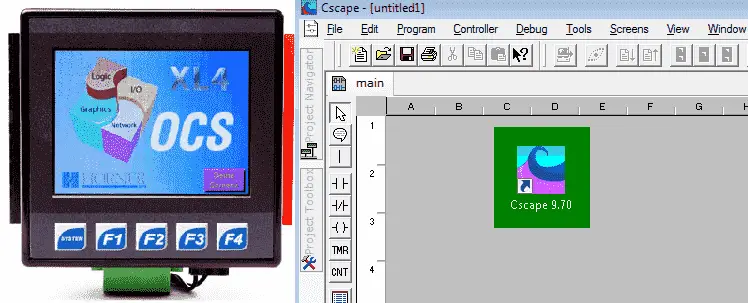
The Horner XL4 OCS all-in-one controller is programmed using Cscape. Cscape (Control Station Central Application Programming Environment) We will now set up the Cscape software so we can easily communicate and program our controller.
Previously we discussed the following in our Horner XL4 Series:
System Hardware
Installing the Software Cscape
We now have the Cscape program installed. However the software is very adaptable, so let’s take some time to set up the program so you can be on the same page as we go through this series on this controller.
Starting a New Program – Horner Cscape Software
Start the Cscape software by either the desktop icon or by selecting the Start | All Programs | Cscape | Cscape 9.70

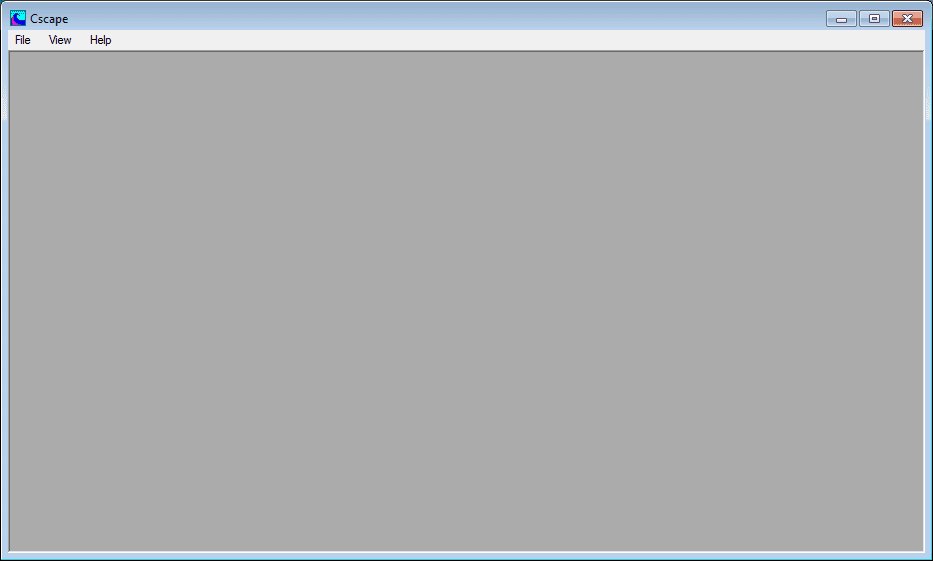
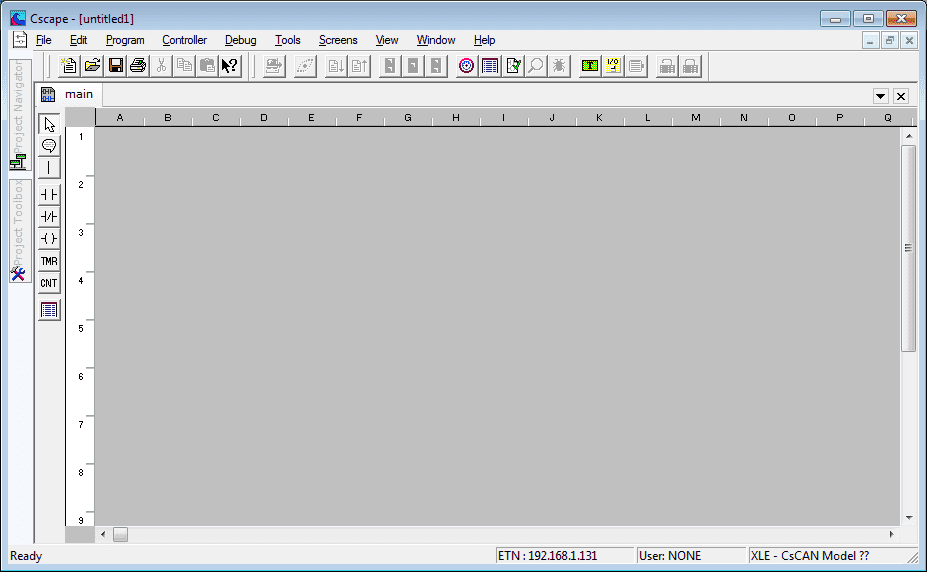
The initial screen will look like the following.
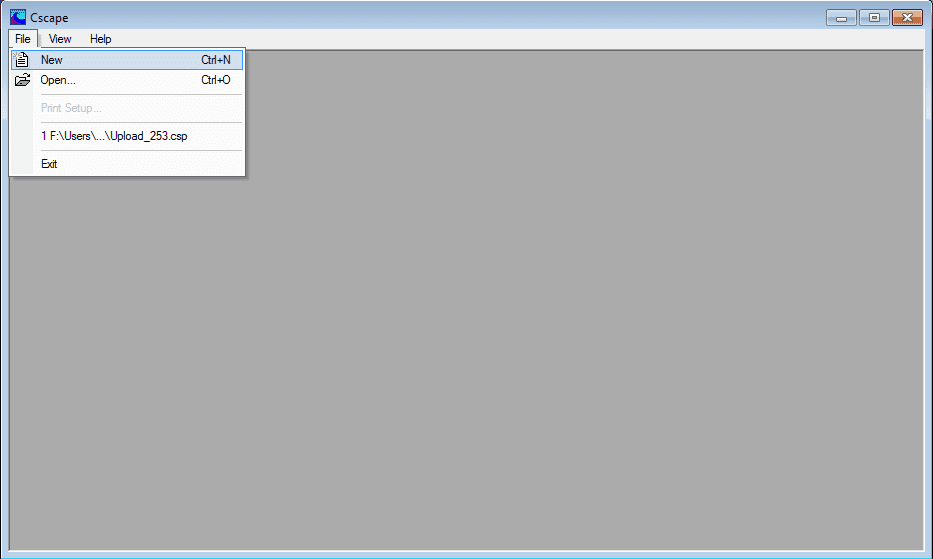
Select from the main menu File | New. You could also use the Ctrl + N on the keyboard.
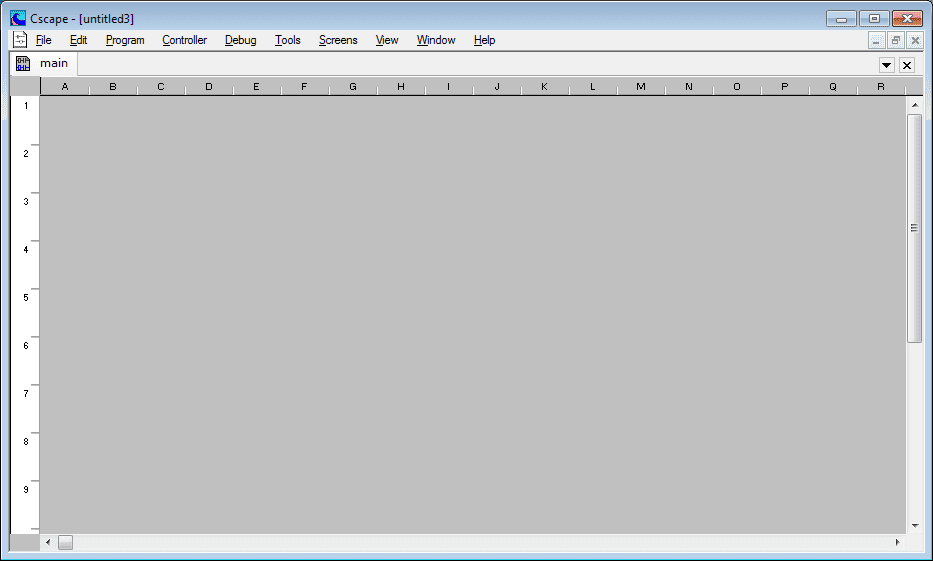
Your screen should now look like this.
Application Settings – Horner Cscape Software
We will now change the application settings by doing the following. From the main menu select Tools | Application Settings …
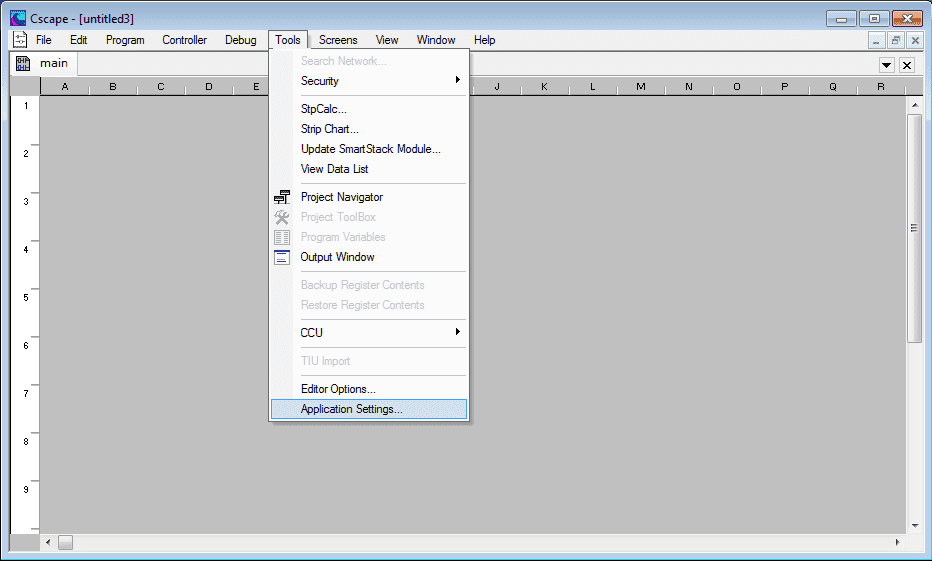
The application settings window will now appear. These are the default settings.
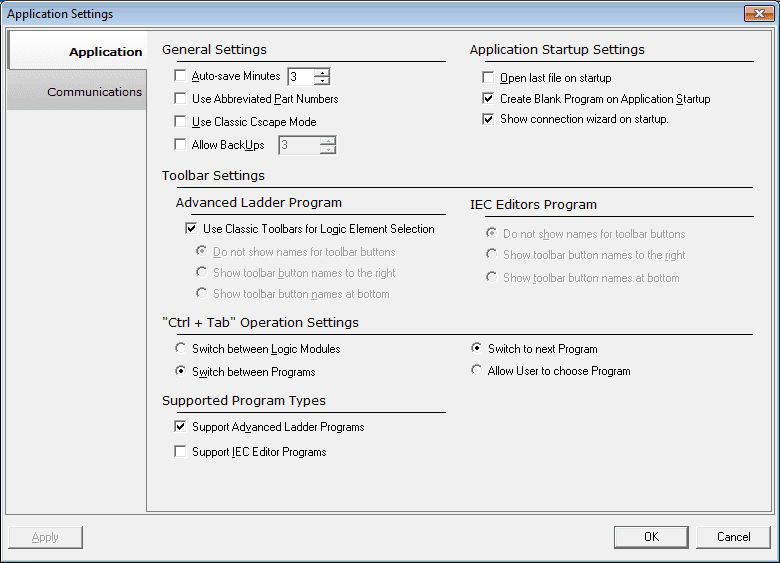
Now change the following settings in the application settings window. Under the Advanced Ladder Program, uncheck ‘Use Classic Toolbars for Logic Element Selection’. Also, check the ‘Support IEC Editor Programs. Your Application Settings window should look like the following.
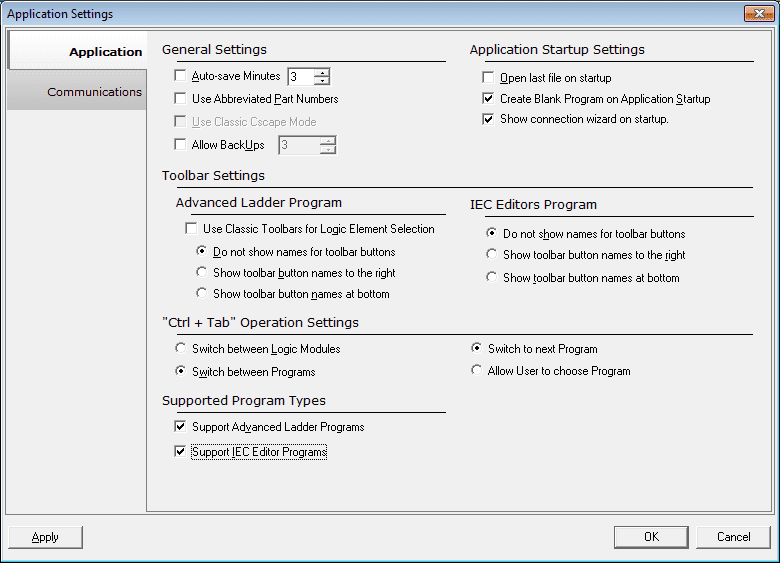
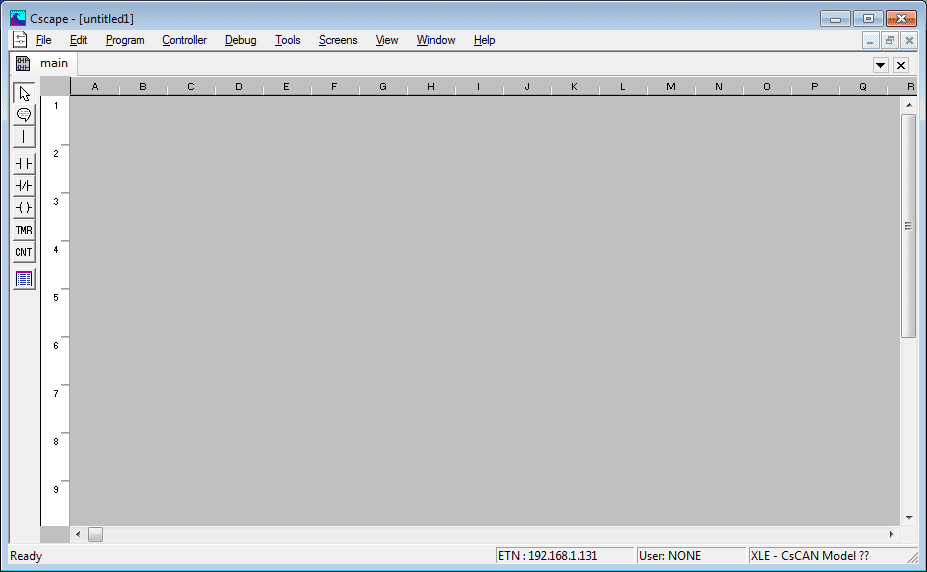
Select Apply and then OK to continue. Your main window will now look like this.
Project Navigator – Horner Cscape Software
We will now add the ‘Project Navigator’ to our programming environment. Select from the main menu Tools | Project Navigator.
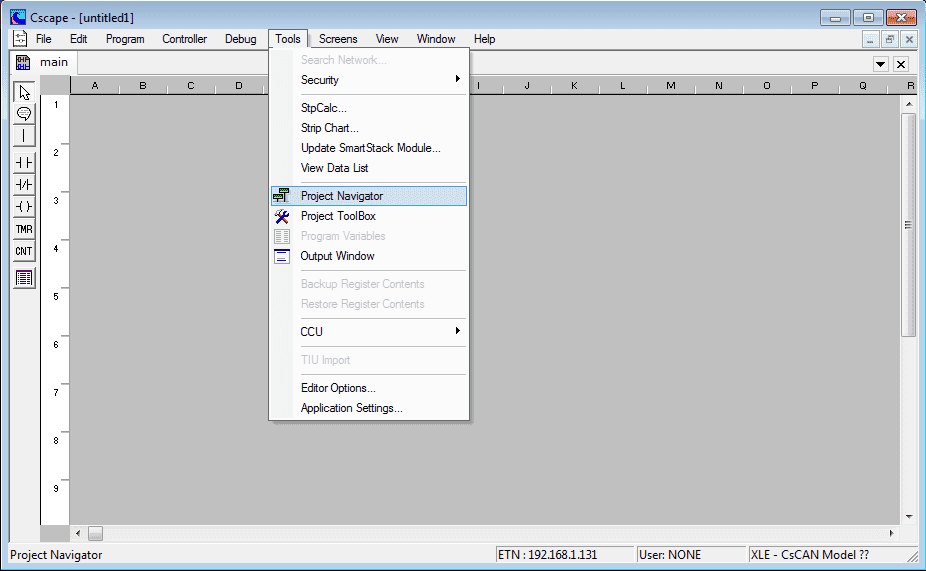
This will bring the project navigator window into your main window.
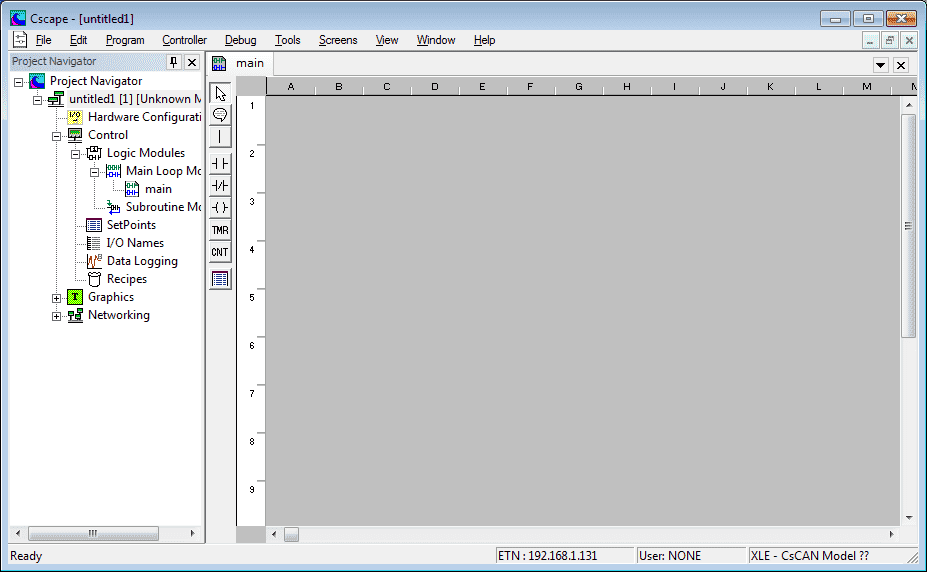
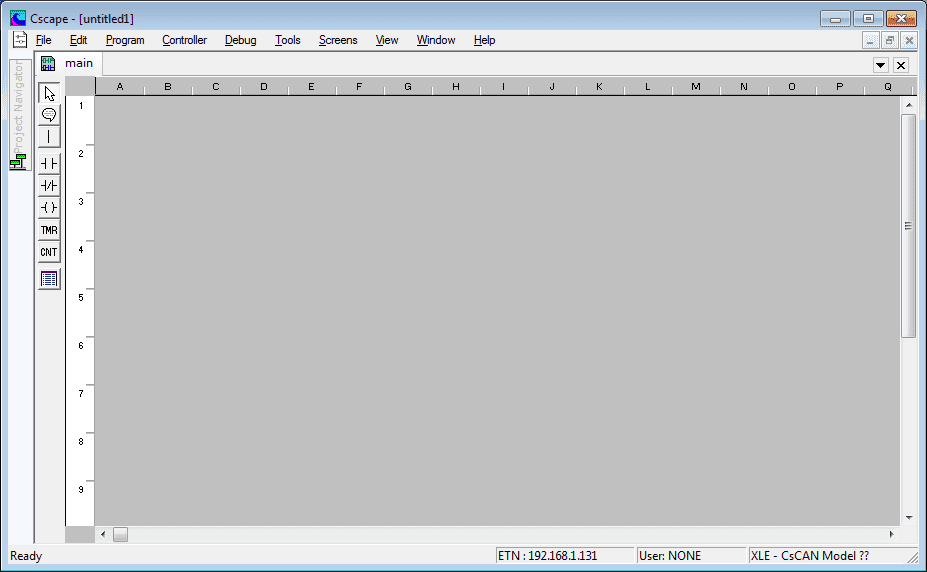
The project navigator will display a lot of information about your project. This includes the program and subroutines, screens, networking, etc. We can minimize the project navigator window by clicking on the pushpin icon next to the ‘X’ exit. Our screen now looks like the following with the project navigator to the left side of our screen.
Project Toolbox – Horner Cscape Software
We can now add the Project Toolbox to our main window. Tools | Project ToolBox
The steps involved are similar to adding the project navigator.
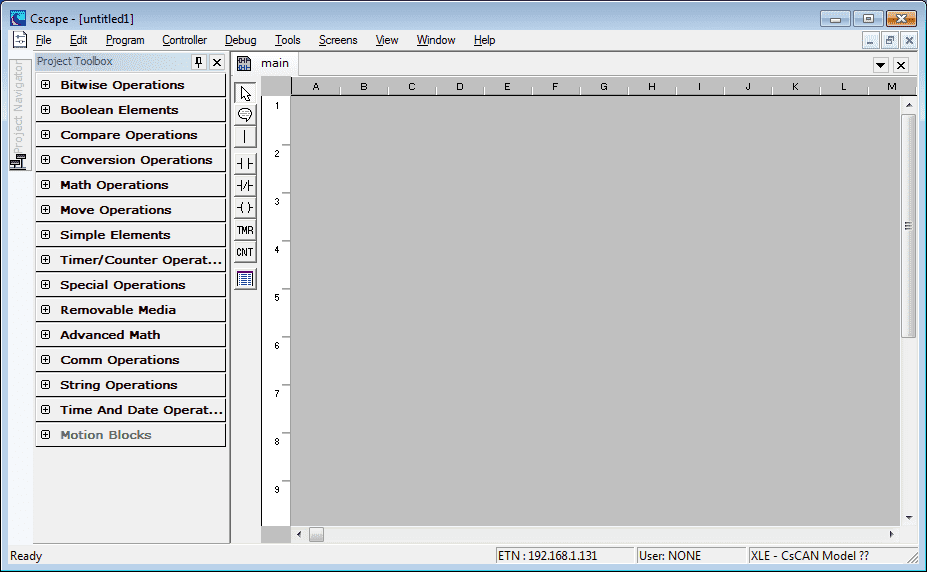
The project toolbox will allow us to add logic to our program in a simple way. Clicking on the pushpin will move the project toolbox to the left side of the main screen.
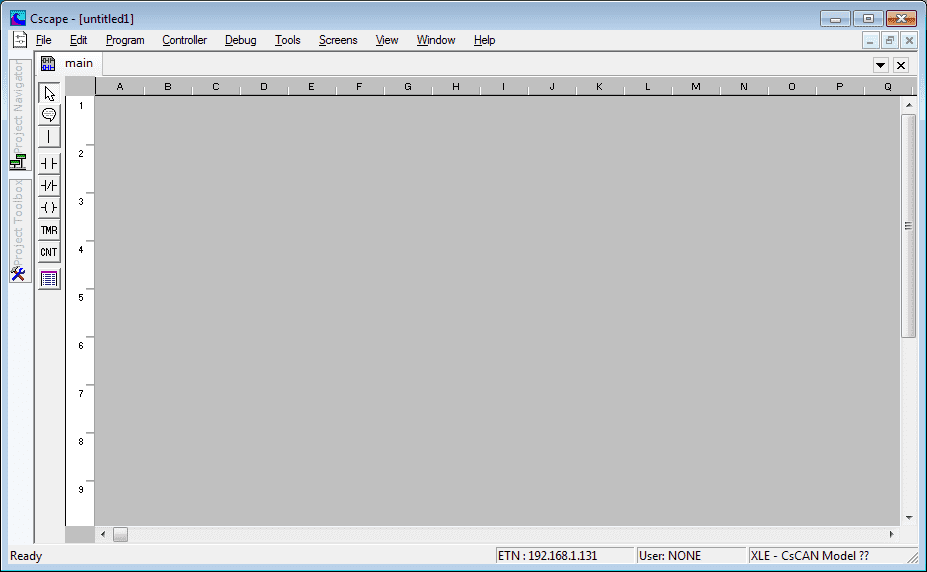
Editor Options – Horner Cscape Software
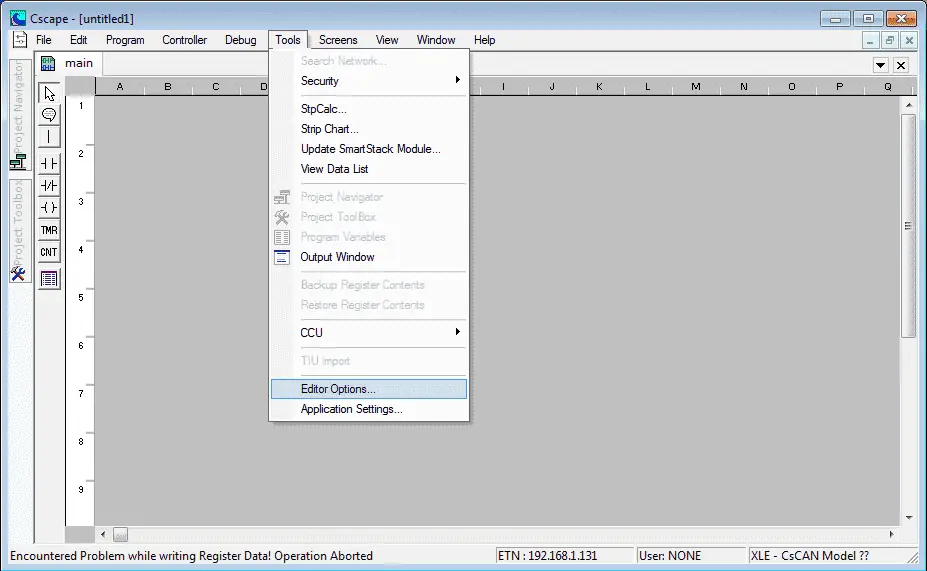
We will not look at some of the editor options. Select Tools | Editor Options…
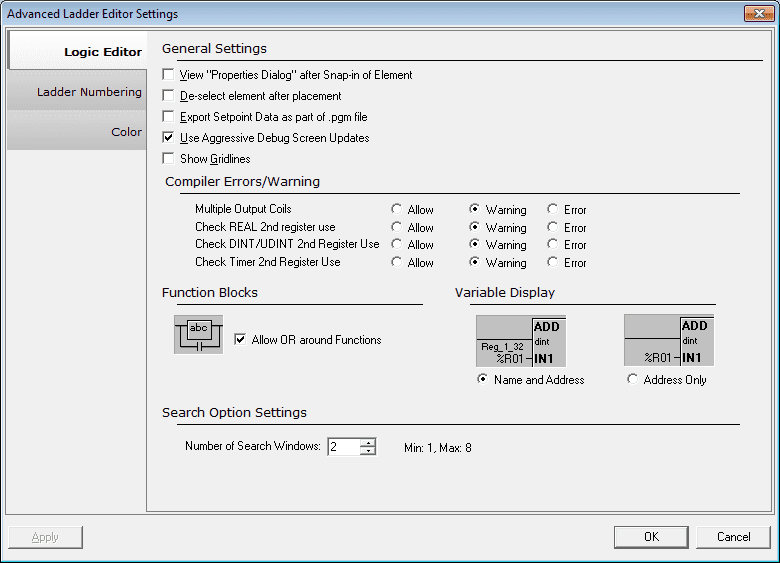
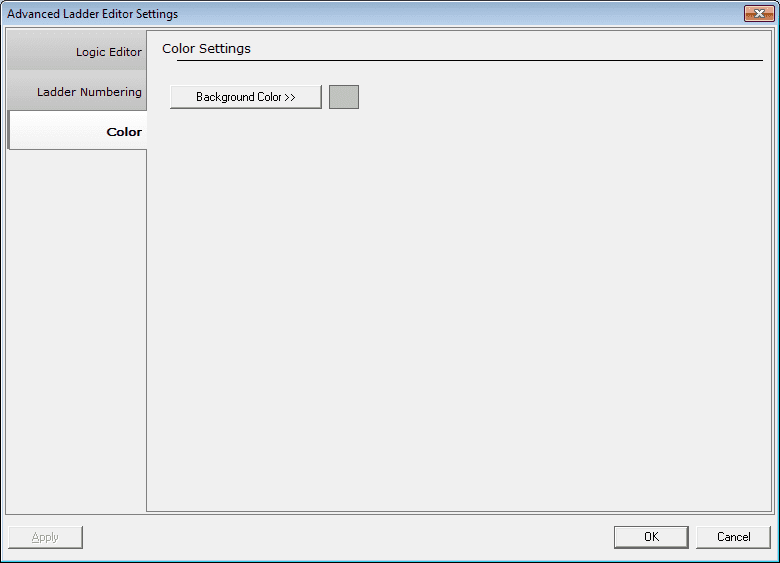
The Advanced Ladder Editor Settings window will now appear. Under the Function Blocks select ‘Allow OR around Functions’. You can modify the logic editor from this window which includes the compiler errors and warnings.
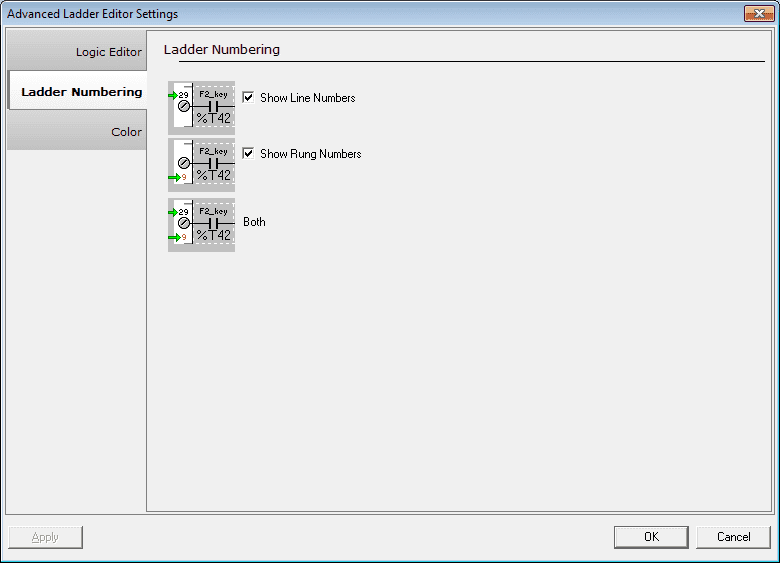
On the left-hand side of the Advanced Ladder Editor Settings, you can select the Ladder Numbering or Color.
The color setting will allow you to change the background color of the editor.
Toolbars – Horner Cscape Software
The last thing that we will do is set up the toolbars. On the main menu select View | Toolbars | Standard Tools
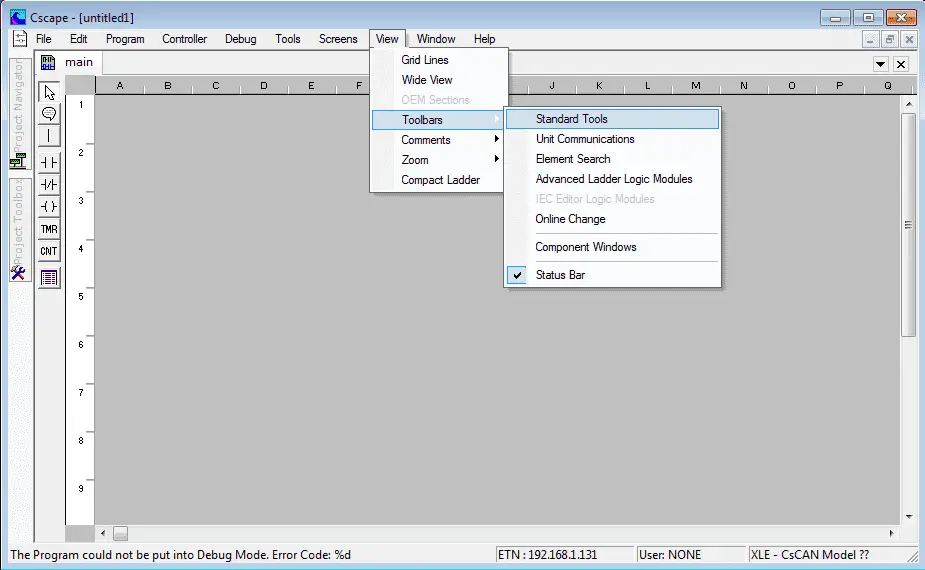
This will show the standard tools on your main window.
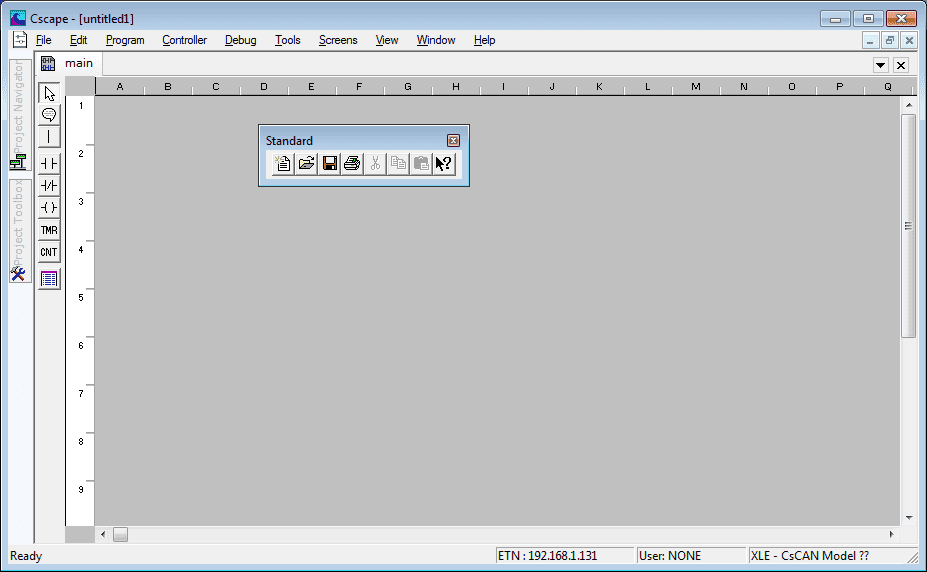
We can now move this to the top of the ladder logic form and dock it. The other toolbar that is very useful is the ‘Unit Communication Tools’. View | Toolbars | Unit Communication Tools
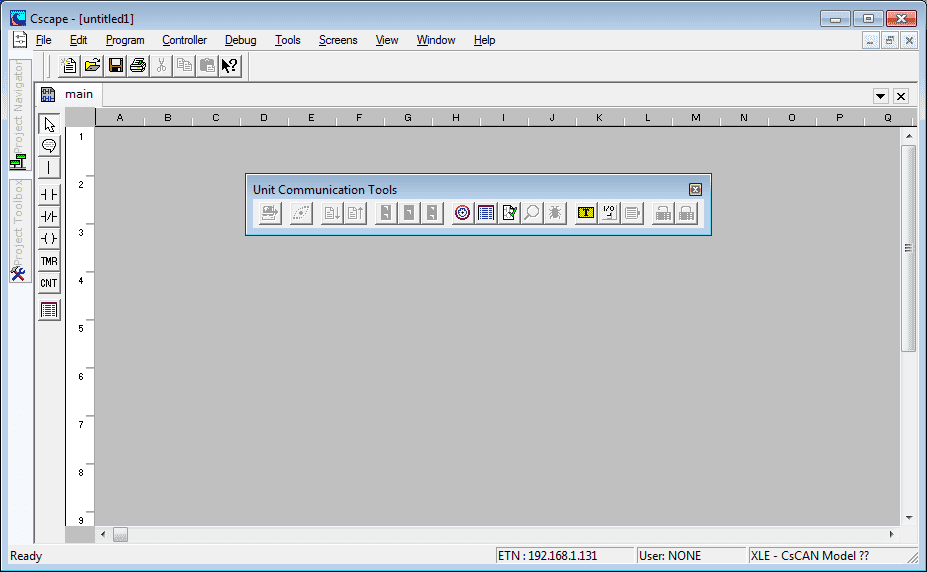
We can dock this beside the standard tools.
We have completed setting up the Cscape programming software. You will notice that this now looks similar to other PLC programming packages.
The programming and reference manual for Cscape can be downloaded at the following URL:
https://assets.omega.com/manuals/M_CSCAPE_PROGRAM.pdf
Next time we will look at establishing communication.
Watch on YouTube: Horner XL4 Cscape Software Setup
If you have any questions or need further information please contact me.
Thank you,
Garry
If you’re like most of my readers, you’re committed to learning about technology. Numbering systems used in PLCs are not difficult to learn and understand. We will walk through the numbering systems used in PLCs. This includes Bits, Decimal, Hexadecimal, ASCII, and Floating Point.
To get this free article, subscribe to my free email newsletter.
Use the information to inform other people how numbering systems work. Sign up now.
The ‘Robust Data Logging for Free’ eBook is also available as a free download. The link is included when you subscribe to ACC Automation.

