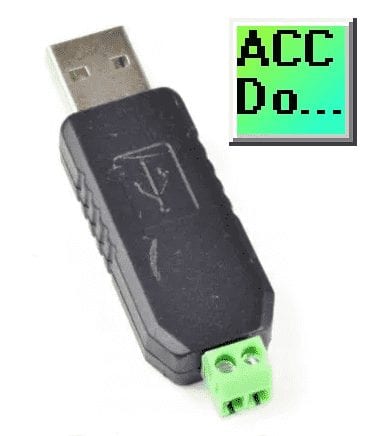
If you want to install a USB to RS485 adapter on your computer, you’ve come to the right place. We will use the CH340/341 USB to Serial port, an adapter that translates USB data into RS-485 communication. There is no need for an external power source or a head-scratching setup. It’s as easy as insertion, connection, and play.
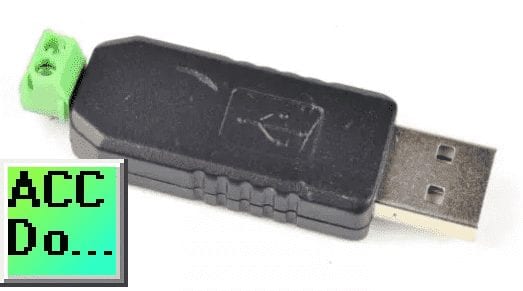
This device features a Type A USB connector that goes into your computer and screw terminals for easy RS-485 connections. With multiple baud rates support and a thumb drive design, this could be the perfect solution for your RS-485 needs. So, let’s dive into setting up your new USB to RS-485 adapter!
Wondering where to buy your USB to RS-485 serial adapter? Look no further. We’ve curated the best options available online for you, and you can find them in the following affiliate links. Remember, choosing the right adapter means considering its compatibility, reliability, and cost. So take your time and choose wisely!
Amazon USA
Amazon Canada
Installing the CH340/Ch341 Driver on PC
Do NOT connect the USB to RS-485 serial adapter to your PC before installing the driver file.
The accompanying Windows driver for the CH340/CH341 USB to serial port packs a punch. It includes a DLL dynamic library, which stands for Dynamic-Link Library, a module that contains functions and data used by multiple applications. It also allows for non-standard baud rate settings, offering flexibility in data transmission speeds. The driver comes with clear instructions and is designed to work with a wide range of Windows operating systems, from current offerings such as 64-bit Windows 10 to older versions such as Windows 98. To top it all off, the driver is Microsoft Certified and complies with USB 2.0 standards.
Getting started is straightforward! First, head over to the website linked below, where you’ll find the latest driver for this device. Make sure you’re downloading the correct file, called CH341SER.ZIP. Once downloaded, you’d be closer to setting up your adapter.
http://www.wch-ic.com/downloads/CH341SER_ZIP.html
The driver file is called CH341SER.ZIP
Download and extract the zip file. (Right-click on the zip file and select Extract All…. )
Open the extracted files and double-click on the Setup.exe file to install the driver.
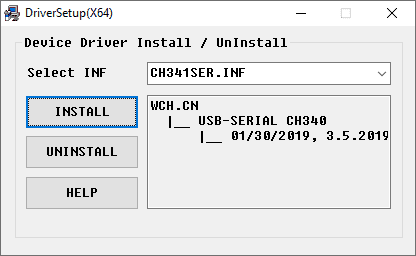
The installation will automatically determine if you have a 32 or 64-bit computer. You will notice this on the setup window name. This is called DriverSetup(X64) because I am using a Windows 10 64-bit computer.
Select the INSTALL button.
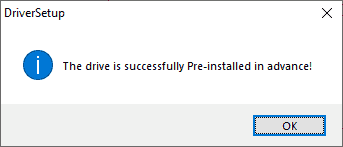
This will now install the CH340 serial driver and display a
message indicating the installation was successful. Click OK.
USB Serial CH340 COM Port
Now, the easy part is to plug your newly acquired USB to RS-485 serial adapter into your computer. Upon insertion, your computer will automatically recognize it and use the driver we previously installed. It’s like magic but with circuits!
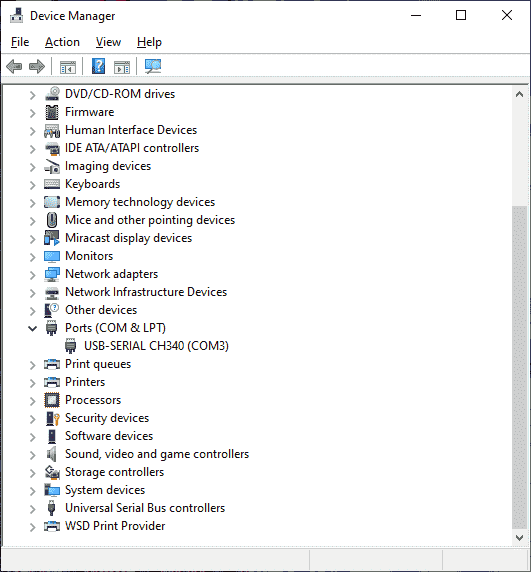
If you want to see it in action, open your device manager and look into the ports section. You’ll find the name USB-SERIAL CH340, your device’s new assignment location (For example, COM3). This locator hints at the USB port that will be transmuting your data into RS-485 signals.
Note: The communication port assignment (COM) can vary depending on your computer’s configuration and settings.
Right-click on the device and select properties.
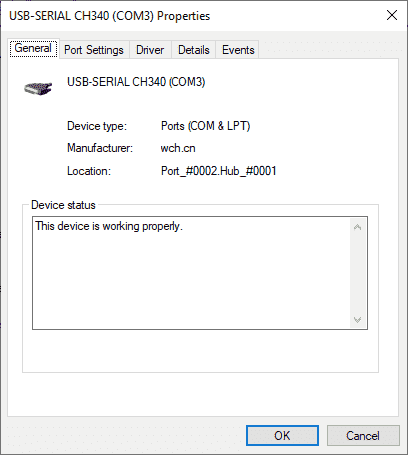
You can see that our device has been set up and working properly. Select the port settings tab.
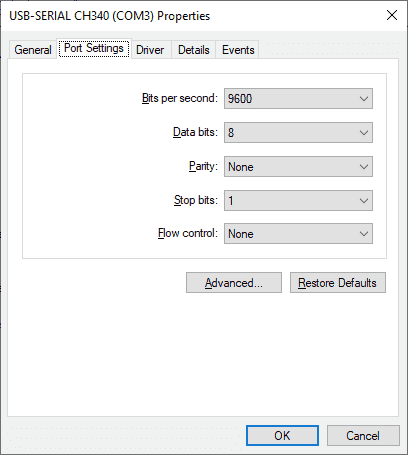
We can change the communication parameters from this tab like baud rate (Bits per Second), data bits, parity, and stop bits. Select the driver tab.
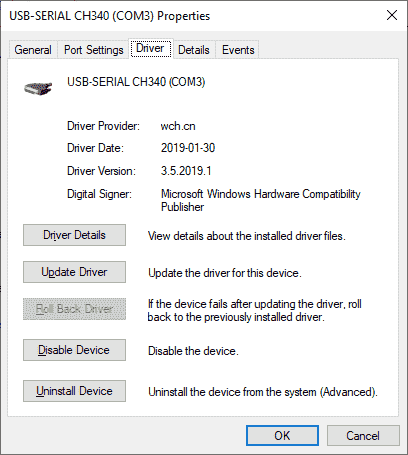
Information on the current driver installed for our USB to RS-485 serial adapter is displayed.
USB Serial Adapter Errors
Suppose the USB to RS485 adapter was plugged into the computer before the driver was installed the following USB2.0-Ser! Message will be shown under other devices in the device manager.
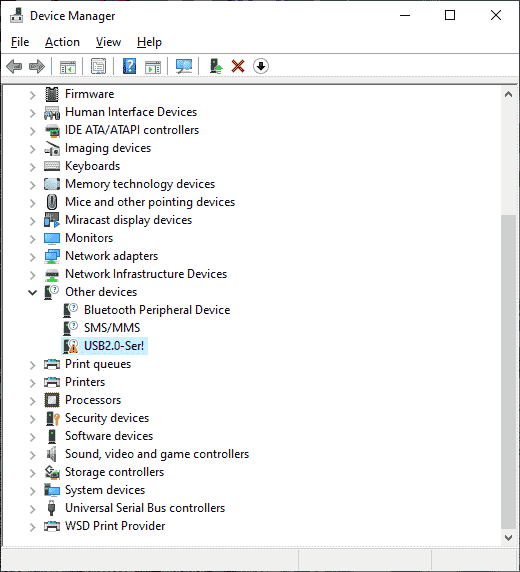
Unplug the USB to Serial Adapter from the computer to correct this error. Install the driver as outlined above. Insert the USB to RS485 Adapter into the computer. The device manager should now install the correct driver.
Watch the video below to see the installation of the USB to RS-485 serial adapter on a Windows 10 64-bit computer.
Example of an RS485 network
We are now ready to connect to our equipment with the USB to RS485 converter. Since this is a serial device and is a 1: N connection, this means that we will have a master and at least one slave unit. The master is usually the PC (personal computer) that will control all communication. It will request information and receive answers. All communication must have the same parameters when communicating. What separates the communication is that each slave is assigned a unique number.
Example:
| Device | Computer ‘Master’ | Solo Process Controller ‘Slave’ |
Do-More PLC ‘Slave’ |
Additional Devices ‘Slaves’ |
| Station Address / Unit number | N/A | 1 | 2 | … |
| Baud Rate | 9600 | 9600 | 9600 | 9600 |
| Data Bits | 8 | 8 | 8 | 8 |
| Parity | Even | Even | Even | Even |
| Stop Bits | 1 | 1 | 1 | 1 |
The protocol is the communication (Information format that is transferred) over the network. (Master to Slaves) The media is the RS485 serial cable itself.
Node-RED Serial Modbus RTU Communication
Node-RED can be used to communicate as the Modbus Master on our serial network easily.
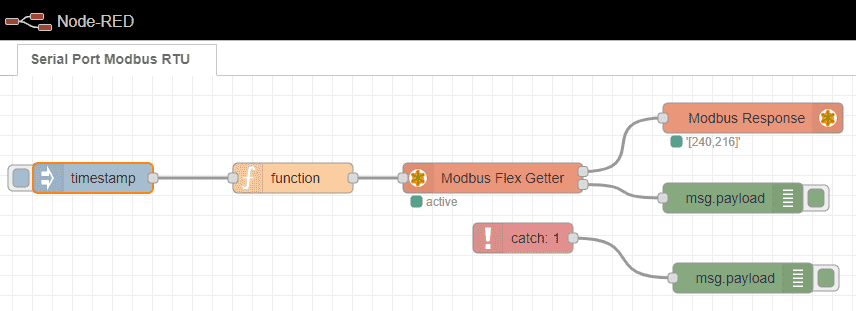
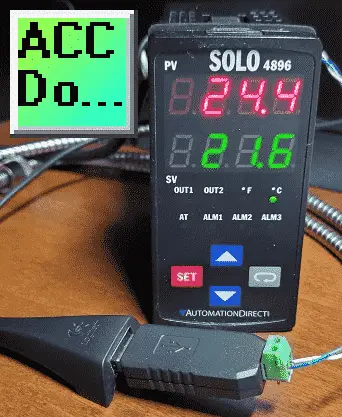
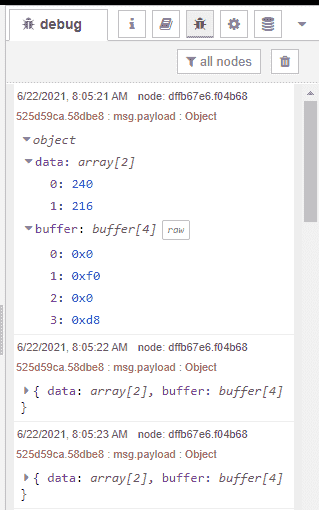
Monitoring the data we can view the values of our Solo temperature controller.
The Node-RED series can be viewed here to show you how to use this IoT-enabling software.
Watch the video below to see the CH340/CH341 USB installation to Serial Adapter. Communication to the Solo process temperature controller using Node-RED serial RS485 Modbus RTU will be demonstrated.
Purchase your USB to RS-485 serial adapter from the following affiliate links.
Download the Node-RED flow program here.
Watch on YouTube: CH340 CH341 USB to Serial PC Installation
If you have any questions or need further information, please contact me.
Thank you,
Garry
If you’re like most of my readers, you’re committed to learning about technology. Numbering systems used in PLCs are not difficult to learn and understand. We will walk through the numbering systems used in PLCs. This includes Bits, Decimal, Hexadecimal, ASCII, and Floating Point. To get this free article, subscribe to my free email newsletter.
Use the information to inform others how numbering systems work. Sign up now. The ‘Robust Data Logging for Free’ eBook is also available as a free download. The link is included when you subscribe to ACC Automation.

