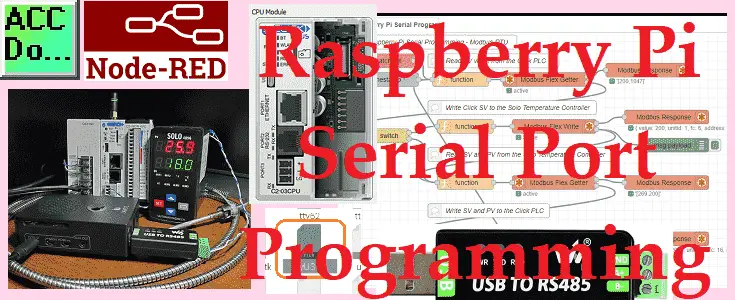
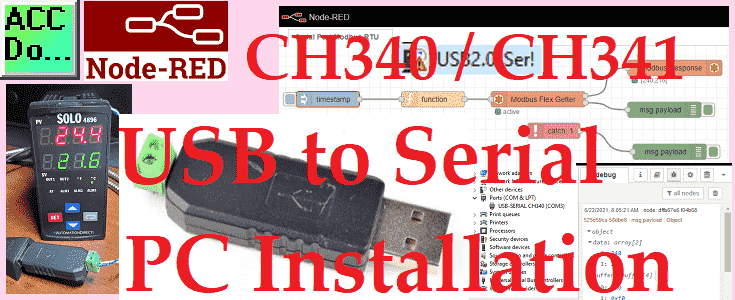
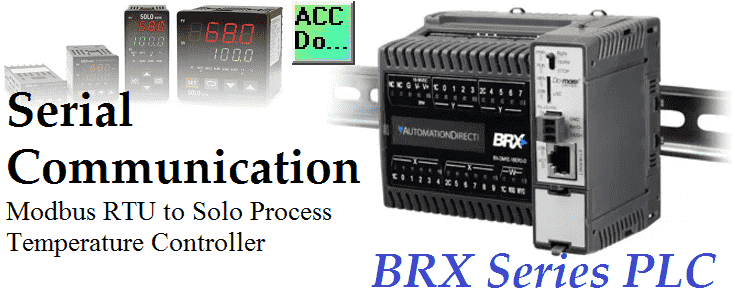
Node-RED will be used on the Raspberry Pi 4 to communicate serial Modbus RTU to a Solo process temperature controller and Click PLC using twisted pair RS485. This will be done on the same serial network so the devices will be daisy-chained together on the two wires.
We will be reading the PV (present value) and SV (set value) of the Solo temperature controller and then writing these values into the Click PLC. An SV value will then be read from the Click PLC and if it has changed, the value will be written to the SV of the Solo controller. Let’s get started. Continue Reading!
Tag Archives: serial communication
CH340 CH341 USB to Serial PC Installation
We will be installing a USB to rs485 installation on our computer. The CH340/CH341 USB to Serial port is a 2-wire USB to RS-485 serial communication adapter for RS485 use. It does not require an external power supply or complicated configuration.
It has a Type A (plug) USB connector for the computer side and screw terminals for the RS485 connections. The CH340/CH341 USB to serial device supports multiple baud rates and has a thumb drive design. Let’s get started installing our USB to RS485 adapter. Continue Reading!
BRX Do-More PLC Modbus RTU to Solo Controller
We will now look at using serial Modbus RTU to communicate to a Solo process temperature controller using our BRX Do-More Controller. Serial communication instructions will allow you to send and receive serial data to an external device. The communication method that you setup can be ASCII or numeric (binary). ASCII (American Standard Communication for Information Interchange) can be used to send to devices such as a printer or display.
Receiving ASCII can be used for connecting barcode scanners to the PLC. The barcode will be read as an ASCII string in the PLC.
The BRX Do-More Series PLC will allow you to use instructions such as STREAMIN and STREAMOUT to send and receive data from devices mentioned above. They are usually a one to one device and do not have a protocol.
A protocol is like a language used to communicate to different devices connected together. Modbus serial communication (Modbus RTU) is a standard protocol used in many industrial automation devices. The BRX Do-More Series PLC has a MRX (Modbus Network Read) and MWX (Modbus Network Write) instructions.
We will demonstrate these instructions by communicating Modbus RTU to a Solo Temperature Controller. (RS485) Our example will read the current process (PV) value and write the set point value (SV) in the controller. Let’s get started. Continue Reading!
USB to RS485 PC Adapter Installation
We will be installing a USB to rs485 installation on our computer. The USB-485M is a 2-wire USB to RS-485 serial communication adapter for RS485 use. It does not require an external power supply or complicated configuration.
It has a Type A (plug) USB connector for the computer side and a universal female RJ45/RJ12 modular connector. This will accept RJ12 and RJ45 plugs. The USB-485M supports multiple baud rates and is USB V2.0 Compliant.
Installing the Driver on PC
Do NOT connect the USB-485M to your PC before installing the driver file.
Go to the Automation Direct website and download the latest drivers for this device. I would not use the mini-CD that came with the converter because it may be outdated.
USB-485M Serial Converter Support Resources
Download and extract the zip file. (Right-click on the zip file and select Extract All…. )
If you have a 64bit computer, double click on the following file:
CP210xVCPInstaller_x64.exe
If you have a 32bit computer, double click on this file:
CP210xVCPInstaller_x86.exe
If you are unsure about a 32-bit or 64-bit computer, go to the control panel and look under the system. Under System type, it will display either a 32-bit Operating or 64-bit Operating system.
Alternatively, on Windows 7, you can click Start and right-click on Computer.
Selecting properties will call up the system information for you.
This will now start the installation of the CP210x USB to the UART Bridge Driver. Select Next.
You must accept the license agreement before the software will install. Select ‘I accept this agreement and hit Next.
You will now get a message that the installation is complete. The Silicon Laboratories PC Driver is now installed. Click Finish.
We will now configure the device driver for our hardware.
Connect the USB 485M to your PC.
The driver software on our PC installation will begin by searching for the CP2103 USB to UART Bridge Controller. It will start by exploring the windows update…
Once the software has been configured on the PC, a message will be displayed. If it cannot find the driver software, you can manually select the x64 (64bit) or x86 (32bit) folders from the downloaded driver files.
You can now call up the device manager and view the ports on your computer. The Silicon Labs CP210x USB to UART Bridge is on communication port 5. COM5 will now point to the USB port where the information is converted to an RS485 signal.
We are now ready to connect to our equipment with the USB to RS485 converter. Since this is a serial device and is a 1: N connection, we will have a master and at least one slave unit. The master is usually the PC (personal computer) that will control all communication. It will request information and receive answers. All communication must have the same parameters when communicating. What separates the transmission is that each slave is assigned a unique number.
Example:
Device | Computer ‘Master’ | Solo Process Controller ‘Slave’ |
Do-More PLC ‘Slave’ |
Additional Devices ‘Slaves’ |
Station Address / Unit number | N/A | 1 | 2 | … |
Baud Rate | 9600 | 9600 | 9600 | 9600 |
Data Bits | 8 | 8 | 8 | 8 |
Parity | Even | Even | Even | Even |
Stop Bits | 1 | 1 | 1 | 1 |
The protocol is the actual communication (Information format transferred) over the network. (Master to Slaves) The media is the RS485 serial cable itself.
Watch on YouTube: USB to RS485 PC Adapter Installation
If you have any questions or need further information, please contact me.
Thank you,
Garry
If you’re like most of my readers, you’re committed to learning about technology. Numbering systems used in PLCs are not challenging to learn and understand. We will walk through the numbering systems used in PLCs. This includes Bits, Decimal, Hexadecimal, ASCII, and Floating Point.
To get this free article, subscribe to my free email newsletter.
Use the information to inform other people how numbering systems work. Sign up now.
The ‘Robust Data Logging for Free’ eBook is also available for free download. The link is included when you subscribe to ACC Automation.
Here’s a Quick Way to Connect RS232 Equipment
Most programmable controllers will come with an RS232 communication port. This recommended standard (RS) has voltage signals in the range between 3 to 15 volts DC with respect to the ground/common pin. RS232 devices are classed either DTE (data terminal equipment) or DCE (data communication equipment).
The maximum cable length for the communication cable is 15m, however, depending on the environment, I have seen this as much as 50m without an issue.
Most RS232 connectors are 9 pins like the diagram below, but they can also come in 25 pin or RJ45 connectors.
A minimum 3 wire RS232 connection consists of only the transmit data, receive data, and ground. This is commonly used if full handshaking is not required.
Pin 2 RD ————————– Pin 3 TD
Pin 3 TD ————————– Pin 2 RD
Pin 5 Ground ———————- Pin 5 Ground
Pin 7 RTS Pin 8 CTS
Pin 8 CTS Pin 7 RTS
Cable Shield
Note: I always jump Pin 4 and 6 out together on each side.
The shield on the connection cable should only be connected to one housing when making the cable. I usually connect it on the PLC-end.
5 wire RS232 connection consists of the transmit data, receive data, ground, request to send (RTS), clear to send (CTS)
Pin 2 RD ————————– Pin 3 TD
Pin 3 TD ————————– Pin 2 RD
Pin 5 Ground ———————- Pin 5 Ground
Pin 7 RTS ———————— Pin 8 CTS
Pin 8 CTS ———————— Pin 7 RTS
Cable Shield
Note: The shield on the connection cable should only be connected to one housing when making the cable. I usually connect it on the PLC-end.
Just select a DB9, DB25, or DB15 connector depending on the number of pins of your serial port.
These connectors should be part of everyone’s toolbox. You never know when they will come in handy.
If you have any questions or need further information please contact me.
Thank you,
Garry
If you’re like most of my readers, you’re committed to learning about technology. Numbering systems used in PLC’s are not difficult to learn and understand. We will walk through the numbering systems used in PLCs. This includes Bits, Decimal, Hexadecimal, ASCII and Floating Point.
To get this free article, subscribe to my free email newsletter.
Use the information to inform other people how numbering systems work. Sign up now.
The ‘Robust Data Logging for Free’ eBook is also available as a free download. The link is included when you subscribe to ACC Automation.