We will now look at the connection to our SQL database using a spreadsheet application. Previously we used Node-RED to communicate Modbus TCP and RTU to our Click PLC and Solo Temperature Controller. The information collected from the controllers was then put into an SQLite SQL database.
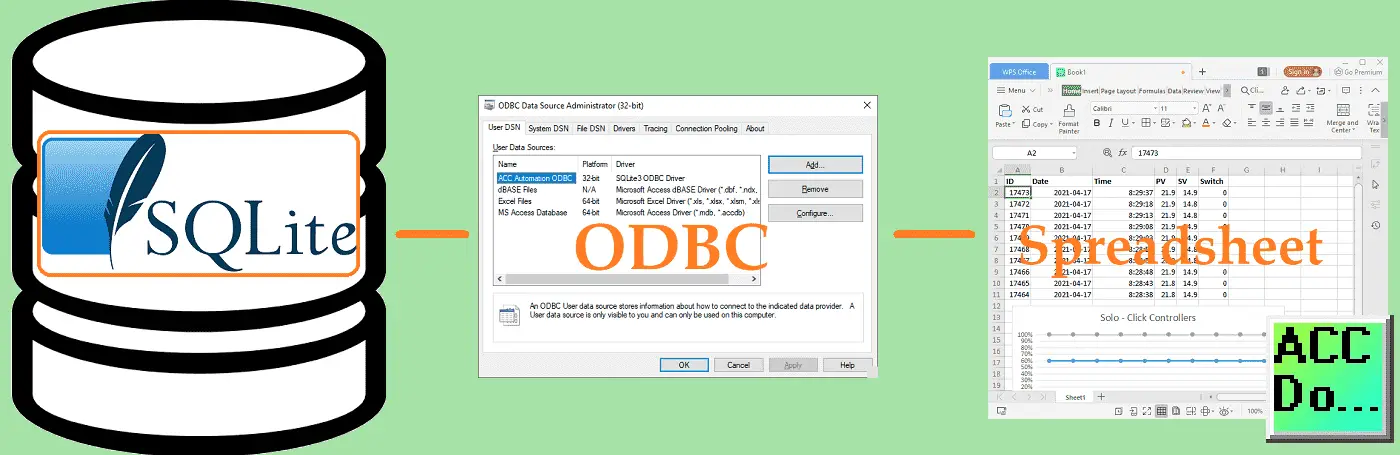
Spreadsheets like Excel are great for analysis of the data. We will be connecting to our SQLite SQL database with WPS spreadsheets. This will be accomplished by using an ODBC driver as the translator between the database and spreadsheet. Let’s get started.
In this series we started using Node-RED in some of the following ways:
Installing the Windows Software – Video
Modbus Communication – Video
User Interface – Dashboards – Video
SQL Database Log – Video
We will continue with the last post of this series:
View information in the database through spreadsheets such as Excel.
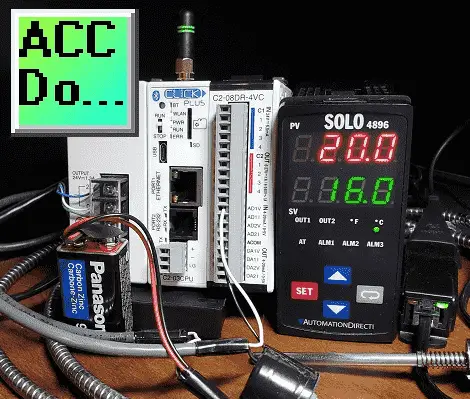
Previously we installed Node-RED Modbus Palette on our windows 10 computer and communicated Modbus RTU (serial) and Modbus TCP (Ethernet) to a Solo Process Temperature Controller and a Click PLC. We then implemented the dashboard user interface on any web browser. (Windows / Android Phone) SQLite was then used to store the information into a SQL database.
I would encourage you to review the following Node-RED Essentials Videos (Basics of the Editor). This will allow you to become familiar with the editor.
Watch the video below to see the viewing of our SQL database information using spreadsheets.
What is ODBC?
Open database connectivity (ODBC) is a standard application programming interface (API) for accessing databases. The ODBC driver translates between any application like spreadsheets and the database management system (DBMS). It is an interface created by Microsoft.
SQLite ODBC Driver Install
The SQLite ODBC Driver can be downloaded here. This is a free driver. Under the current version click on sqliteodbc.exe, this will download the 32-bit driver for SQLite.
Note: Even on a 64-bit machine, the 32-bit driver will work.
Double click on the downloaded file to start the installation.
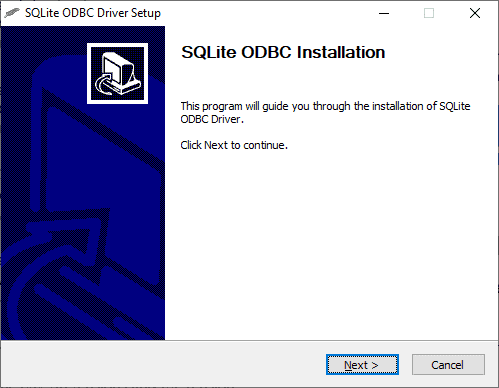
Select next.
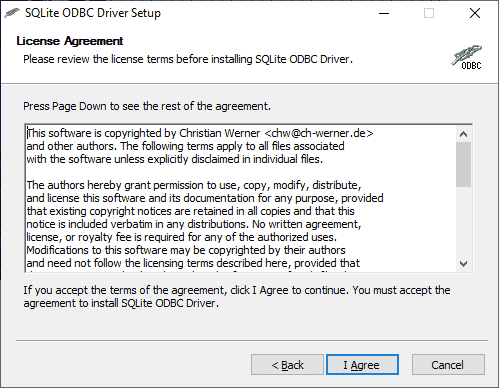
The license agreement window will now be displayed. You must agree to the license before the software will be installed. Select I agree.
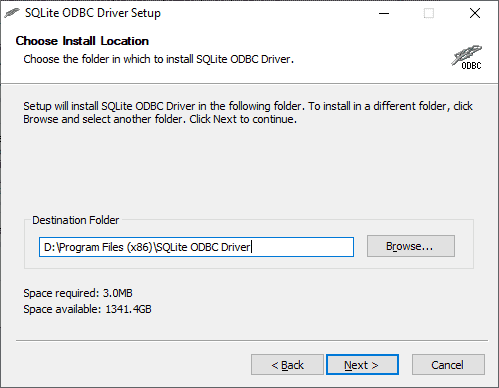
The installation location can now be selected. You may leave this as the default or specify a different location. Notice that this will be installed in your program files folder. Select next.

Select the SQLite 2 Drivers from the list. These are the ones that we will be using. Select install.
The driver will now be installed based on the settings we specified.
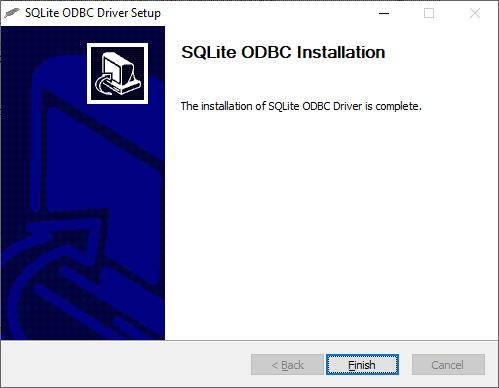
Once the software is finished installing it will indicate this in the final window. We now have the SQLite ODBC driver installed on our windows machine. Select finish. This will close the window.
SQLite ODBC Driver Settings
Open ODBC data source administrator in windows 10. We can do this in several ways.
My preferred way is to type ‘odbc’ into the Cortana Search box.
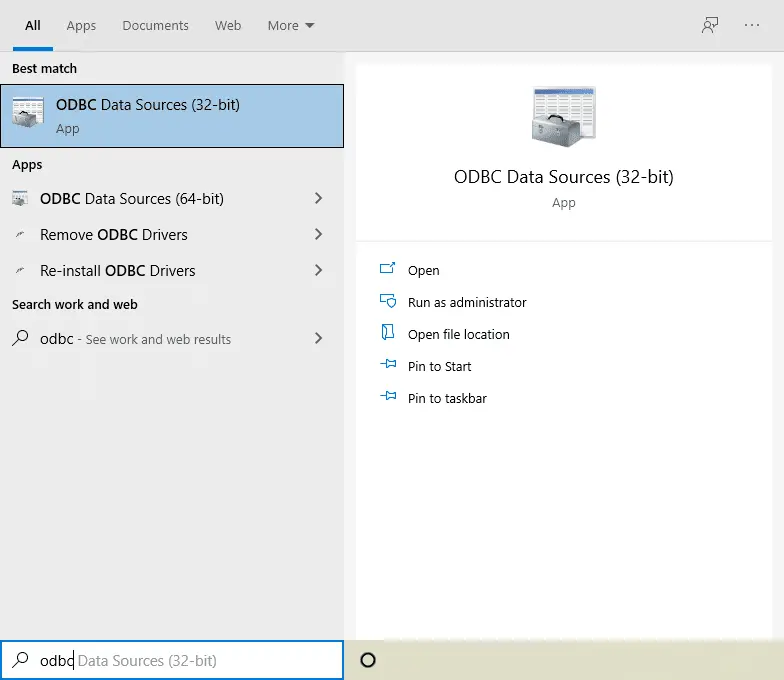
Click on ODBC Data Sources (32-Bit) to run the program.
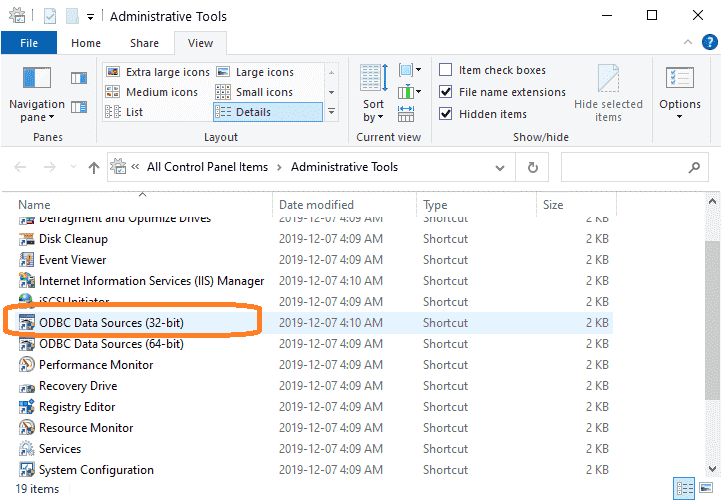
We can also do this in a couple of other ways. Use Administration tools in Control Panel to call up the ODBC Data Sources (32-Bit) program.
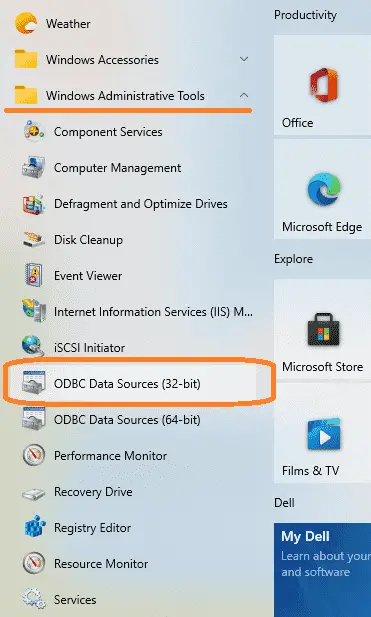
Using the start menu, look for ODBC Data Sources (32-Bit) under Windows Administrative Tools.
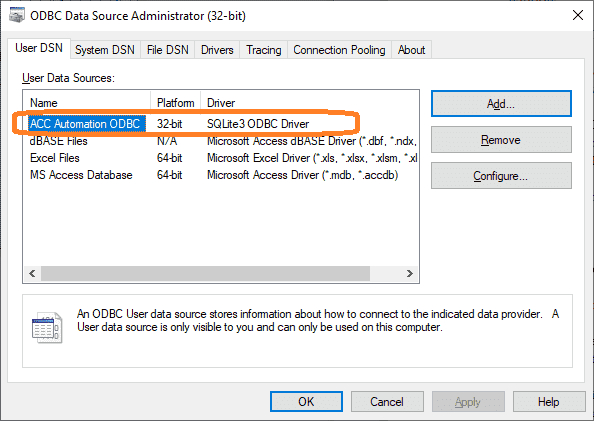
ODBC Data Source Administrator (32-bit)
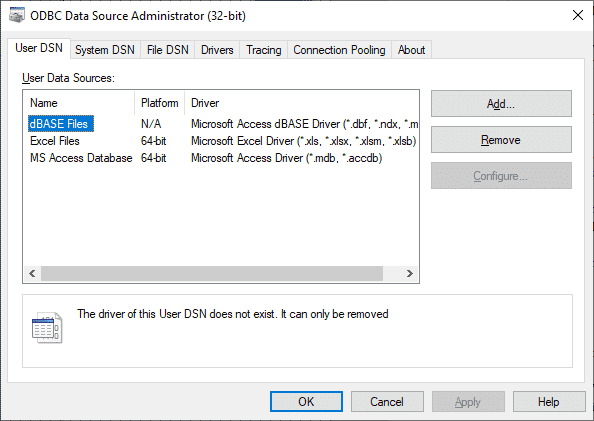
Under the ‘User DSN’ (Data Source Name) select add.
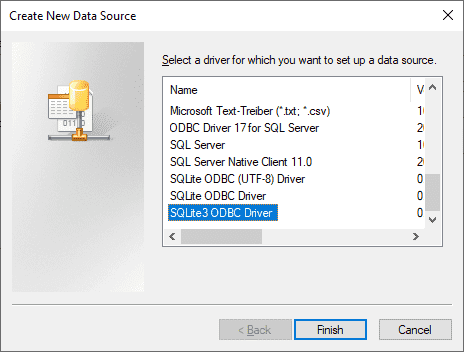
This will create a new data source. Scroll down the list of drivers until you see the SQLite3 ODBC Driver that we installed above. Select it and then select finish.
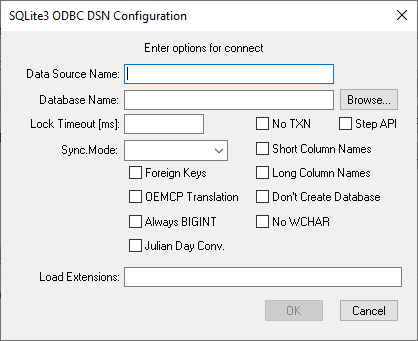
We can now give our data source a name and specify the database. In our case, the name will be ACC Automation ODBC. The database will be ACCautomation.db that we created last time.
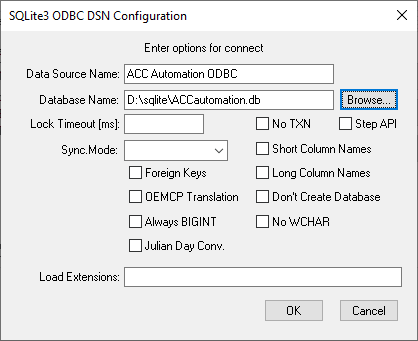
We will leave all of the other settings as their default values. Select OK.
Our ODBC driver is now complete. Select OK to close the window. We will now continue and connect to our spreadsheet.
WPS Office Spreadsheets
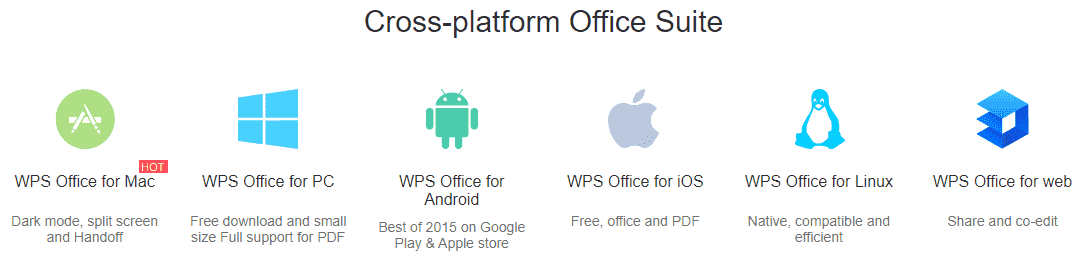
WPS Office (Writer, Presentation, and Spreadsheets) is a free office suite software package that is compatible with Microsoft Office. We will be using spreadsheets in the WPS office to get the information from our SQLite SQL database via the ODBC driver that we set up above.
The methods described below will be similar to other spreadsheet programs like Excel.
WPS Office Spreadsheets Import Data
SQL Database Spreadsheet Connection
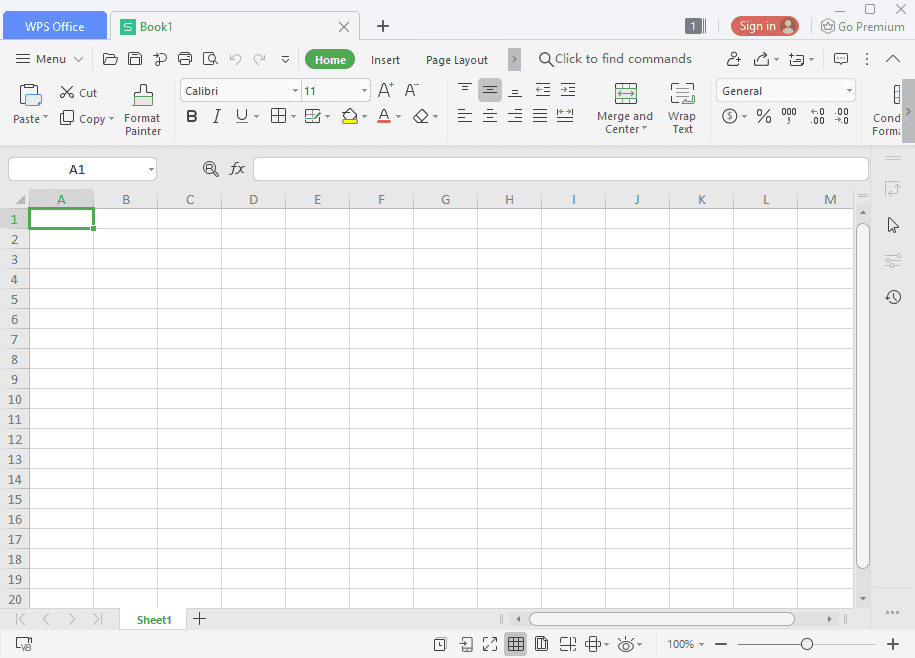
Select a blank spreadsheet from the WPS office suite.
Select Data from the main menu. Then scroll the options until you see the icon for import data.
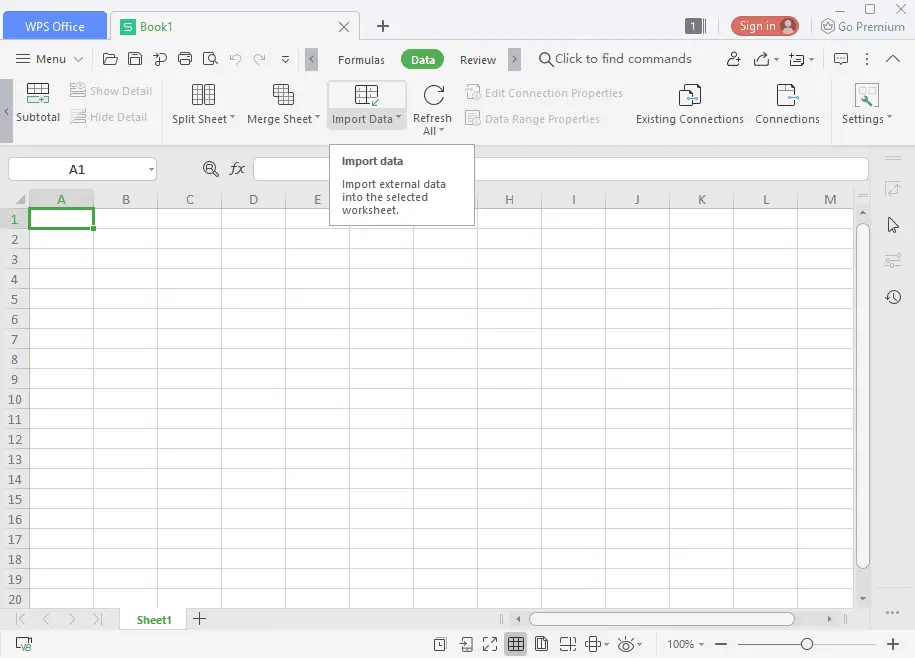
Select import data.
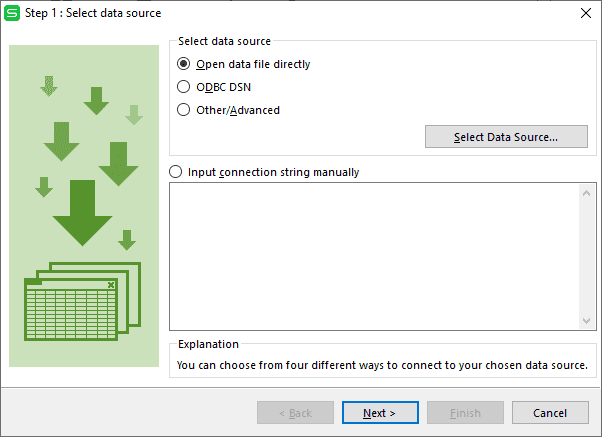
You will now have a series of steps to take in order to retrieve the data in the SQL database. Select ODBC DSN.
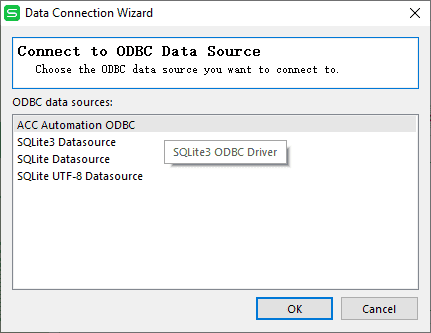
Select the ACC Automation ODBC data source that we set up above. Select OK.
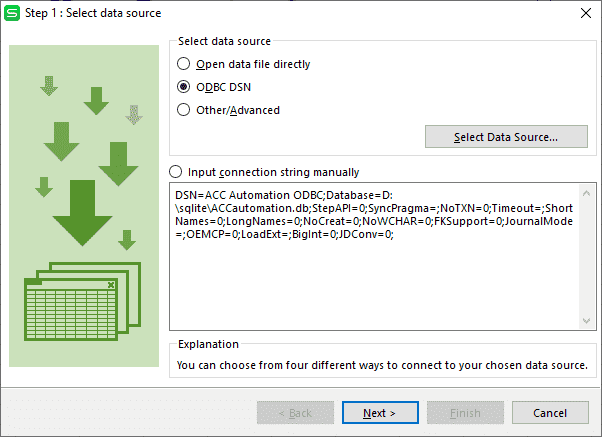
You will see the connection string that the spreadsheet will use. Select next.
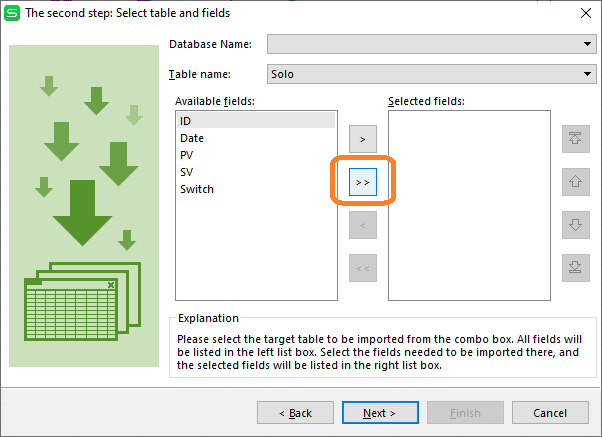
We can now select the table and columns that we want to retrieve from the database. The table Solo appears because that is the only table in our existing SQLite SQL database. Select all of the available fields (columns).
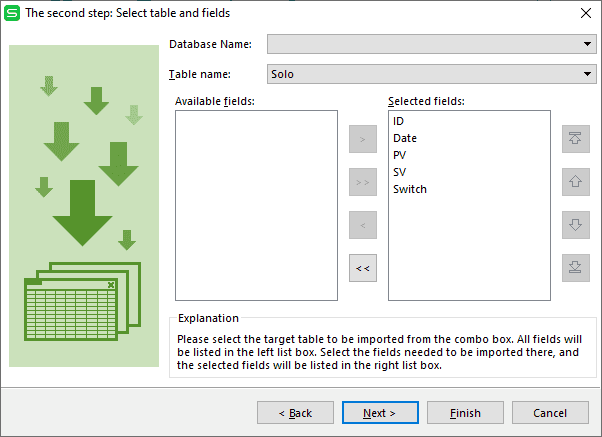
Select next.

Data filtering and sorting can now be done. As you select the options, the SQL query string is automatically adjusted. In our case, the LIMIT 15 has been appended to the input query statement directly. Select next.
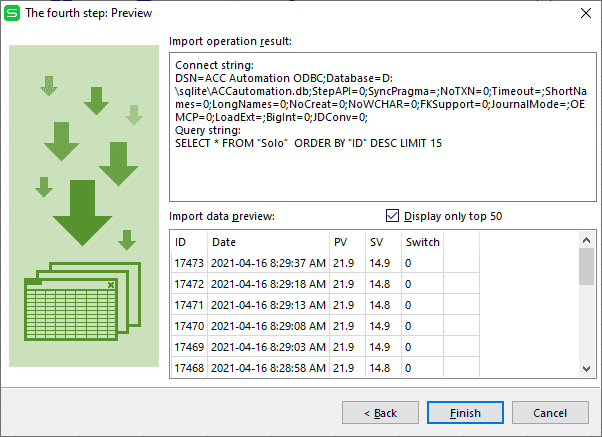
A preview of the data will be shown. This allows us to verify our SQL query commands and the data that this will retrieve from our SQL database. The back button can be used for additional editing. Once we are satisfied with the returned data select finish.
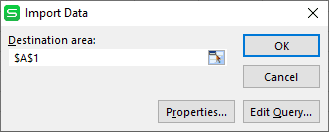
The import data dialog will not allow you to specify the location to place the returned data. Select OK.
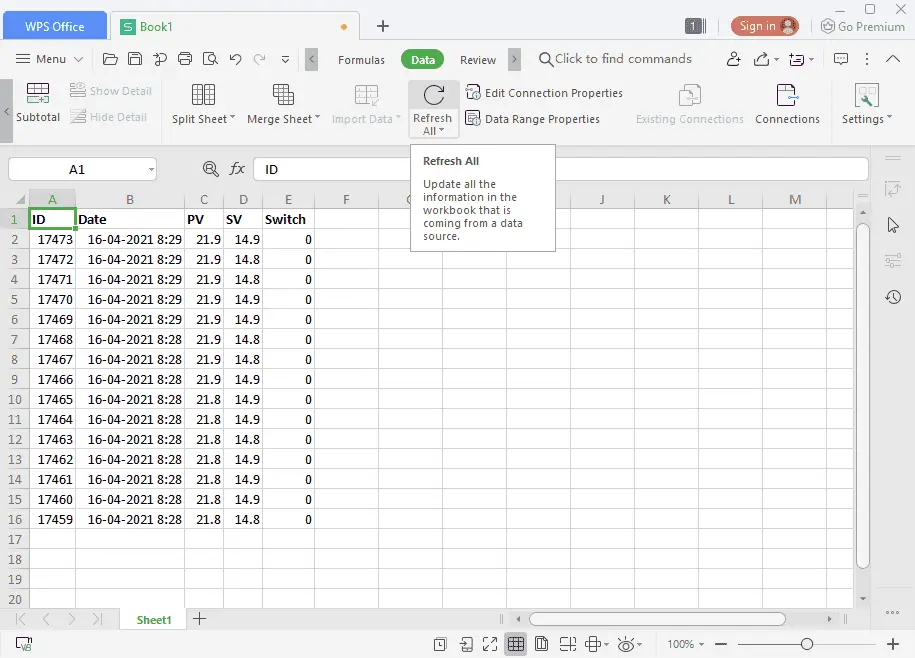
Our data (15 records) now are displayed on our spreadsheet. To update the returned data, select the refresh all under the data menu. This ensures that you always have the latest data.
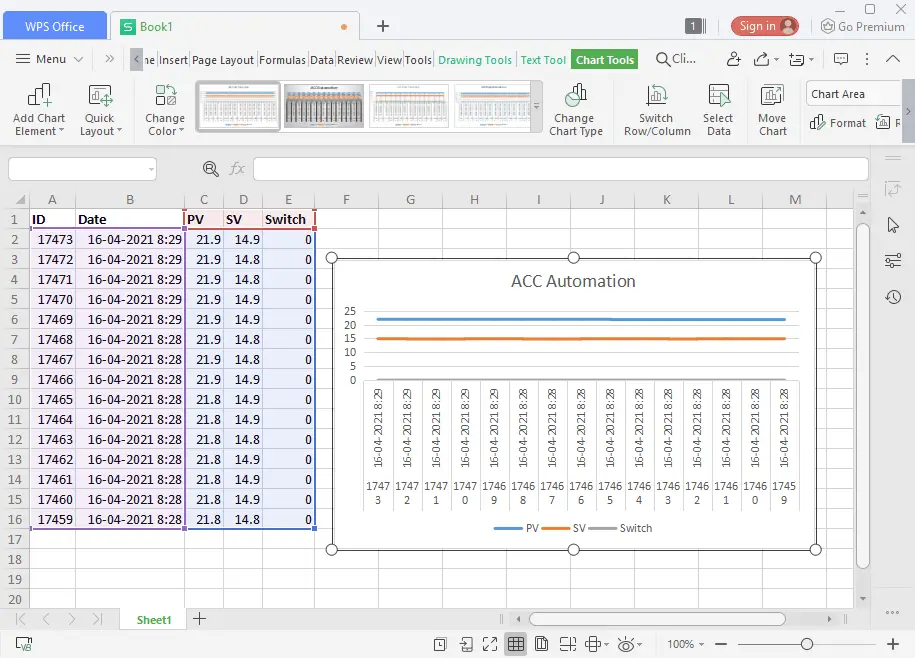
Once our data is in the spreadsheet and can be updated with the click of a button, analysis can be done. In our case, a quick line graph is used to display our returned data.
Watch the video below to see our SQLite SQL database connect to the WPS Office Spreadsheet and update in real-time.
Download the Click Program, Flow, database, and spreadsheet here.
Node-RED Links
Node-RED Organization Home Page
Getting Started – Run Locally
Node-RED running on Windows (Run at Startup)
Securing Node-RED
Node-RED Essentials Videos (Basics of the Editor)
Learn JavaScript Free
w3schools JavaScript Tutorial
learn-js.org
Node-Red JavaScript Primer
Modbus
Node-RED Modbus TCP and Serial
Dashboard – HMI
Node-RED Dashboard
Node-RED Dashboard extra nodes
SQL Database
Node-RED SQL Database
Node-RED SQL Plus – Execute queries and stored procedures
Modbus Learning Links:
Simply Modbus Frequently Asked Questions
Modbus TCP/IP Overview – Real-Time Automation
All You Need to Know About Modbus RTU – Video
This concludes this series on Node-RED. We have retrieved information out of our industrial controllers using Modbus TCP and RTU. Controlled and monitored this data using Node-RED dashboards and stored it in a SQL database. Finally, we have displayed the information in a spreadsheet.
Look for more Node-RED posts in the future. This is an exciting and powerful program.
Watch on YouTube: Node-RED SQL Database Spreadsheet Connection
If you have any questions or need further information please contact me.
Thank you,
Garry
If you’re like most of my readers, you’re committed to learning about technology. Numbering systems used in PLCs are not difficult to learn and understand. We will walk through the numbering systems used in PLCs. This includes Bits, Decimal, Hexadecimal, ASCII, and Floating Point. To get this free article, subscribe to my free email newsletter.
Use the information to inform other people how numbering systems work. Sign up now. The ‘Robust Data Logging for Free’ eBook is also available as a free download. The link is included when you subscribe to ACC Automation.