The P1AM-100 industrial controller is programmed with the Arduino IDE (Integrated Development Environment). The C++ programming environment is emerging in industrial automation. This software is open-sourced and available free of charge. It will run on Windows, Mac, or Linux.
ProductivityBlocks is a graphical programming interface and add-on to the Arduino IDE. It helps you build your sketch program by dragging and dropping interlocking blocks. The associated C++ is automatically generated for you. This will help you to avoid syntax errors.
We will be installing the Arduino IDE, P1AM-100 library and Productivity Blocks. This will be done on a Windows 7 machine. Let’s get started.
Previous posts in this Productivity Open Arduino Compatible Industrial Controller Series
A full list can be obtained at the following location:
Productivity Open (P1AM-100) Arduino Controller
Productivity Open Arduino Controller Hardware
– Starter Kit Unboxing Video
– Powering Up Video
Installing the Arduino IDE Software
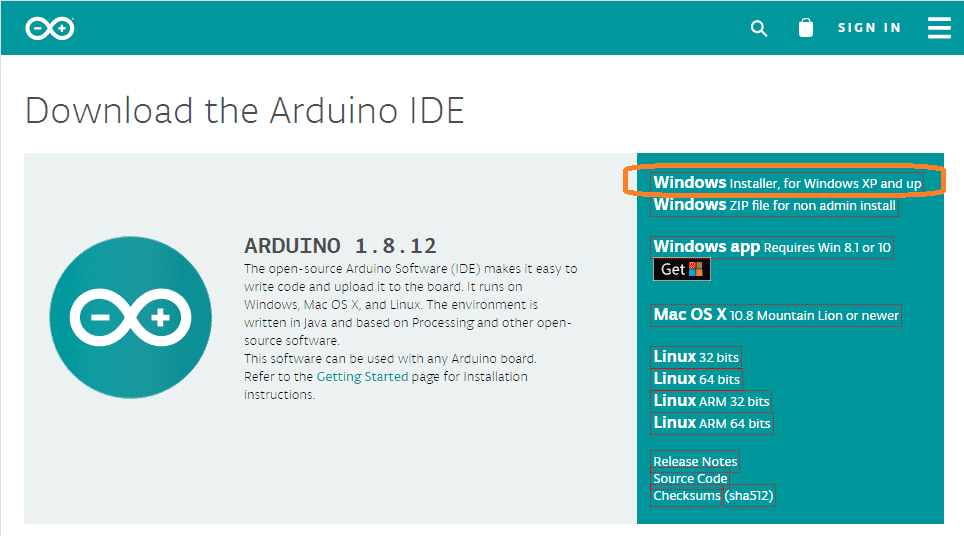
The Arduino software can be downloaded for Windows, Mac, and Linux. Download Here. We will be using the windows installer for Windows XP and up.
Double click the downloaded file to start the installation.
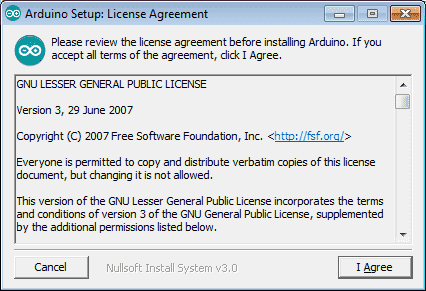
The Arduino Setup: Licence Agreement window will now be displayed. You must agree to continue the installation.
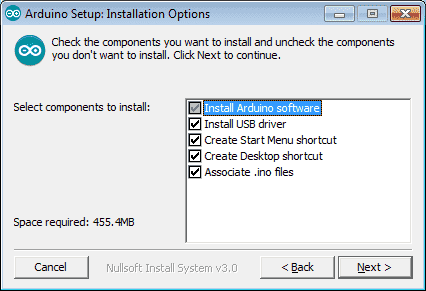
Installation Options window will now appear. This will show you the selected components to install. We will leave this as the default of all options. Click the next button.
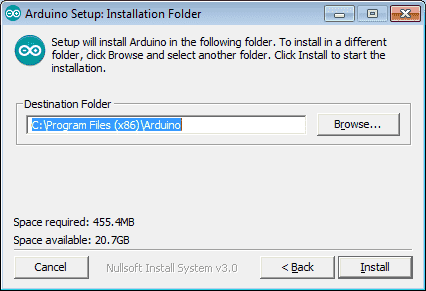
The Installation Folder window will allow you to change the default destination folder. We will leave this as the default and select the Install button.
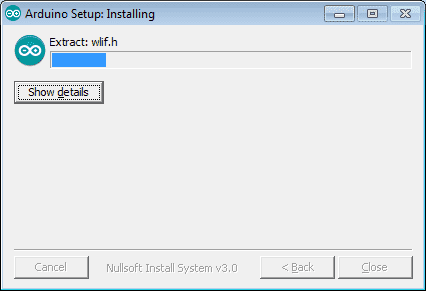
Our Arduino software will now start installing.
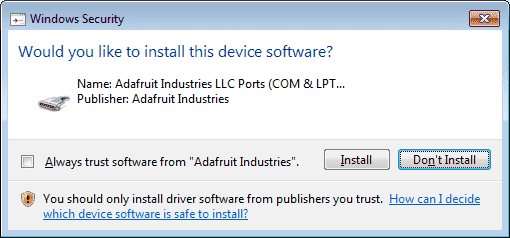
During the installation, it will ask you to install device software. Select Install for each of the devices requested.
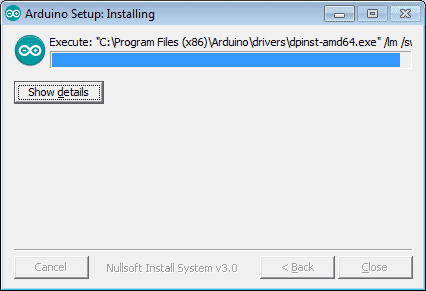
The software is still installing.
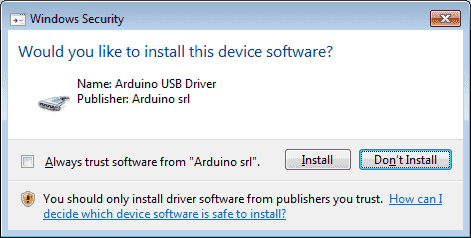
When the Arduino USB Driver is installed.
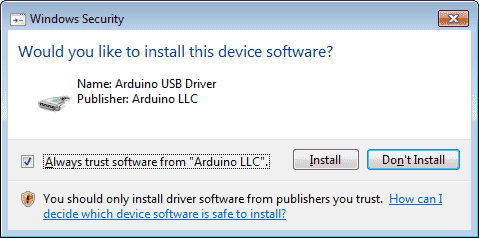
Check the “Always trust software from Arduino SRL” and click the Install button.
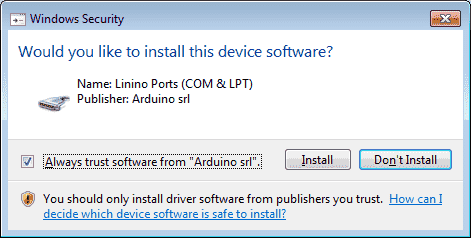
We will do the same thing for the Linino Ports (COM & LPT). Click the install button.
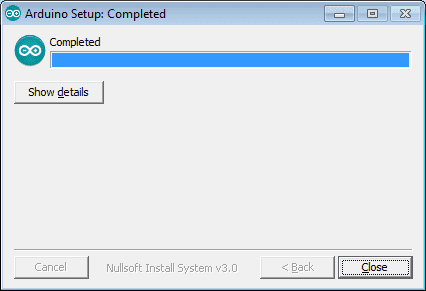
When the software is finished installing, the complete window will be displayed. Click the close button.
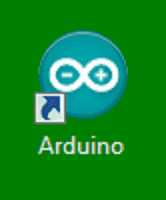
An icon will be placed on your desktop for the Arduino IDE software.
Installing the P1AM Library Software
The P1AM-100 library is required to easily control the Productivity 1000 I/O modules.
Click on the following link to download the library: P1AM-100 library
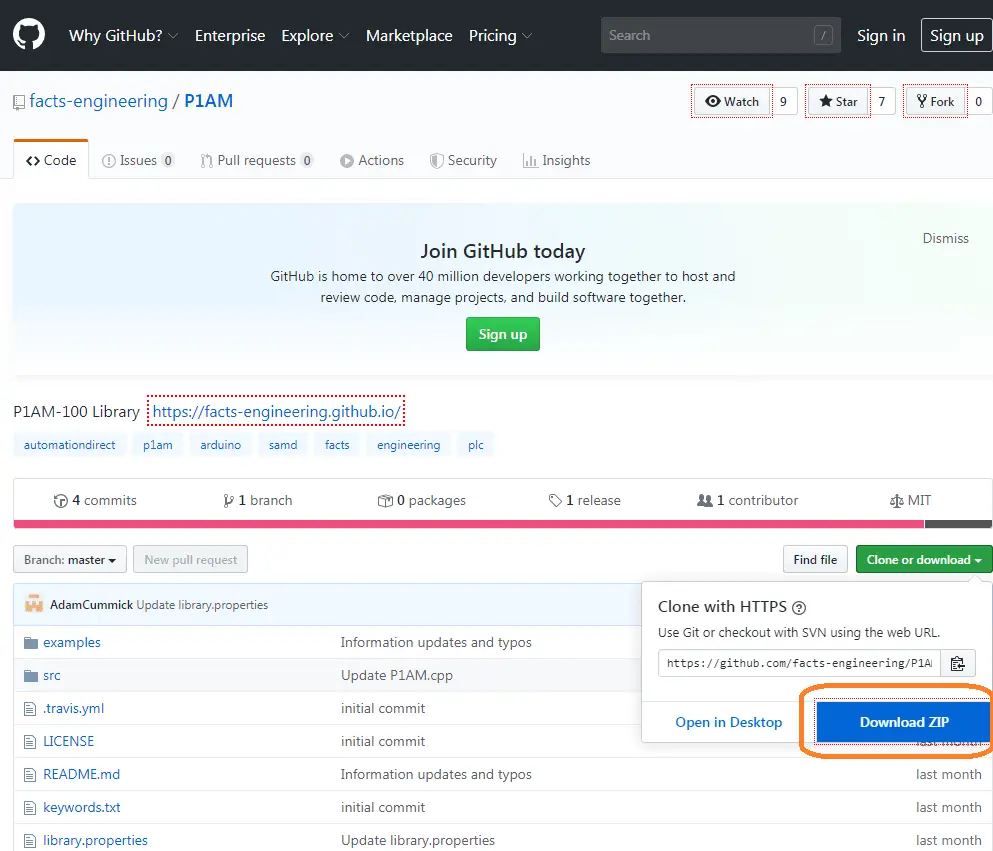
Select the clone or download option and select the Download Zip button. This will download the P1AM-master.zip file.

Startup the Arduino IDE software by double-clicking the desktop icon.
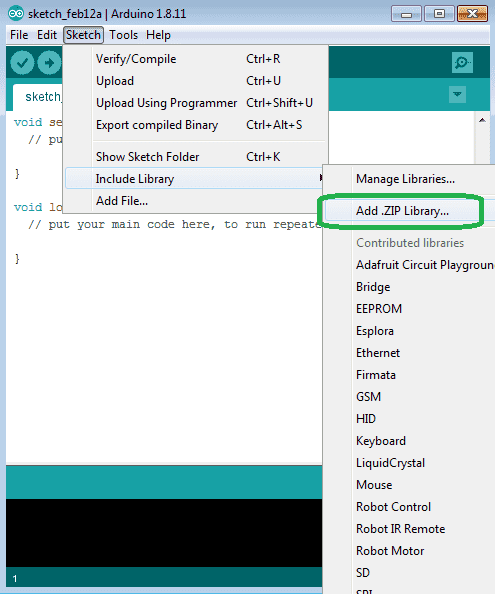
Select from the main menu | Sketch | Include Library | Add .ZIP Library…
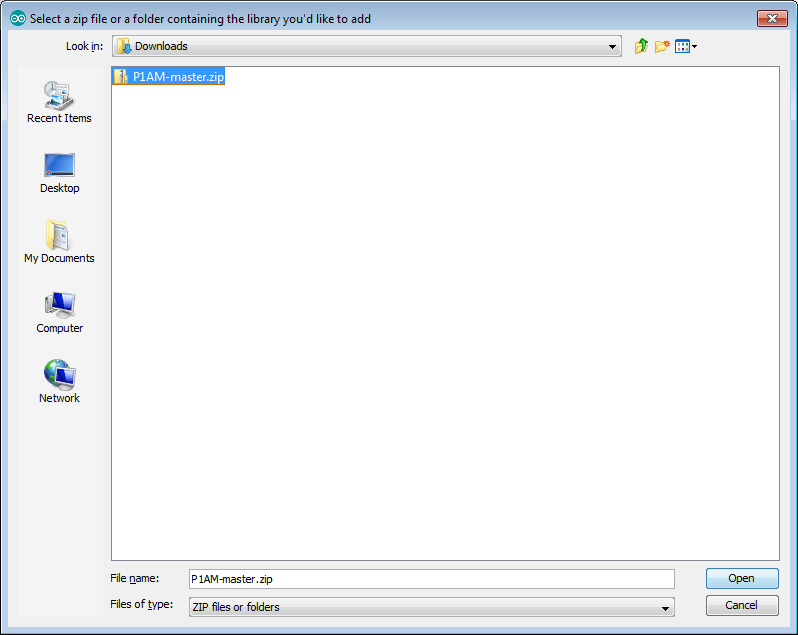
Select the downloaded P1AM-master.zip file. Select open.
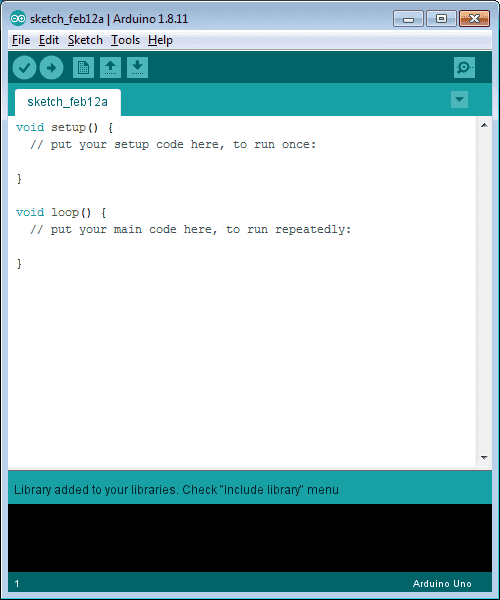
We will get a message on our main screen indicating that the library was added.
Close the Arduino software by using the X in the upper right corner. We will not save anything if asked.
Installing ProductivityBlocks Software
ProductivityBlocks is a graphical programming interface and add-on to the Arduino IDE. Note: You must install the Arduino IDE and P1AM-100 Library before installing Productivity Blocks.
Download the software from the following location: Productivity Blocks
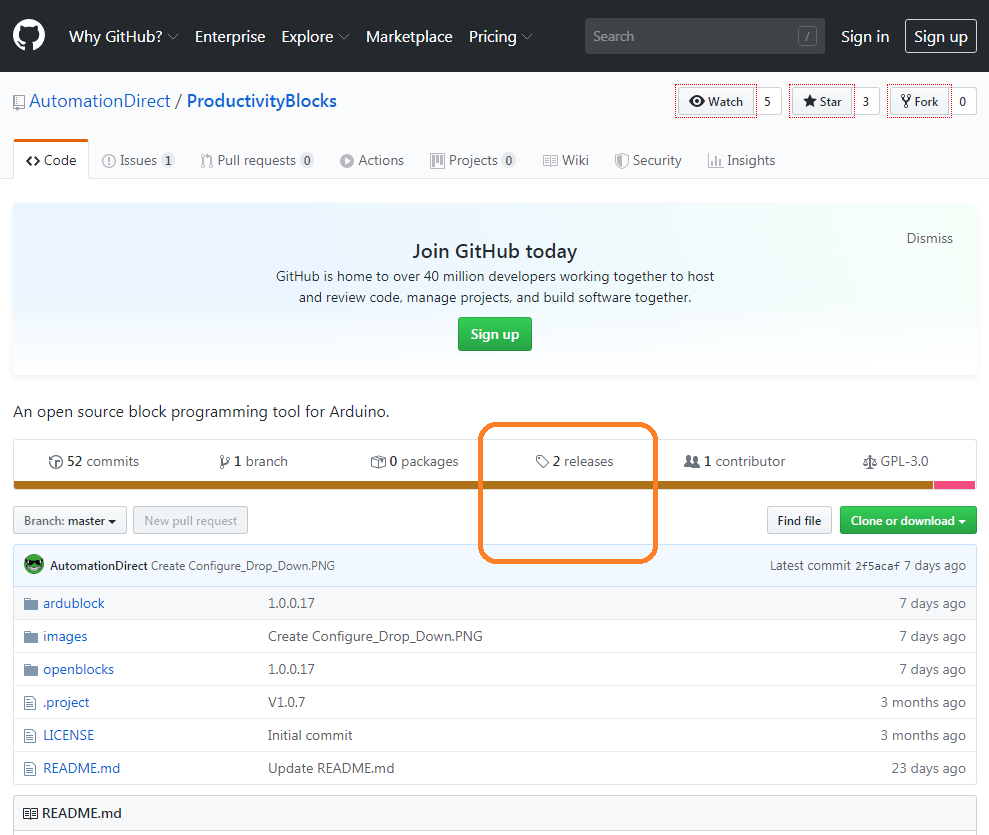
Click the release heading on the main screen.
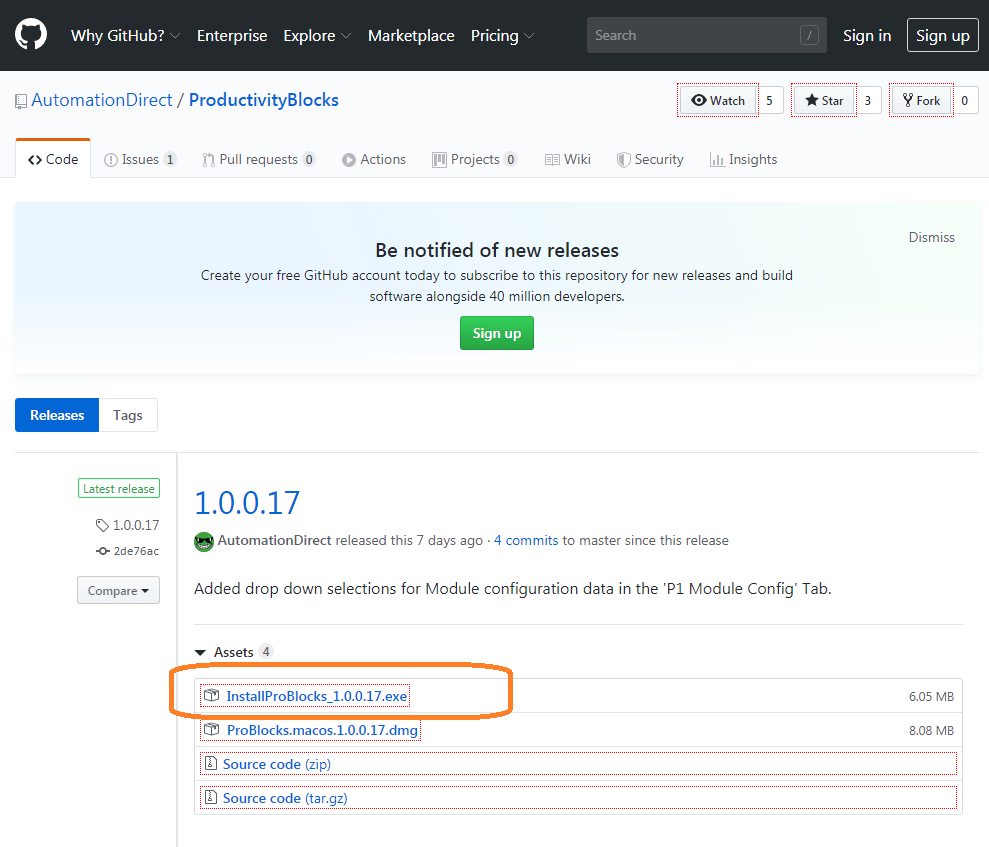
Select the InstallProBlocks executable file to download the file.
Double click on the downloaded executable file.

The software will load on top of the Arduino IDE. A message window will be displayed upon the successfully installed ProductivityBlocks software.
Click OK.
Running Productivity Blocks
Startup the Arduino IDE software by double-clicking the desktop icon.
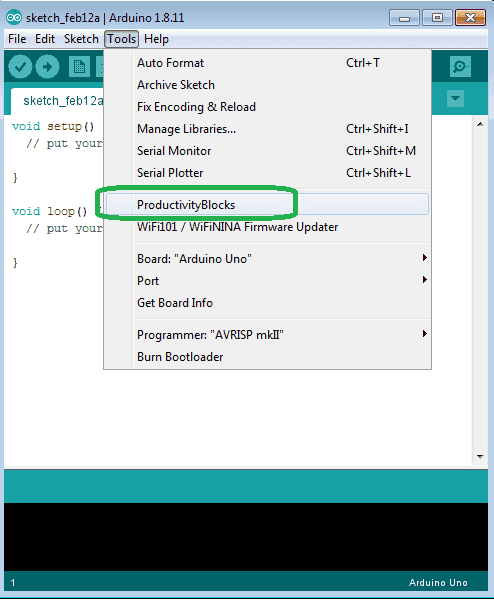
Select Tools | ProductivityBlocks from the main menu.
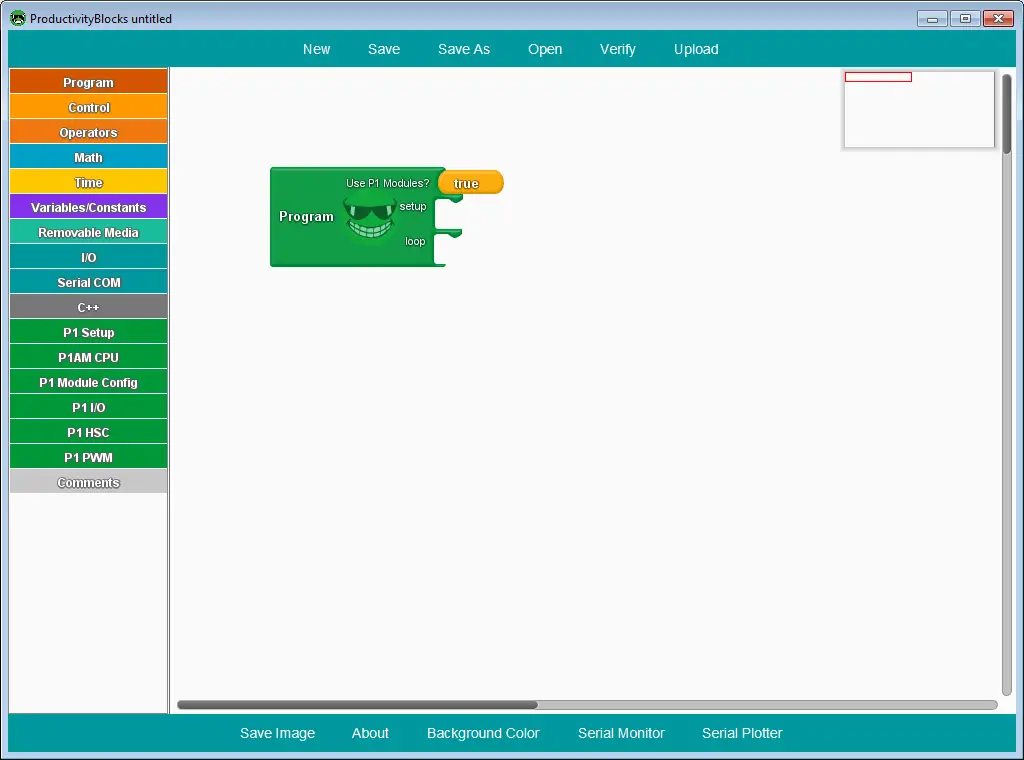
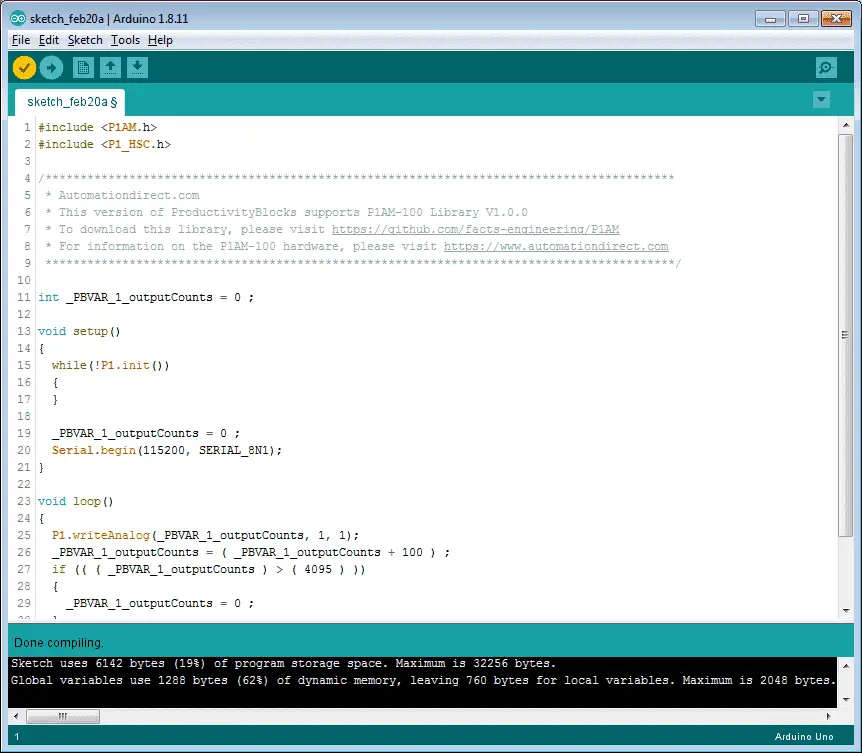
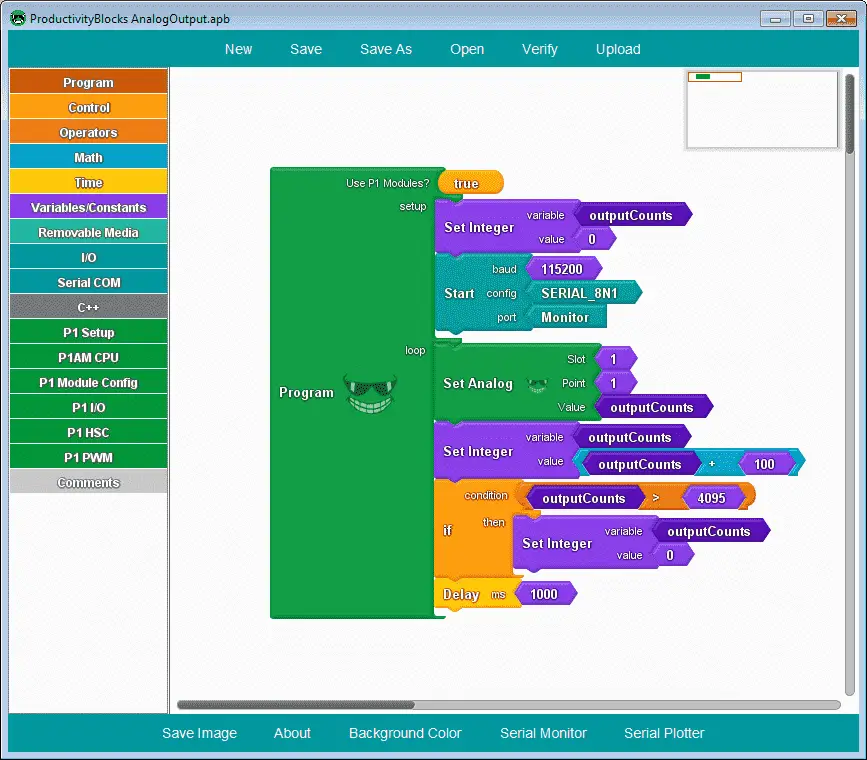
The ProductivityBlocks window will now be displayed.
We have now installed the software to program our Productivity Open Arduino Compatible Industrial controller.
Watch the video below to see the installation of the above software.
Productivity Open Arduino Compatible Links:
Product Hardware
– Productivity Open (Automation Direct)
– P1AM-100 Specifications
– Productivity Open User Manual
– Configure a Productivity Open Arduino-based Controller
– Open Source Controllers (Arduino-Compatible)
– Productivity Open Documentation (Facts Engineering)
– P1AM Design Files
Software
– Arduino IDE (Integrated Development Environment)
– P1AM-100 library (Easy Interface for controlling P1000 Modules)
– Productivity Blocks (Development Timesaver)
– Productivity Blocks Documentation (Wiki)
Community
– Automation Direct Forum – Open Source Devices
Next time we will look at our first program using the P1AM-100 Arduino Industrial Controller.
Watch on YouTube: Productivity Open Arduino Compatible Industrial Controller Installing the Software https://youtu.be/M7Agvhq69og
If you have any questions or need further information please contact me.
Thank you,
Garry
If you’re like most of my readers, you’re committed to learning about technology. Numbering systems used in PLC’s are not difficult to learn and understand. We will walk through the numbering systems used in PLCs. This includes Bits, Decimal, Hexadecimal, ASCII and Floating Point.
To get this free article, subscribe to my free email newsletter.
Use the information to inform other people how numbering systems work. Sign up now.

The ‘Robust Data Logging for Free’ eBook is also available as a free download. The link is included when you subscribe to ACC Automation.