The P1AM-100 industrial controller is programmed with the Arduino IDE (Integrated Development Environment). We installed the Arduino IDE, P1AM-100 library and ProductivityBlocks. Using this software we will be setting it up to program our P1AM Arduino industrial controller.

The Boards Manager will be used to set up our P1AM-100 Arduino board. We will then ensure that our device driver has been installed so we can communicate to the Productivity Open Controller. Using ProductivityBlocks, we will call up one of the sample programs, verify and upload the program to the P1AM-100. This program will blink the CPU LED light on and off. Let’s get started.
Previous posts in this Productivity Open Arduino Compatible Industrial Controller Series
A full list can be obtained at the following location:
Productivity Open (P1AM-100) Arduino Controller
Productivity Open Arduino Controller Hardware
– Starter Kit Unboxing Video
– Powering Up Video
Installing the Software – Video
Boards Manager Install
The Productivity Open P1AM-100 is a third-party board to the Arduino IDE. We must use the boards manager to install this board.
Start the Arduino IDE software. Open preferences by using the main menu select File | Preferences.
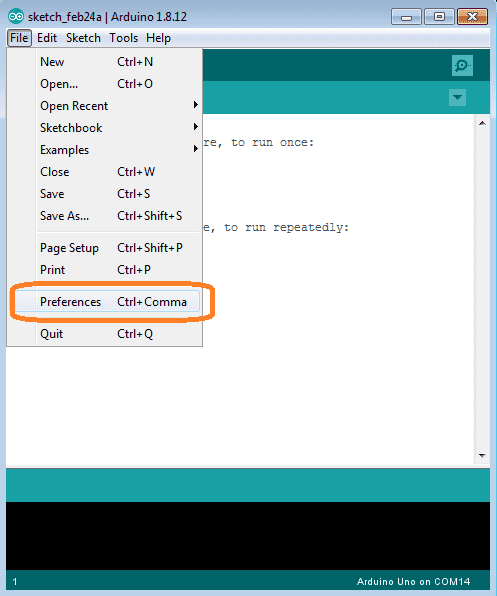
Alternatively, you can use the keyboard short cut of Ctrl + Comma.
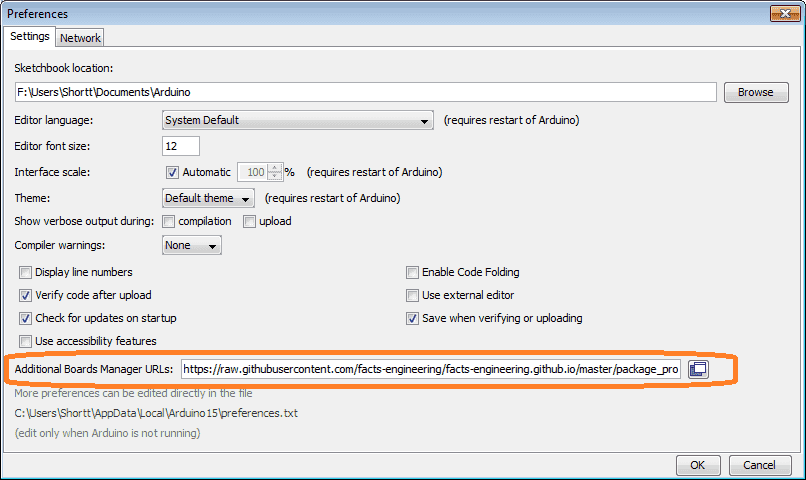
Under the heading of Additional Boards Manager URLs enter the following:
https://raw.githubusercontent.com/facts-engineering/facts-engineering.github.io/master/package_productivity-P1AM-boardmanagermodule_index.json
Note: If you already have additional boards displayed, separate each URL with a comma.
Select OK.
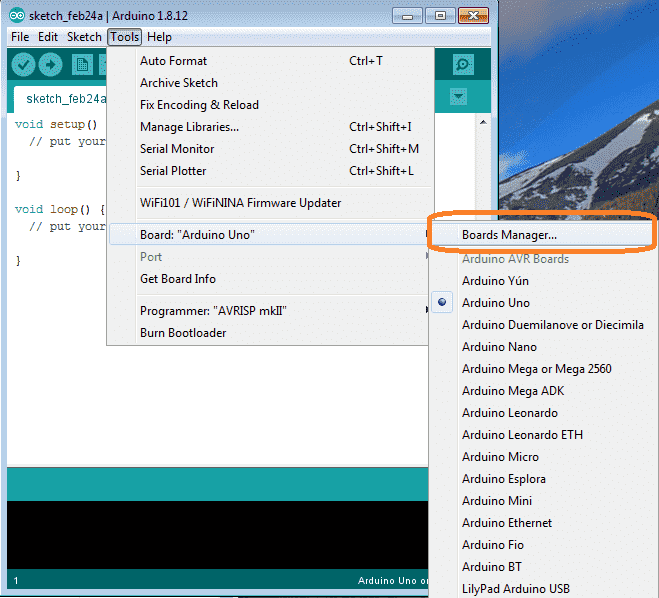
Using the main menu select; Tools | Boards: | Boards Manager…
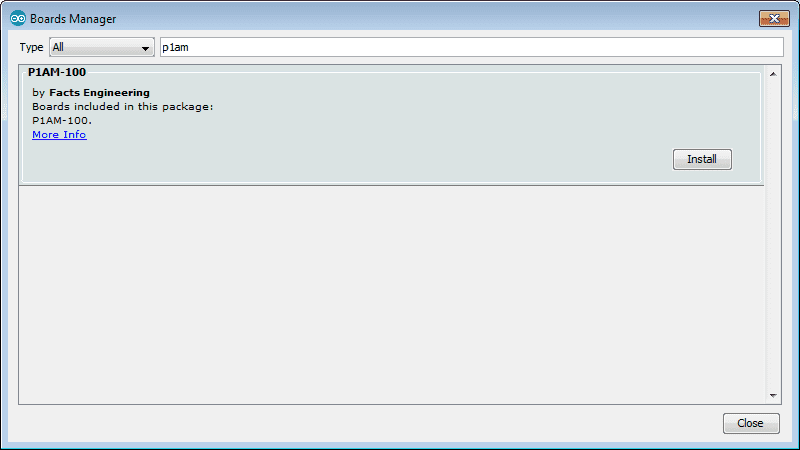
The boards manager window will now appear. Type in ‘p1am’. This will find the library that we installed last time. Select the Install button.
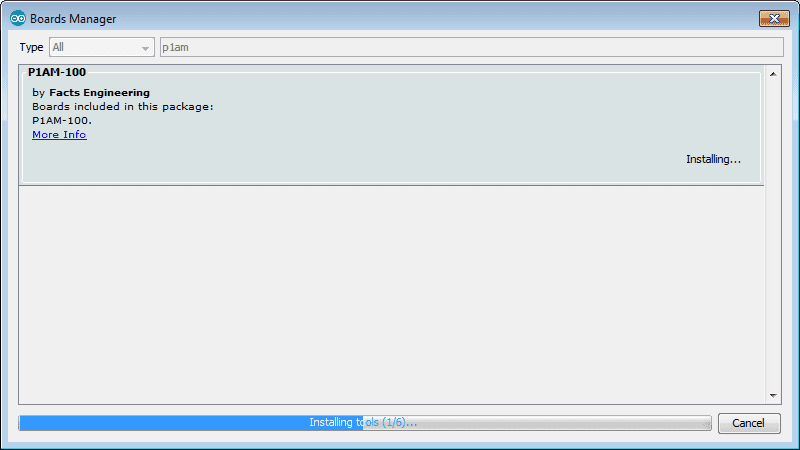
Our P1AM boards will now be installed.
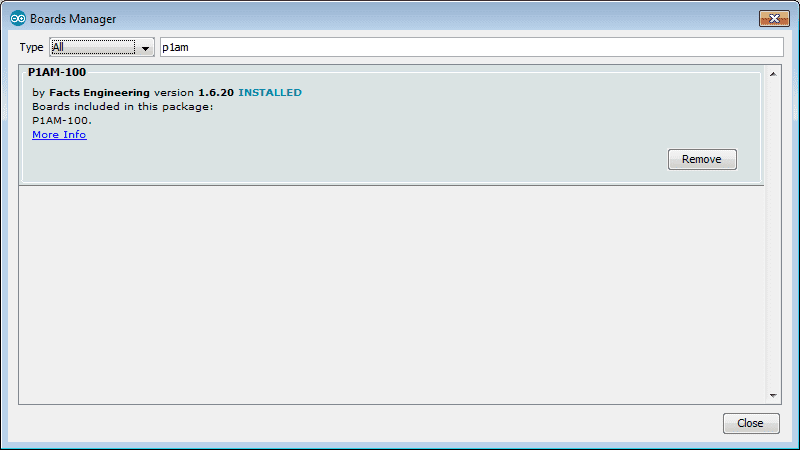
A message will now be displayed indicating the P1AM-100 board has been included.
If we wanted to remove this board then select the Remove button.
Select Close.
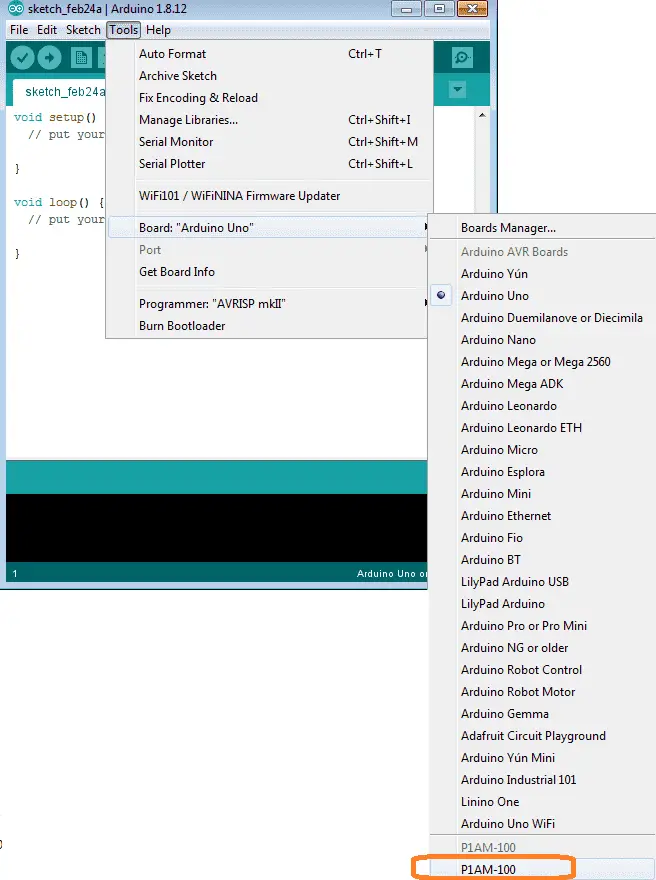
Select our P1AM-100 board from the main menu | Tools | Board: | P1AM-100

Our board will now show up on the bottom right corner of our Arduino IDE software.
Note: The port number automatically shows up. If not then we must install the Driver.
Driver Installation
For Windows 7 and 8, it is required that you install the device driver for the P1AM-100. Since we are using windows 7 on our PC then we must install the driver.
Download the driver installer here.
This will be a file called driver.zip. Extract the zip file by right-clicking and select extract.
Ensure that you are not connected to the P1AM-100 CPU.
Run the P1AM-100_install.bat file in the extracted directory. Follow the prompts to install the driver.
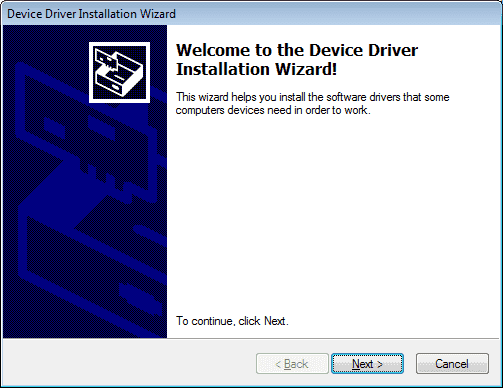
Click Next.
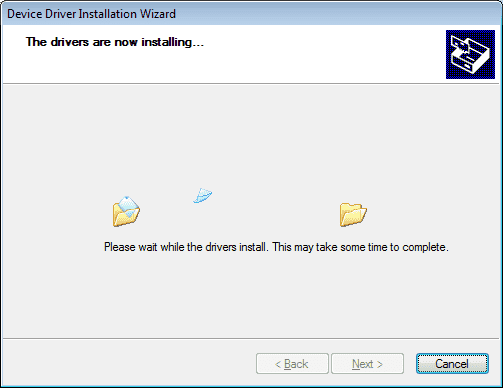
The drivers are now being installed.
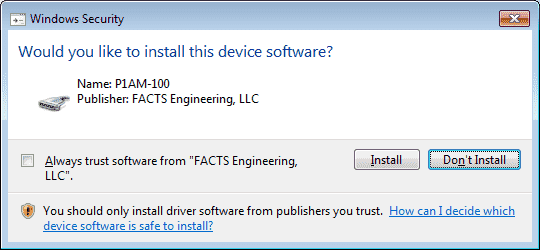
When prompted to install the P1AM-100 driver, click Install.
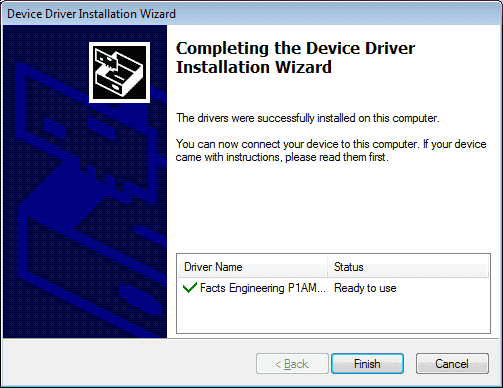
When the software finishes installing a message will be displayed indicating that the driver is ready to use. Click Finish.
Arduino IDE Preferences
Start the Arduino IDE software and select preferences. (Main Menu | File | Preferences or Ctrl + comma)
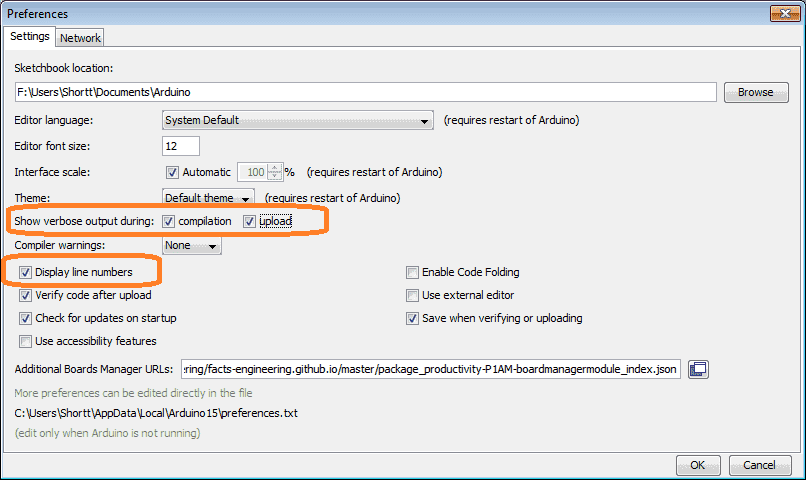
Select the show verbose output during compilation and upload. This option will allow us to review all of the communication when compiling or sending our program to the productivity open. This can aid in troubleshooting any communication issues.
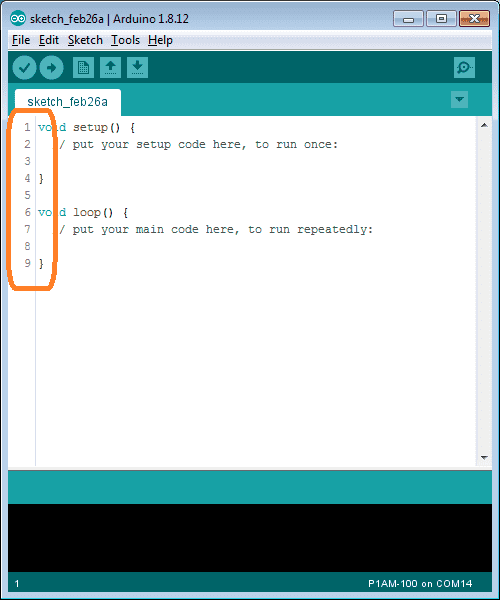
Select the display line numbers. This will help with explaining the code on future posts. It will be easier to reference the line number(s) in the sketch. (program)
Select OK.
We are not ready to program our productivity open arduino compatible controller. Our computer is now set up for programming the unit.
P1AM C++ Sample Program (Sketch)
When the P1AM board was installed; sample programs were installed as well.

In the Arduino IDE select File | Examples | PIAM |, etc.
This will call up the sample programs written in C++ for the productivity open industrial arduino.
P1AM ProductivityBlocks Sample Programs
The productivity blocks also include sample programs. We will now use the blink sample program to upload it to our controller.
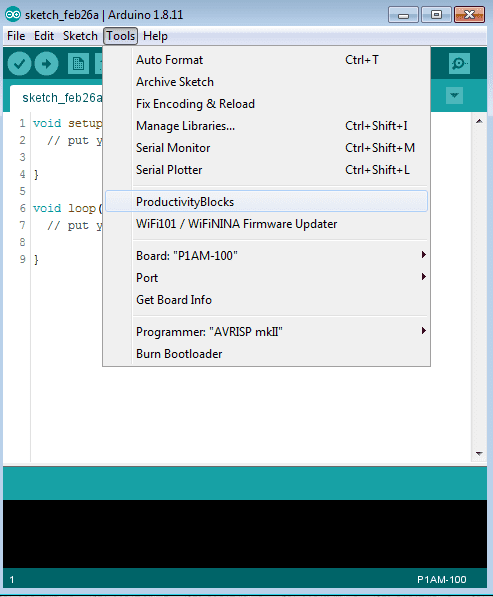
Select Tools | ProductivityBlocks from the main menu of the Arduino IDE.
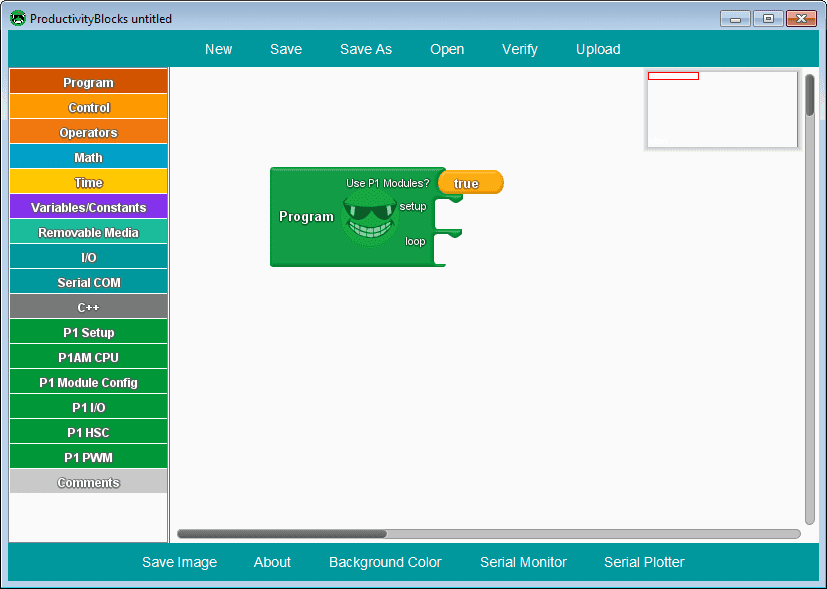
Select Open from the main menu.
The example programs for productivity blocks are stored under Arduino /ProductivityBlocks /Examples.
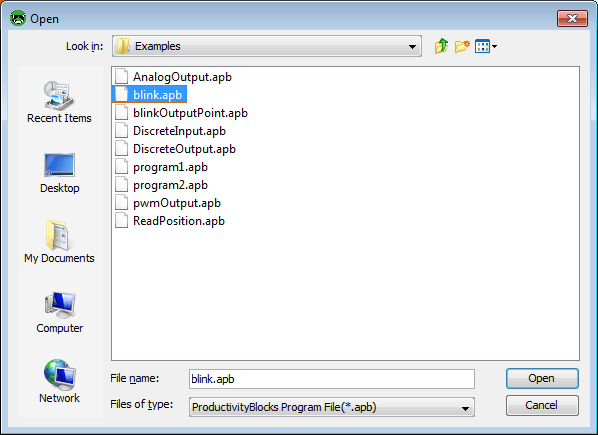
Select the blink.apb file from the samples. Hit Open.

Our sample program will load in the workspace. This program will blink the LED light on the CPU. It will be on for 250 and off for 500 milliseconds.
Select Verify on the main menu. This will convert our program into C++ code and display it in the Arduino IDE,
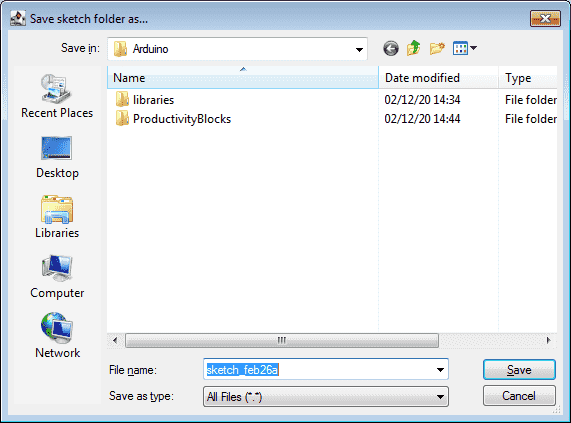
The option to save the program (sketch) will be given when verifying our productivity blocks sample program.
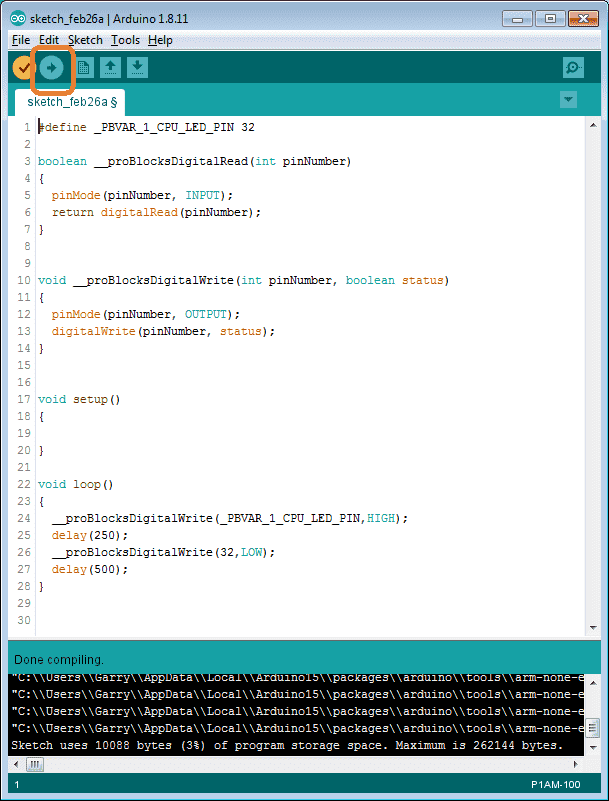
Here is our C++ code for our blinking LED light on the P1AM-100 CPU.
Connect the USB cable to our productivity open P1AM-100.
To upload our code to the board select the icon on the top menu icon bar.
We can also do this from Productivity Blocks.
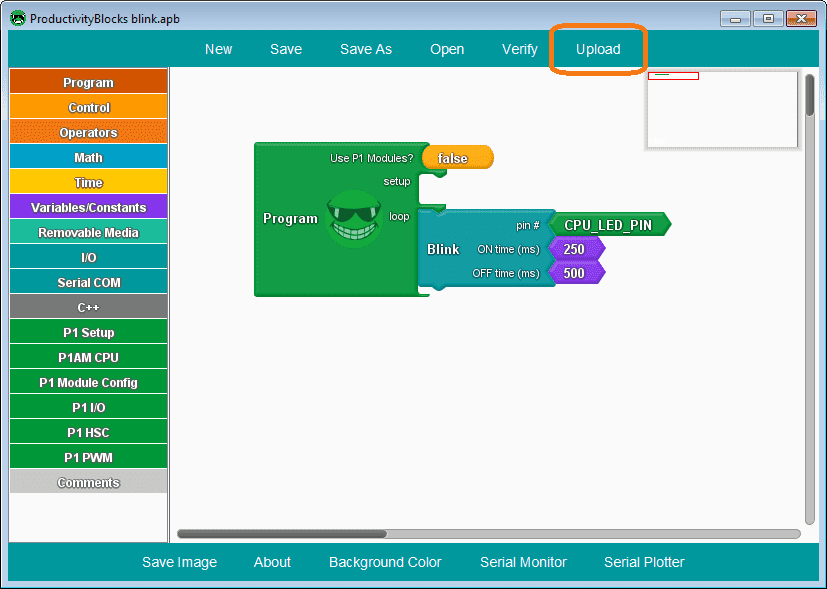
Select Upload from the main menu.
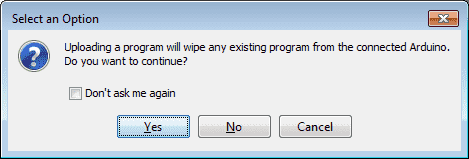
A warning will be displayed indicating that the existing program in the connected Arduino will be overwritten. You must answer yes for the program to be uploading into the board.
Watch the video below to see the first program running on our productivity open industrial arduino controller.
Productivity Open Arduino Compatible Links:
Product Hardware
– Productivity Open (Automation Direct)
– P1AM-100 Specifications
– Productivity Open User Manual
– Configure a Productivity Open Arduino-based Controller
– Open Source Controllers (Arduino-Compatible)
– Productivity Open Documentation (Facts Engineering)
– P1AM Design Files
Software
– Arduino IDE (Integrated Development Environment)
– P1AM-100 library (Easy Interface for controlling P1000 Modules)
– Productivity Blocks (Development Timesaver)
– Productivity Blocks Documentation (Wiki)
Community
– Automation Direct Forum – Open Source Devices
Next time we will look at the program structure of the P1AM-100 Arduino Industrial Controller.
Watch on YouTube: Productivity Open P1AM Industrial Arduino First Program
If you have any questions or need further information please contact me.
Thank you,
Garry
If you’re like most of my readers, you’re committed to learning about technology. Numbering systems used in PLC’s are not difficult to learn and understand. We will walk through the numbering systems used in PLCs. This includes Bits, Decimal, Hexadecimal, ASCII and Floating Point.
To get this free article, subscribe to my free email newsletter.
Use the information to inform other people how numbering systems work. Sign up now.

The ‘Robust Data Logging for Free’ eBook is also available as a free download. The link is included when you subscribe to ACC Automation.