We will now look at the P1AM industrial Arduino program structure. The P1AM-100 industrial controller is programmed with the Arduino IDE (Integrated Development Environment). The arduino IDE will allow us to write sketches (programs). These sketches have basic common elements like setup and loop.
We will be looking at these elements in our first program in the Arduino IDE and ProductivityBlocks. We will be modifying our first program with the selector switch. When it is on we will flash the CPU LED light on and off. When it is off we will ensure that the CPU LED light is off. Let’s get started.
Previous posts in this Productivity Open Arduino Compatible Industrial Controller Series
A full list can be obtained at the following location:
Productivity Open (P1AM-100) Arduino Controller
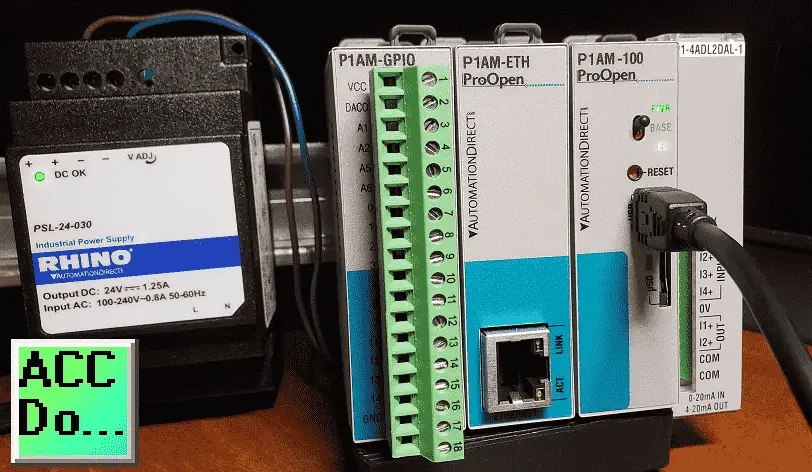
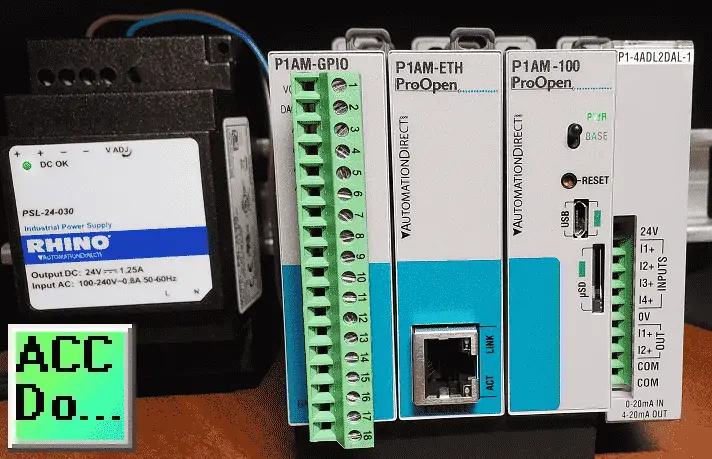
Productivity Open Arduino Controller Hardware
– Starter Kit Unboxing Video
– Powering Up Video
Installing the Software – Video
First Program – Video
Setup and Loop – P1AM Industrial Arduino Program Structure
The setup and loop are functions that must be present in your arduino sketch. Setup is used to initialize variables, pin modes, libraries, etc. The setup function will only run once after each power-up or reset of the P1AM industrial arduino controller. Loop function will continuously cycle through your program (sketch). This will allow your program to change and respond with your industrial arduino controller.
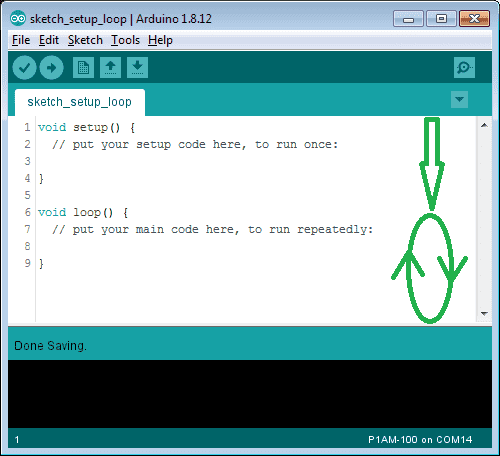
Lines 1 to 5 will only execute once. This can be used to load libraries, initialize variables, etc. Lines 6 to 9 will be the loop. This code will be constantly cycling through from the beginning to the end of the loop.
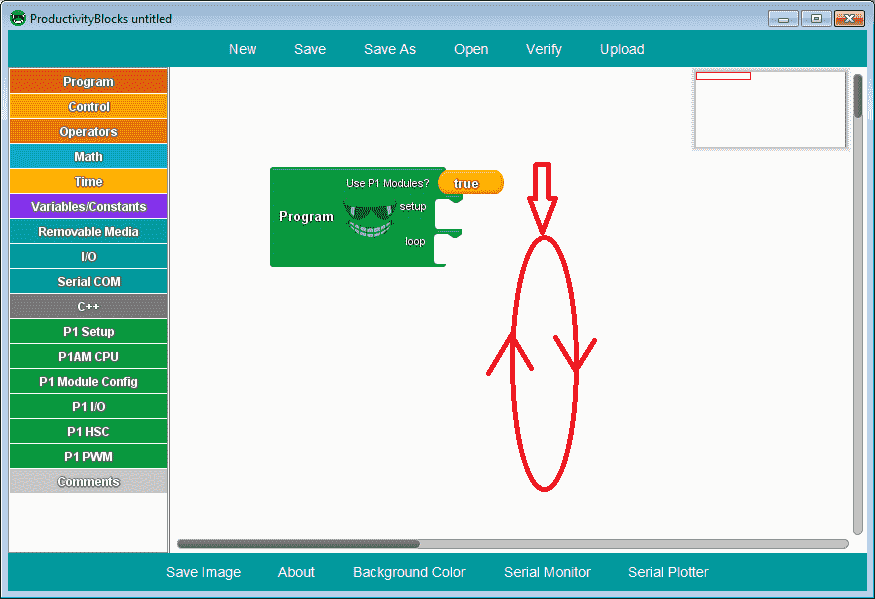
Productivity Blocks use the Program instruction in the P1 Setup menu or in the Program menu. The setup items will only be scanned once during a power-up or reset. Under the loop, the code will be continuously cycling through.
Note: In general, you want the loop to be constantly scanning. Instructions like ‘delay’ that we wrote last time, stops your code for a time period. Depending on your application, this may not be good if you are looking for an input to turn on when you are delaying (blocking) the code. In these cases, non-blocking instructions should be used like ‘millis()’. We will look at this in more detail later in the series.
First Arduino Program Modifications
We will now modify our first program to include the CPU switch. If the switch is on then blink the CPU LED. If the switch is off then turn off the CPU LED.
Call up the example program blink.apb in productivity blocks. This is the same program that we looked at last time.
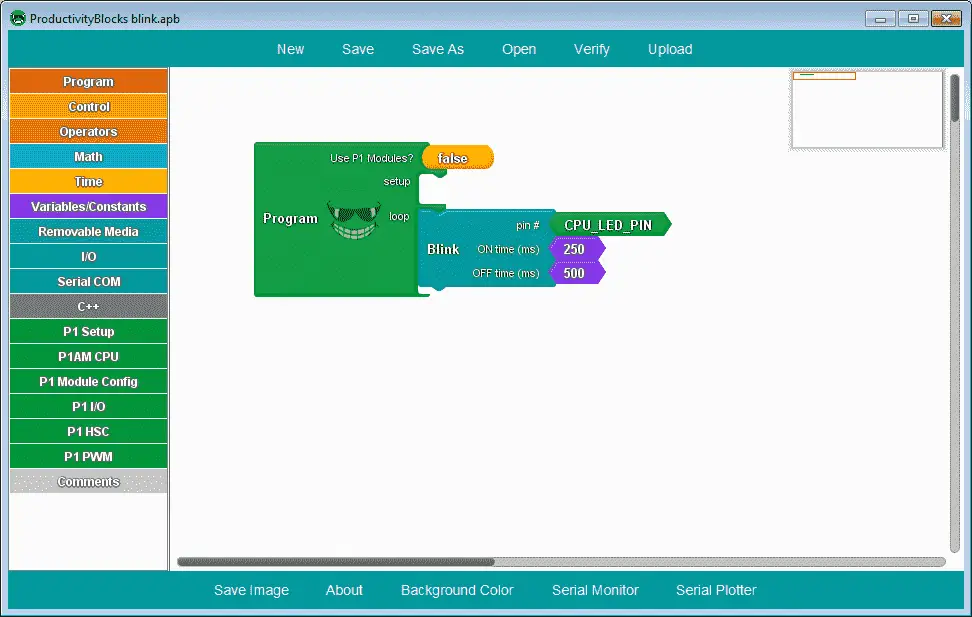
We will now modify this program using productivity blocks. Productivity blocks is a great tool to help develop your program quickly.
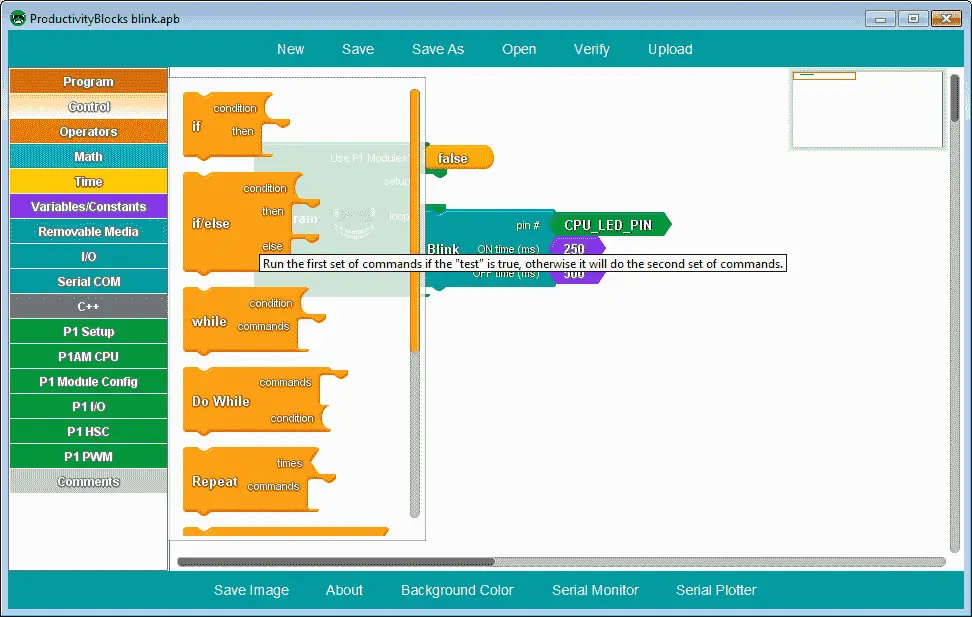
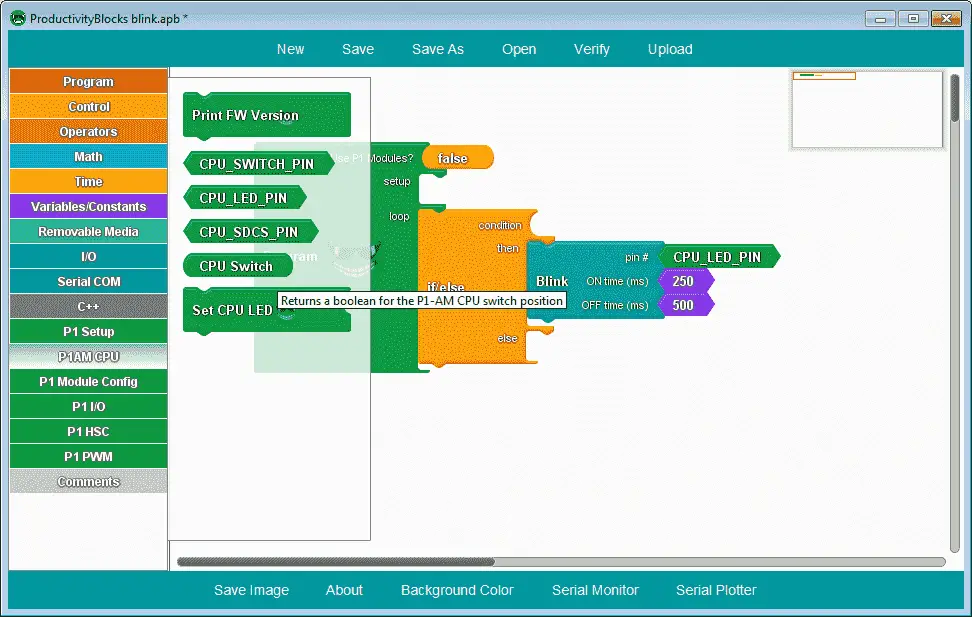
Select the Control menu on the left side. Then click and hold the if/else statement and drag this onto the work area. Place it above the Blink instruction in the loop.
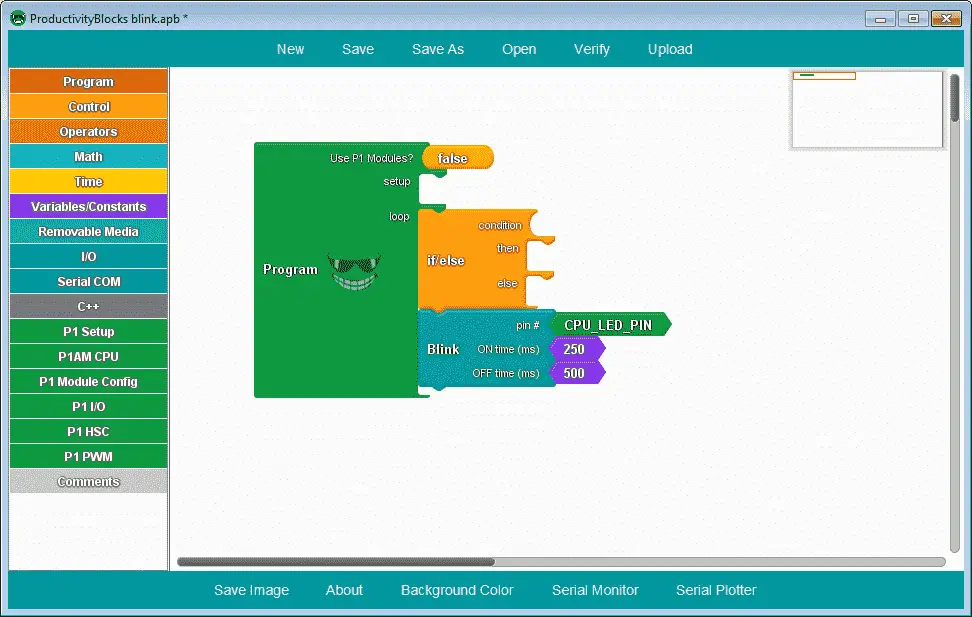
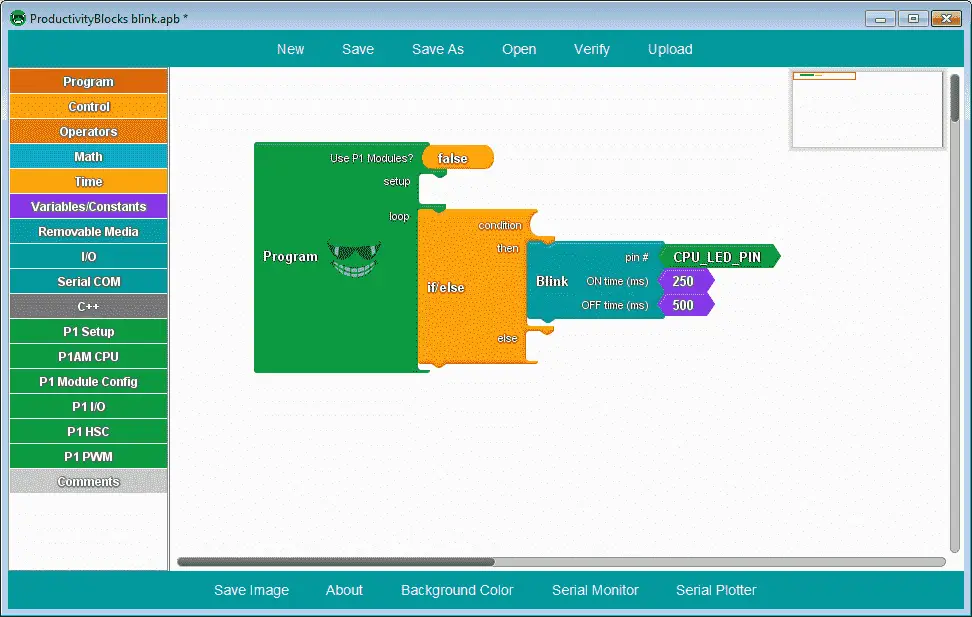
Click and hold the Blink instruction and drag it to the ‘then’ statement on the if/else instruction.
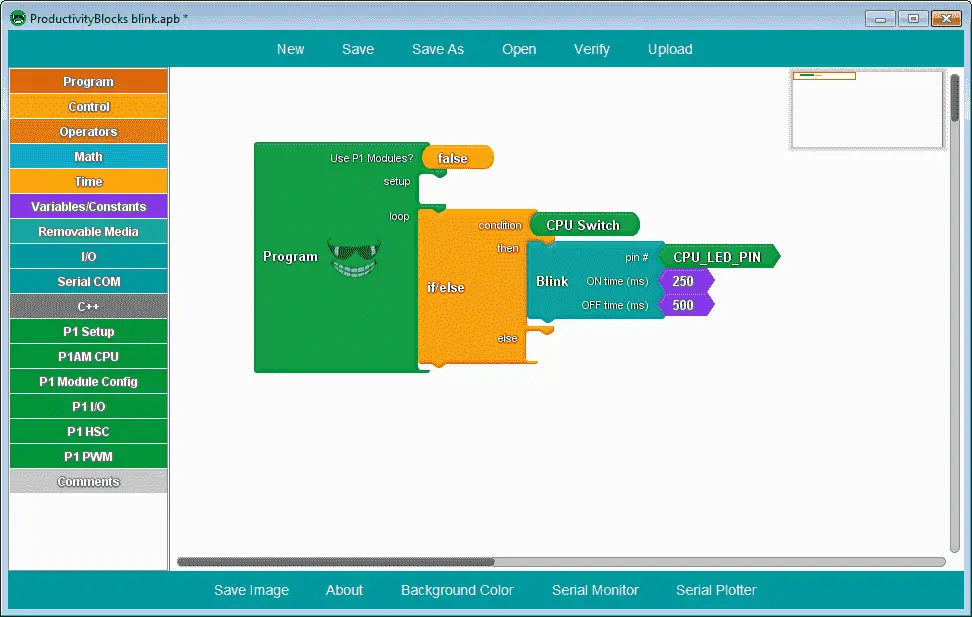
Select the P1AM CPU menu on the left side. Click and drag the CPU Switch onto the work area.
Place it on the condition of the if/else statement.
Select the P1AM CPU menu again. Click and drag the Set CPU LED onto the work area.
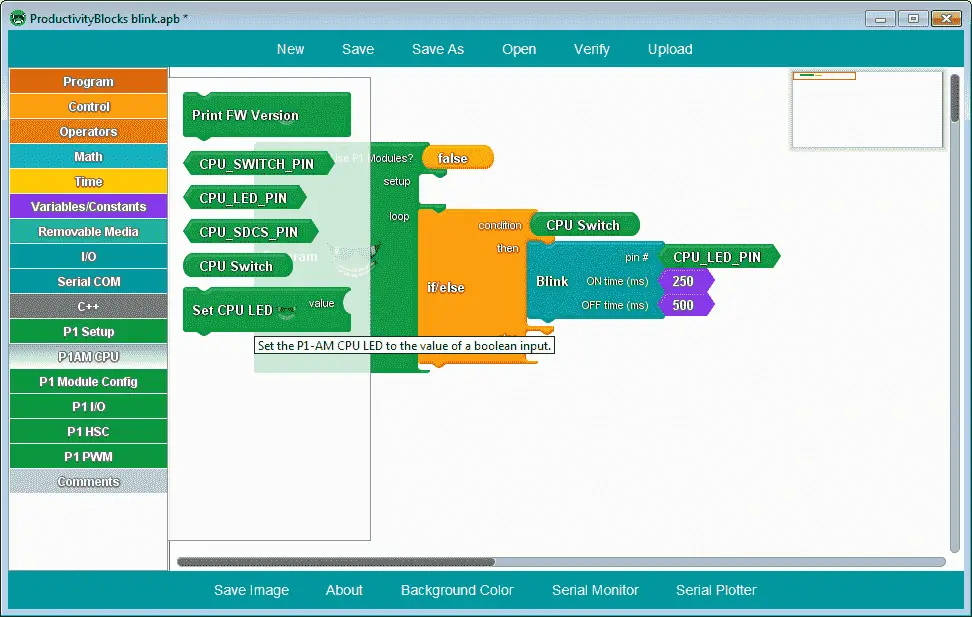
Place it on the else of the if/else statement

Select the arrow on the right side of the HIGH value.
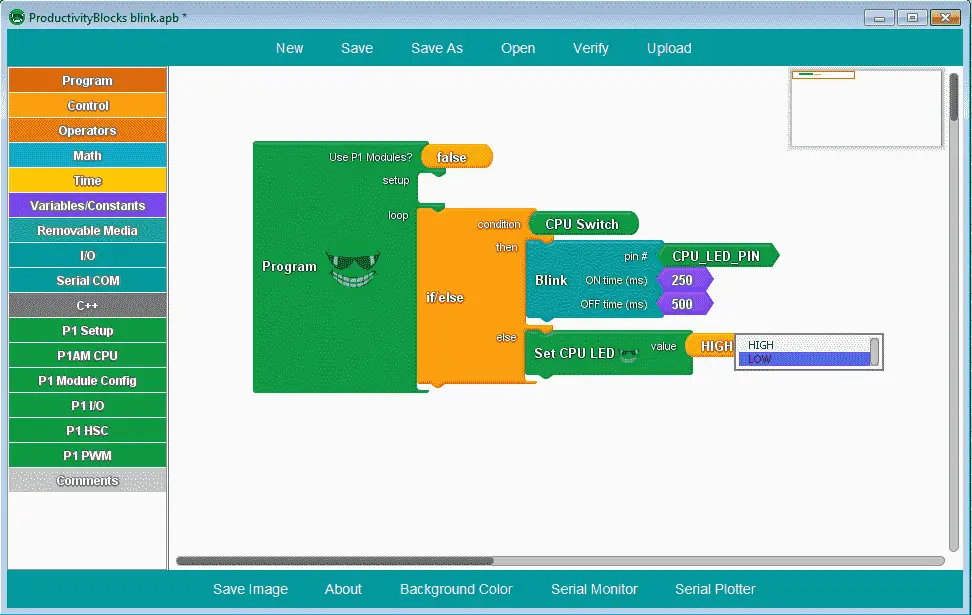
Select the LOW value.
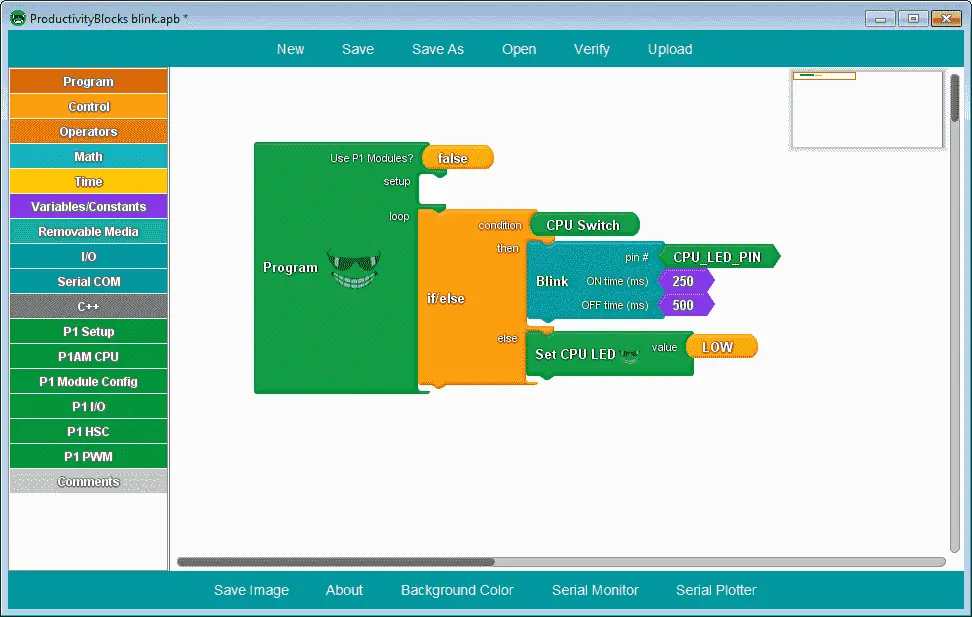
We have now modified our first program to include the CPU switch.
Verify the Arduino Program
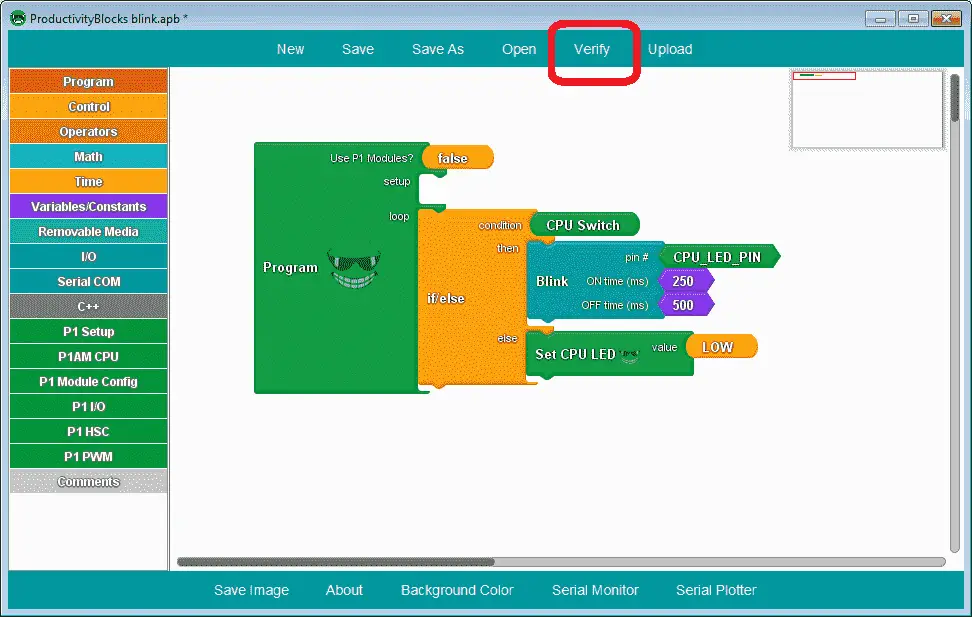
Select Verify on the main menu of the productivity blocks program. This will convert our program into C++ code. This is good because we do not have to worry about the correct syntax in our C++ code, productivity blocks will do all of this for us.
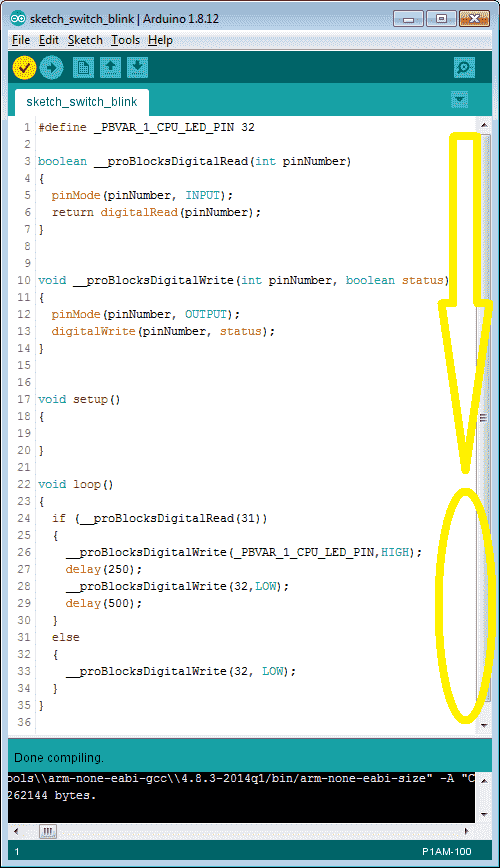
Our code is now converted. You will now see the C++ code for our sketch. You can see the setup and loop functions we discussed above in our program.
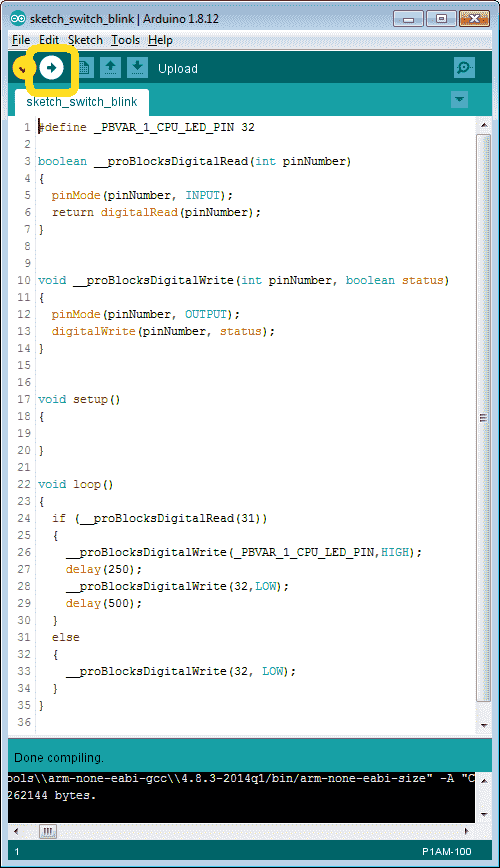
Select the Upload button on the main screen to transfer our program to the P1AM arduino industrial controller.
The arduino IDE will take our program and compile it into machine code. Compiling means to look at each line of our code, remove the comments, verify the syntax and instructions, and produce machine code. The machine code is what is sent to the industrial arduino board on our productivity open P1AM-100. This consists of binary information representing the instructions, variables and functions of our sketch.
When our program executes on our industrial arduino, it will run a bootloader. A bootloader is code that will start our operating system that will execute our machine code. Our machine code will be executed in the CPU, controlling items according to our sketch.
Watch the video below to see the program structure on our productivity open industrial arduino controller.
Productivity Open Arduino Compatible Links:
Product Hardware
– Productivity Open (Automation Direct)
– P1AM-100 Specifications
– Productivity Open User Manual
– Configure a Productivity Open Arduino-based Controller
– Open Source Controllers (Arduino-Compatible)
– Productivity Open Documentation (Facts Engineering)
– P1AM Design Files
Software
– Arduino IDE (Integrated Development Environment)
– P1AM-100 library (Easy Interface for controlling P1000 Modules)
– Productivity Blocks (Development Timesaver)
– Productivity Blocks Documentation (Wiki)
Community
– Automation Direct Forum – Open Source Devices
Next time we will look at variables (data types) we can use in the P1AM-100 Arduino Industrial Controller.
Watch on YouTube: Productivity Open P1AM Industrial Arduino Program Structure
If you have any questions or need further information please contact me.
Thank you,
Garry
If you’re like most of my readers, you’re committed to learning about technology. Numbering systems used in PLC’s are not difficult to learn and understand. We will walk through the numbering systems used in PLCs. This includes Bits, Decimal, Hexadecimal, ASCII and Floating Point.
To get this free article, subscribe to my free email newsletter.
Use the information to inform other people how numbering systems work. Sign up now.

The ‘Robust Data Logging for Free’ eBook is also available as a free download. The link is included when you subscribe to ACC Automation.