The Arduino Opta can be programmed with basically two different software packages. The Arduino IDE and the Arduino PLC IDE. Arduino IDE is the traditional programming package for sketches (programs). C++ is used in sketches to develop your logic. Arduino PLC IDE will transform the Arduino Opta into a micro-PLC controller. Programs can be written in the standard IEC 61131-1 standard languages. These are Ladder Diagram, Function Block Diagram, Structured Text, Sequential Function Chart, and Instruction List. You can also mix PLC programming with Arduino sketches within the PLC IDE software. This Arduino PLC IDE environment brings deterministic cyclic tasks and multitasking to your application.

We will be installing both software packages on our computer.
Note: You do not have to purchase a software license for the Arduino PLC IDE when programming an OPTA controller. We will discuss the differences between these two programming methods and features as we install the software. Let’s get started.
The entire Arduino Opta IoT PLC Series is located here.
Previously in this series, we have discussed the following:
Opta Introduction Video
Arduino Opta IoT PLC Cutting Edge Hardware – Video
Note: A post is usually associated with each video. This will provide additional details and links discussed.
Arduino IDE (Opta Software)
The Arduino IDE (Integrated Development Environment) – contains a text editor for writing code, a message area, a text console, a toolbar with buttons for common functions, and a series of menus. It connects to the Arduino hardware (Opta) to upload programs and communicate with them. This IDE includes a simplified version of C++ language, with a simplified syntax and additional libraries specific to the Arduino platform.
This Opta can be programmed with Arduino IDE 1.8.10+, Arduino IDE 2.0+, or Arduino Web Editor. We will install the Arduino IDE 2.1.0, the latest major release of the software.
Download the software from the following URL link.
https://www.arduino.cc/en/software
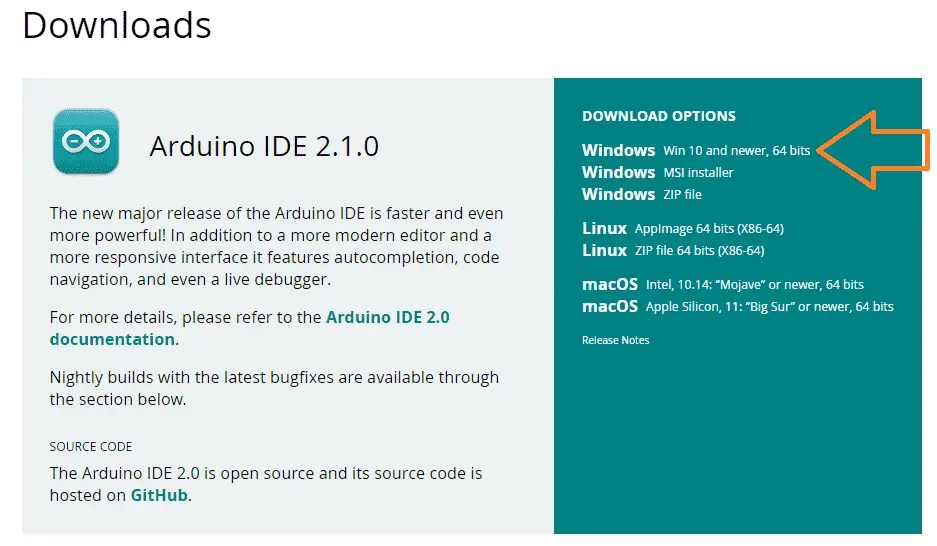
Our computer is Windows 11, so we will install Win 10 and newer, 64-Bit version.

Once you select your version of the software to download, based on your computer the following donation screen will appear. You can donate to the software or select “Just Download”. This will now download the following file:
arduino-ide_2.1.0_Windows_64bit.exe
Double-click on this file to start the installation of the software.
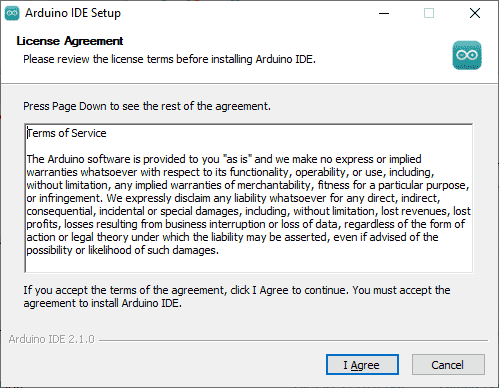
The Arduino IDE Setup window will now display the license agreement. You must agree to the agreement to continue. Select I agree.
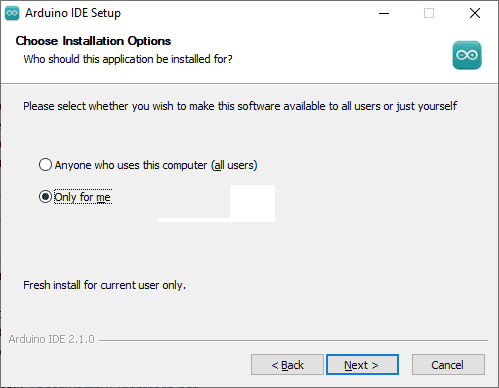
You can now choose the installation options for the software. I have chosen “Only for me”. Select next.
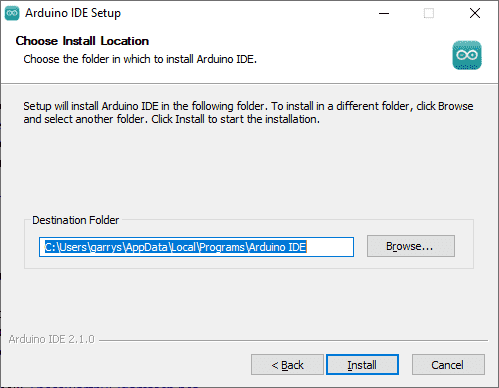
The installation location is next. We will leave this as the default and select “Install”.
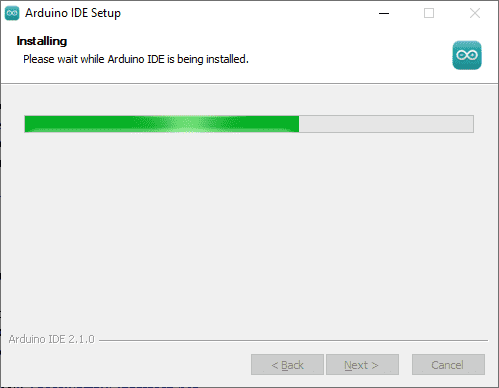
Our software will now be installed on the computer. This may take a few minutes.
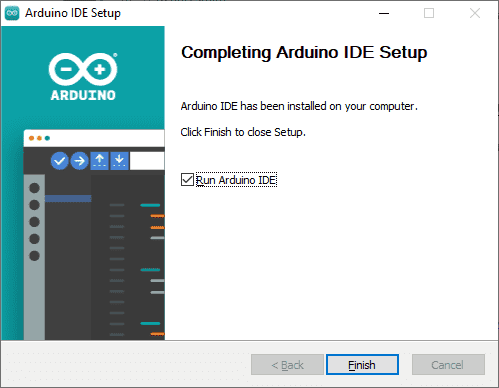
Once the software has been installed, we can select “Finish” This will now start our Arduino IDE software.
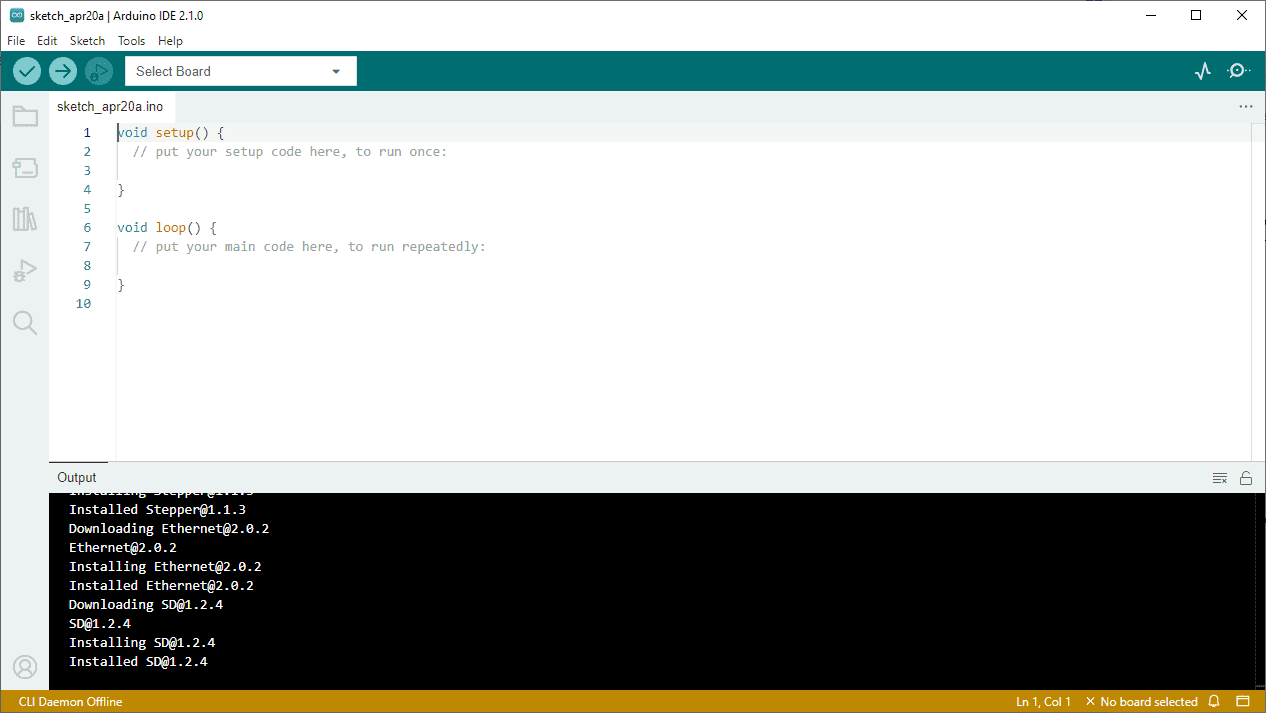
Once our Arduino IDE software starts, it automatically updates the core information. Allow this to update if you get security alerts.
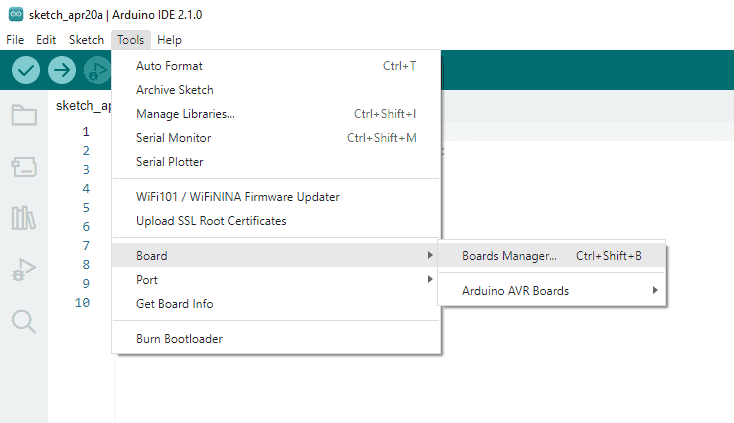
Within the Arduino IDE, install the core for the Opta™. Go to Tools > Board > Boards Manager; in the board’s manager section, search for Opta mbed and install it.
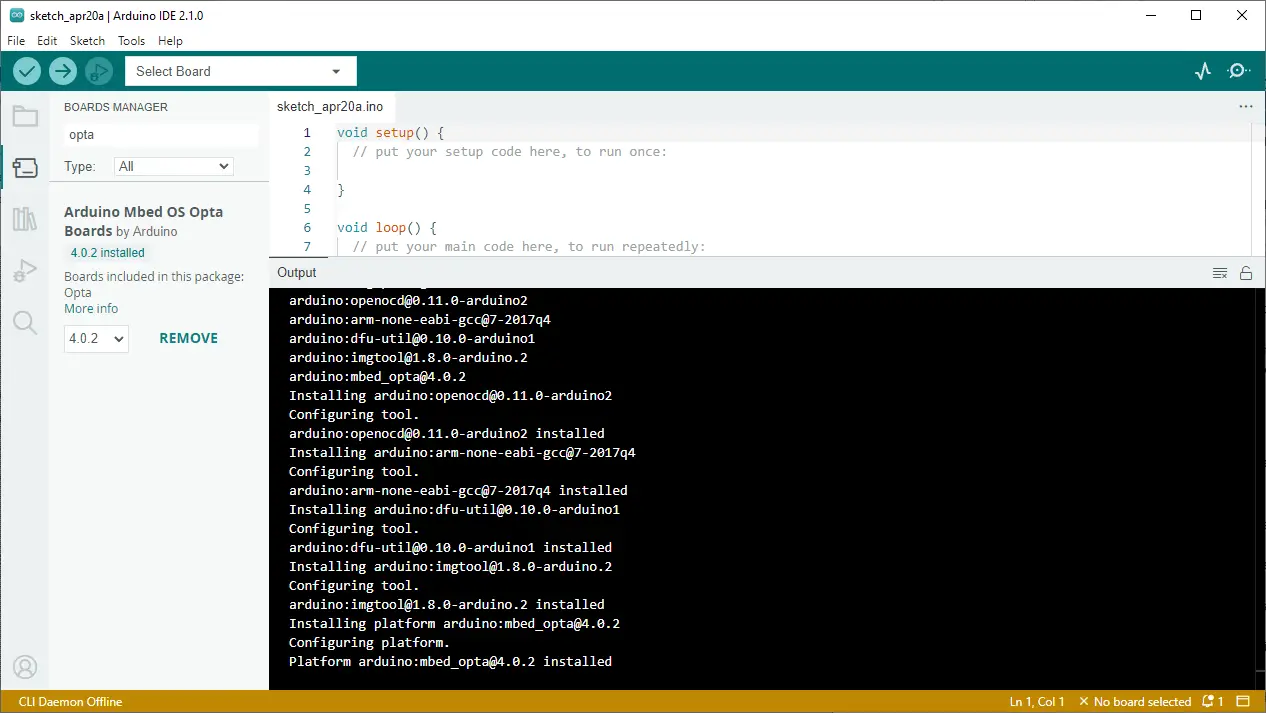
We are ready to upload sketches to the Opta™ via the Arduino IDE.
Watch the video below to see the installation of this software.
Arduino PLC IDE (Opta PLC Software)
Arduino PLC IDE is part of the PRO series. It will allow you to boost productivity and build automation with your own Industry 4.0 control system. As mentioned previously, this integrated development environment will allow you to program in ladder logic and the other 4 languages as part of the IEC 61131-1 standard. The Arduino PLC IDE will allow you to mix your PLC programming with sketches. This software will be used to download firmware to the Opta PLC, enabling this Arduino to become a PLC. The Opta with the Arduino PLC IDE will provide the following functionality.
– Deterministic cyclic tasks and multitasking – Timing of critical tasks can easily be done
– On-Line monitoring and changing variables – Easily troubleshoot and monitor what is happening in the controller in real-time.
– On-Line program changes – This will allow you to change your program while running. No more stopping to upload and download your modified code.
– Integrated No-Code fieldbus configurators for Modbus RTU, TCP, and CANOpen communications. Communication implementation becomes easily done.
Download the software from the following URL link.
https://www.arduino.cc/en/software
Scroll down the page until you see the Arduino PLC IDE software.
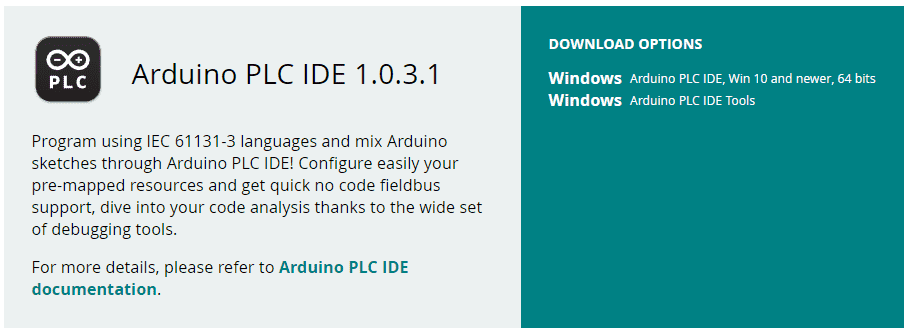
The Arduino PLC IDE will only run in the Windows environment. You will need a computer that is Windows 10 and newer and 64-Bit. There are two files that you will need to download.
Arduino-PLC-IDE-Tools_1.0.3_Windows_64bit.msi
Setup_Arduino PLC IDE_1.0.3.1_20230329.exe
When downloading the files, a donation screen will appear. You can donate to the software or select “Just Download”.
Note: The Arduino PLC IDE Tools must be installed before the PLC IDE.
Double-click on the Tools file to start the installation of this software first.

The Arduino PLC IDE Tools Setup screen will be displayed. A welcome screen will first be shown. Select “Next”.
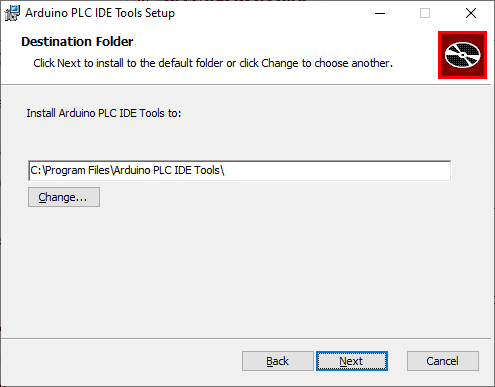
A destination folder can now be specified for the tools. We will leave this as the default and select “Next”.
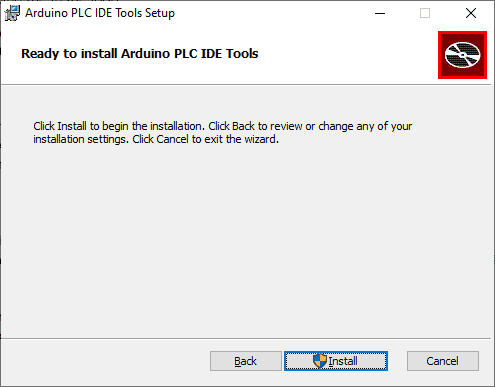
We are now ready to install the tools software. Select “Install”.
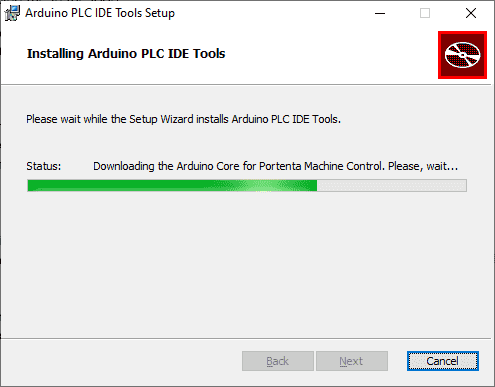
The window will now show you the progress of the installation.
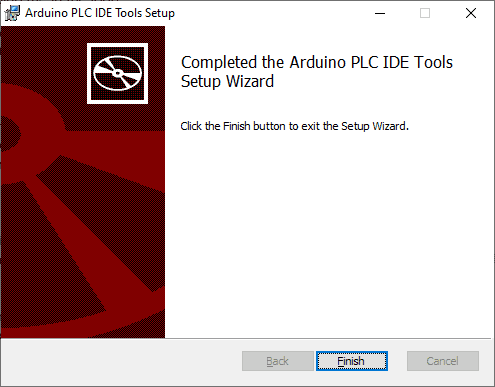
Once the tools software has been installed, we can select “Finish”. We can now call up the Arduino PLC IDE program file and double-click it. This will now start the installation.
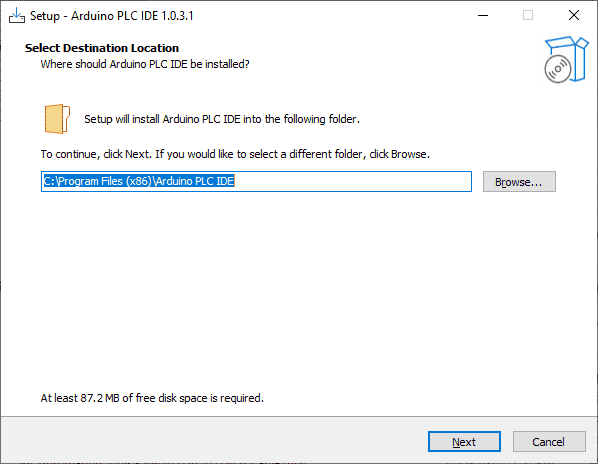
The Setup – Arduino PLC IDE 1.0.3.1 screen will now be displayed. We can select the destination location. We will leave this as the default location for the software. Select “Next”.
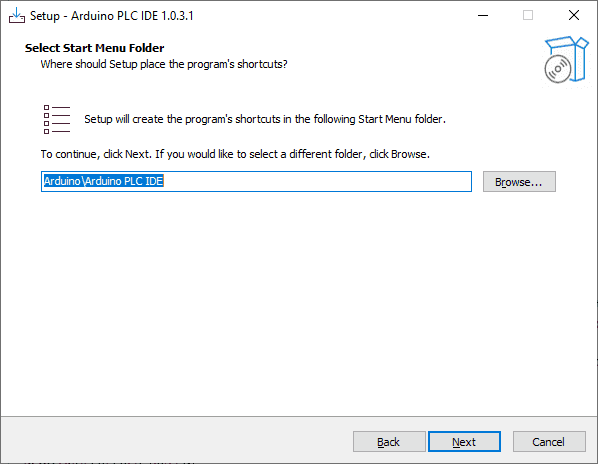
The start menu folder will now be displayed. We will leave this as the default and select “Next”.
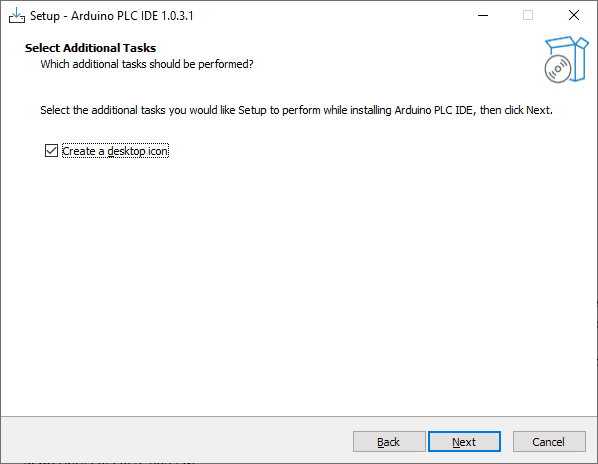
Leave the default to create a desktop icon and select “Next”.
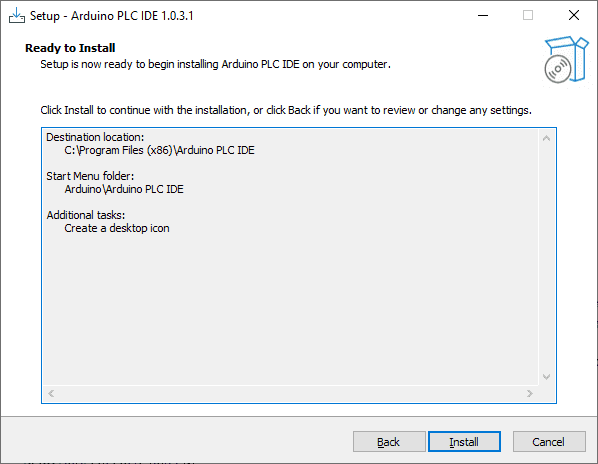
Our software is now ready to install. Select the “Install” button.
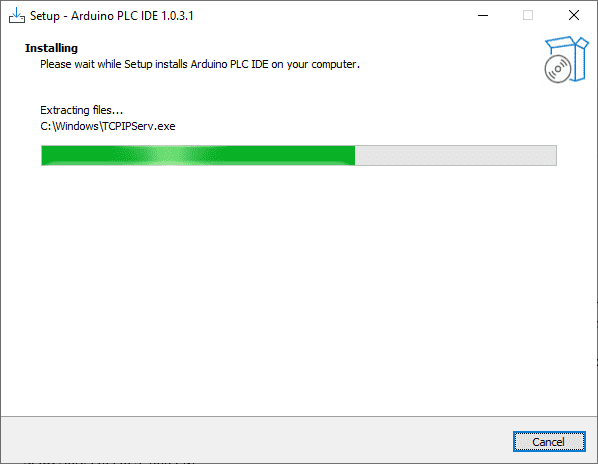
The software will now install. An indication will be shown of the progress.
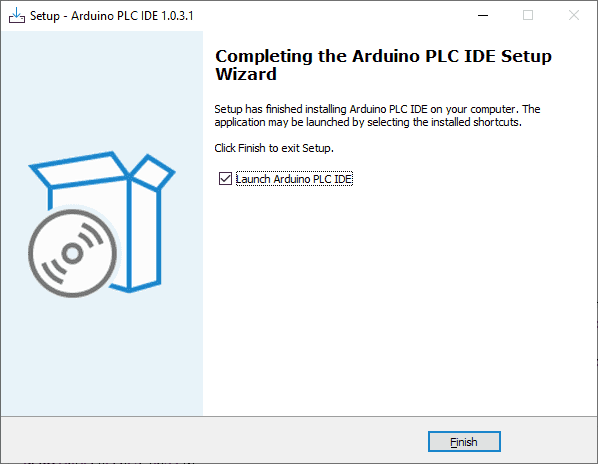
Once the Arduino PLC IDE software has been installed, we can select “Launch Arduino PLC IDE”. Select “Finish”. This will exit you from the installation and start the software.
The software splash screen will be displayed.
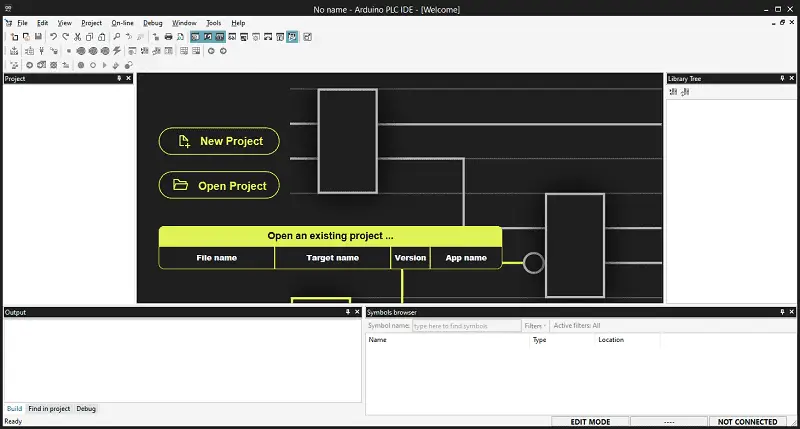
The Arduino PLC IDE software has now started. The workspace can now be seen. It is composed of several elements.
OUTPUT WINDOW – The Output window is the place where PLC IDE prints its output messages. This window contains four tabs: Build, find in Project, Debug, and Resources.
STATUS BAR – The Status bar displays the state of the application at its left border and an animated control reporting the state of communication at its right border.
DOCUMENT BAR – The Document bar lists all the documents currently open for editing in PLC IDE.
WATCH WINDOW – The Watch window is one of the many debugging tools supplied by PLC IDE. Among the other debugging tools, the Oscilloscope, the triggers, and the live debug mode are worth mentioning.
LIBRARY TREE – Libraries are a powerful tool for sharing objects between PLC IDE projects.
WORKSPACE WINDOW – The Workspace window consists of two distinct panels. (Projects / Resources)
SOURCE CODE EDITORS – The PLC IDE programming environment includes a set of editors to manage, edit, and print source files written in any of the 5 programming languages defined by the IEC 61131-3 standard.
TOOLBARS – PLC IDE allows users to hide or show specific toolbars to customize the workspace fully.
Next time we will be establishing communication with our Arduino Opta PLC.
Watch the video below to see the installation of this software.
Arduino Opta PLC – IoT and Industry 4.0 Enabler
Finder OPTA 8A Series – Tutorials
Datasheet
Quickstart Sheet
Arduino Opta Hardware
Arduino PLC IDE
Arduino Software Download Page
(Arduino IDE, PLC IDE, PLC IDE Tools)
Watch on YouTube: Arduino Opta Software Installation
If you have any questions or need further information, please contact me.
Thank you,
Garry
If you’re like most of my readers, you’re committed to learning about technology. Numbering systems used in PLCs are not challenging to learn and understand. We will walk through the numbering systems used in PLCs. This includes Bits, decimals, Hexadecimal, ASCII, and Floating points.
To get this free article, subscribe to my free email newsletter.
Use the information to inform other people how numbering systems work. Sign up now.

The ‘Robust Data Logging for Free’ eBook is also available for free download. The link is included when you subscribe to ACC Automation.