MQTT stands for Message Queuing Telemetry Transport. This simple publish and subscribe communication protocol does not take too many resources.
Constrained devices with low bandwidth are ideal for MQTT. This protocol provides machine to machine (M2M) connectivity which is ideal for the Internet of Things. (IoT) This protocol is not for remote IO or real-time (deterministic) applications. MQTT is a good solution for applications that move data from hundreds or thousands of machines (sensors) to clients in many networks.
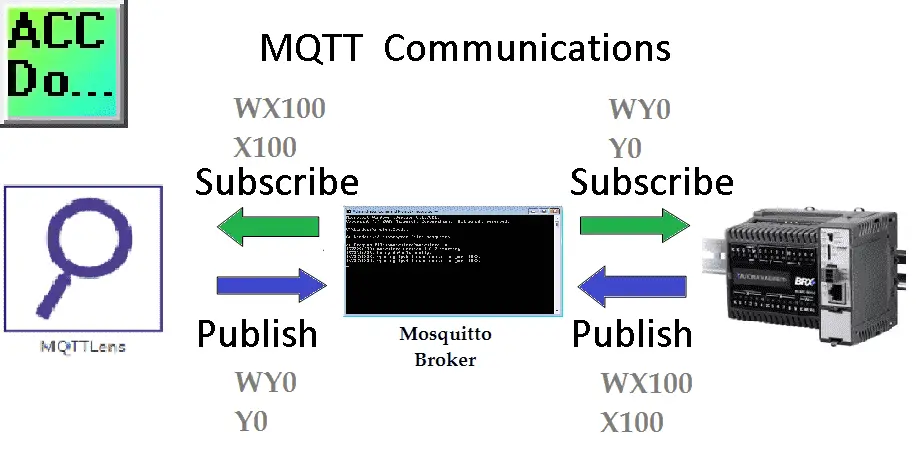
We will be installing a windows based broker called Mosquitto. The Do-More BRX PLC will be one of the clients publishing and subscribing to the MQTT broker. MQTT Lens (Chrome Browser App) will be the other client publishing and subscribing to the MQTT broker. Each client will share information. Let’s get started.
Previously in this BRX series PLC, we have discussed:
System Hardware – Video
Unboxing – Video
Installing the Software – Video
Establishing Communication – Video
Firmware Update – Video
Numbering Systems and Addressing – Video
First Program – Video
Monitoring and Testing the Program – Video
Online Editing and Debug Mode – Video
Timers – Video
Counters – Video
High-Speed IO – Video
Compare Instructions – Video
Math Instructions – Video
Program Control – Video
Shifting Instructions – Video
Drum Instruction – Video
Serial Communication – Modbus RTU to Solo Process Temperature Controller – Video
Data Logging – Video
Email – Text SMS Messaging Gmail – Video
Secure Email Communication Video
AdvancedHMI Communication – Modbus TCP – Video
Analog IO – System Configuration – Video
HTTP JSON Instructions – Video
Analog Dusk to Dawn Program – Video
INC DEC 512 Registers for DMX512 – Video
PID with PWM Output – Video
PID Ramp Soak Profile – Video
Do-More Simulator MQTT Publish / Subscribe – Video
Our entire series can be found here.
The programming software and manuals can be downloaded from the Automation Direct website free of charge.
Analog Register WX100 and Bit X100 will be published from the BRX PLC Client to the Eclipse Mosquitto Broker. Analog Register WY0 and Bit Y0 will be published from the MQTTLens Client to the Broker. Both Clients will then read each other published information.
NOTE: Write down exactly where all of the information is being published and subscribed to in your application. This will help you when troubleshooting your system.
Watch the video below to see the BRX Do-More PLC MQTT Communications in action.
Eclipse Mosquitto Broker
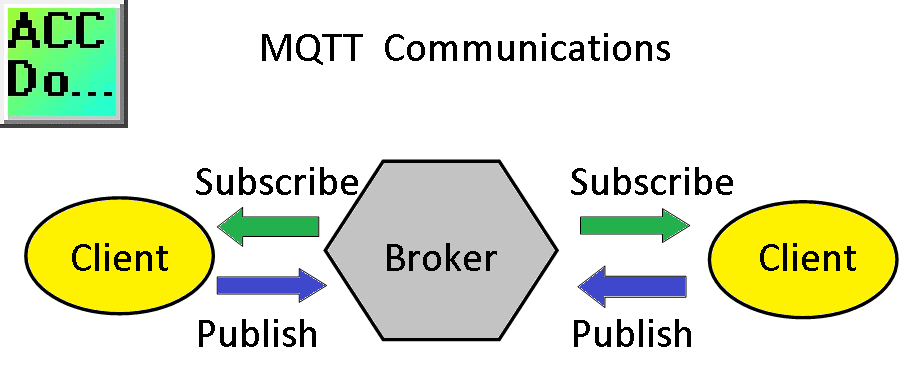
The MQTT broker is a server. It will receive all messages from the client. (Publish) The broker will then route the messages to the appropriate destination clients. (Subscribe)
Mosquitto.org is the website that we will be downloading the free MQTT broker. Here is a link to the download page.
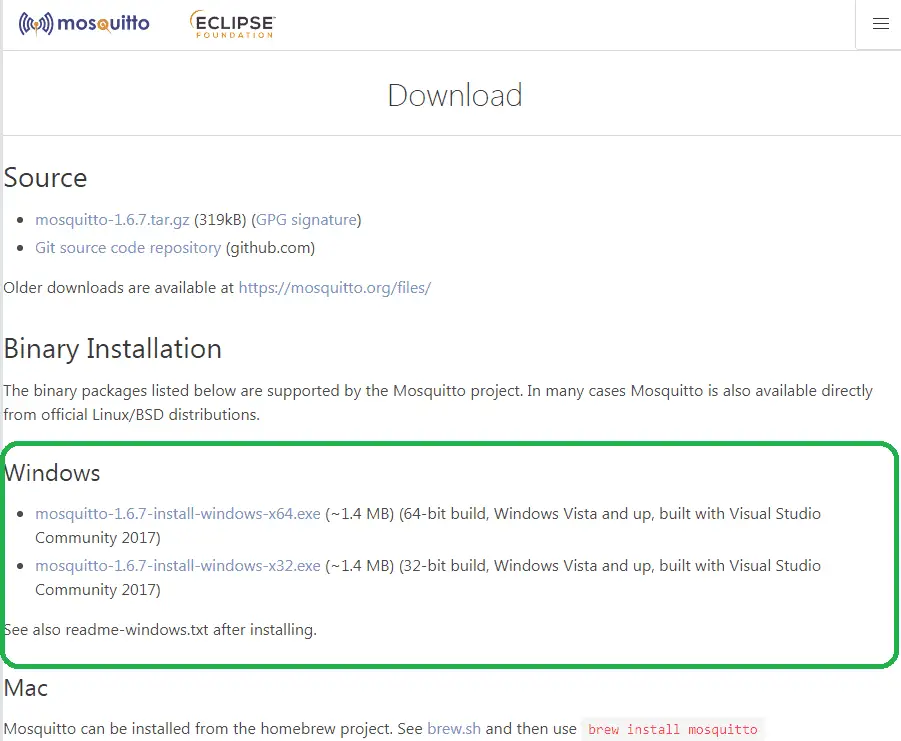
Choose the 32 or 64-bit version of Mosquitto for windows. If you are unsure, then call up the system menu.
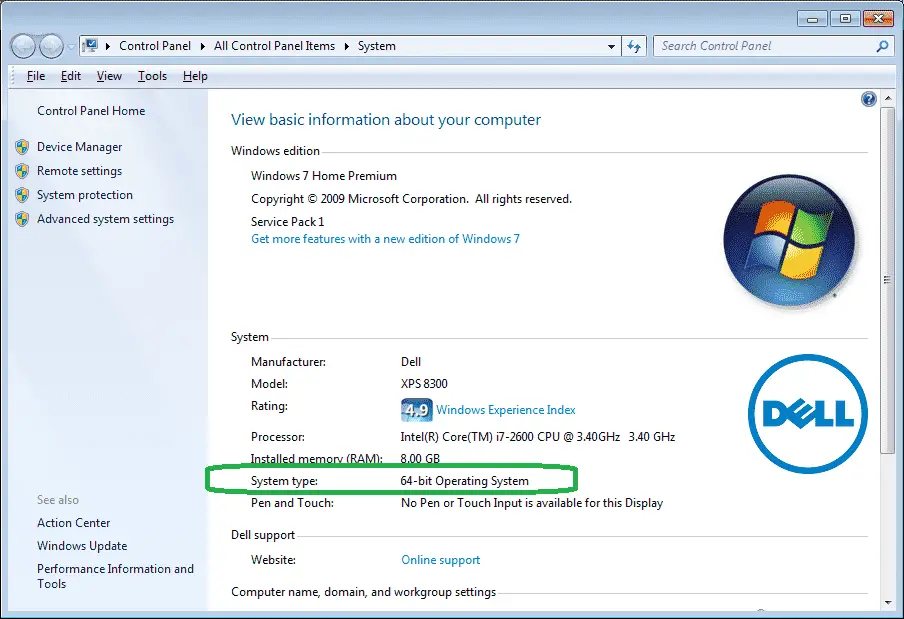
The System Type will be displayed under the System heading on the page. In my case, I have a 64-bit operating system.
Run the file downloaded. (mosquito-1.6.7-install-windows-x64.exe)
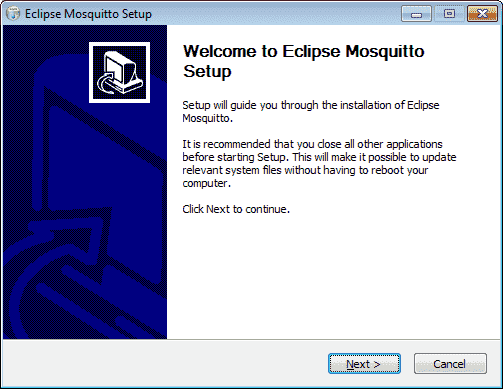
The welcome screen will now appear. Click the Next button.
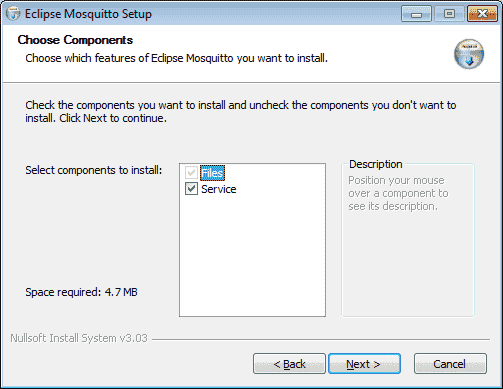
Use the default selection as displayed above. This will install the Eclipse Mosquitto service. Services such as this can be controlled when to start under the administration tools. Click the Next button.

We will leave the destination folder the same as the default. Take note of the location of the Mosquitto files. Click the Install button.

The files will now be installed on our computer.
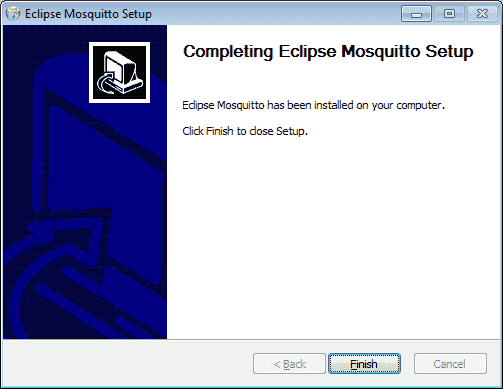
Once the installation is complete the above message will appear. Click the Finish button.
Run Mosquitto Broker Service
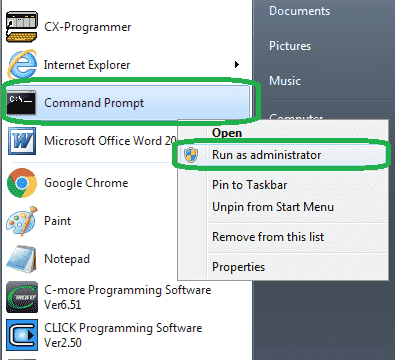
Call up a command prompt with administrative privileges. We are using Windows 7 so right-click on the Command Prompt program in the Start Menu and click Run as administrator.
Here is how you open the command prompt if you are running Windows 8 or 10.
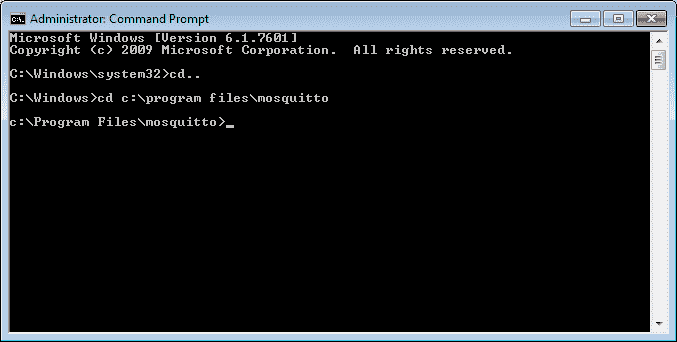
Type “cd c:\program files\mosquitto” at the command prompt. This means to change directory (cd) to the same file location that we installed Mosquitto as noted above.
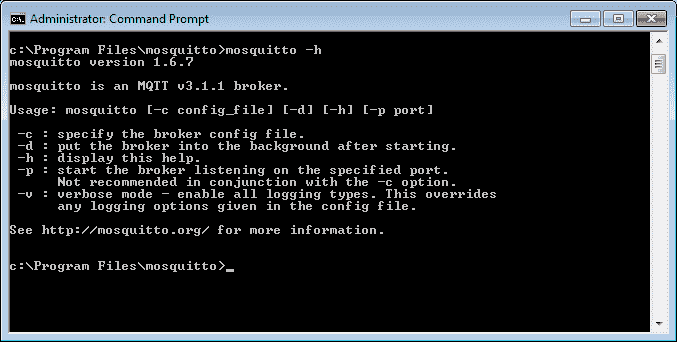
Mosquitto –h command will be used for the help information.
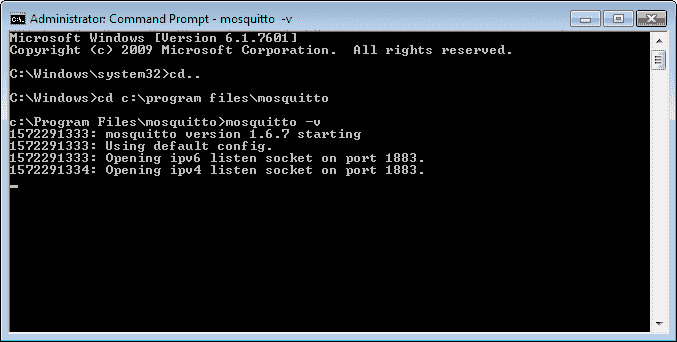
Mosquitto –v command will be used to start the MQTT broker.
We will start Mosquitto in verbose (-v) mode so we see console messages.
MQTT Broker Address
The clients connecting to our broker will need to know the IP address to communicate. We can determine the IP address of the MQTT Broker in a few different ways.
Start another command prompt and type the command “ipconfig”.
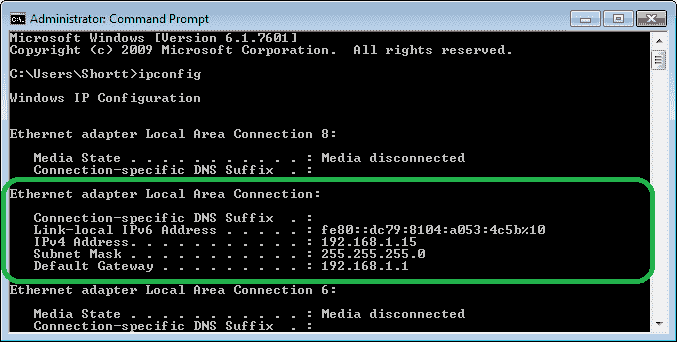
Since we are behind a router we are looking for the local IP address. We are currently using 192.168.1.15
BRX Do-More Client
The MQTT client will only work on the BRX series of the Do-More PLC family or Do-More Simulator as shown last time. Software and firmware must be version 2.3 or higher to work. See below on how to update to the new software.
The BRX MQTT Client will not support encryption or SSL. You must specify the exact subscribed topic. MQTT wildcards (#,+) are not supported by the BRX client.
System Configuration

Call up the System Configuration in the Do-More Designer software by selecting it under the Tools heading in the Project Browser. You can also use the main menu | PLC |System Configuration…
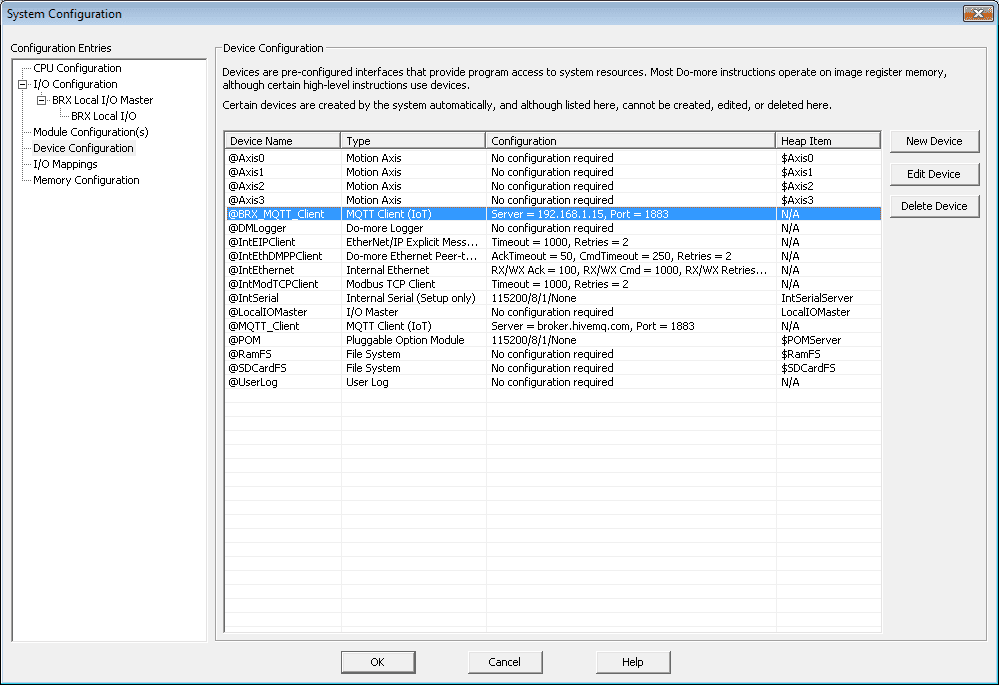
Select Device Configuration on the left side of the System Configuration window. We have made a device already called @BRX_MQTT_Client. Select the Edit Device to see the parameters specified. Click the New Device if you do not have an MQTT client already.

The Edit MQTT Client Settings window will now be displayed. Select the IP address and enter the value of our broker. (192.168.1.15)
We will leave all of the other parameters at their default values. Select OK.
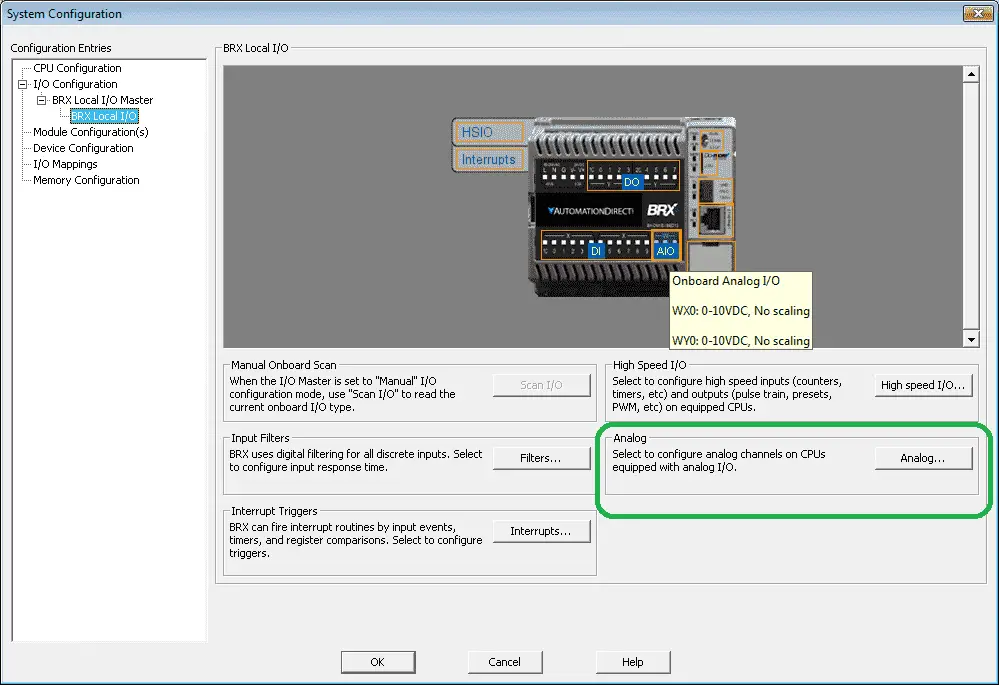
Under the System Configuration window select BRX Local IO. Select the Analog button.
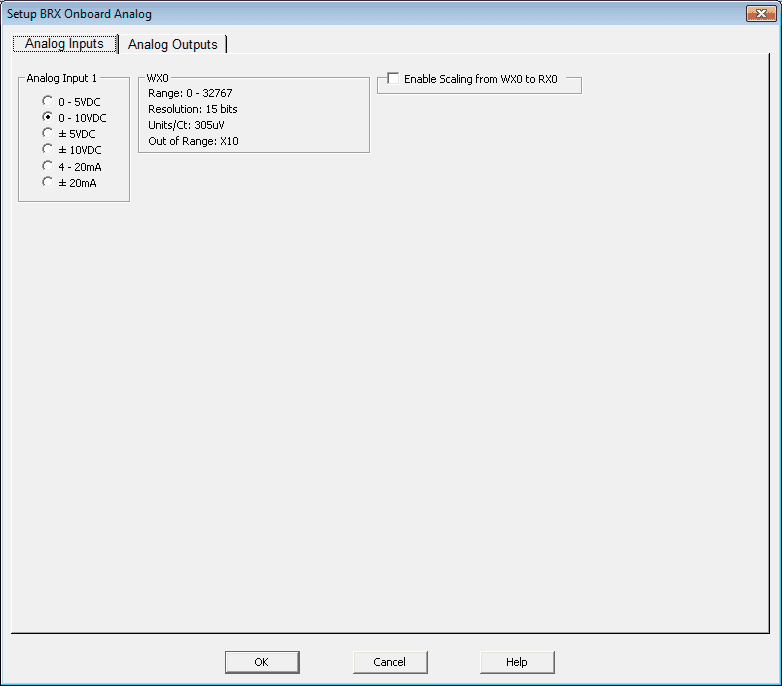
The Setup BRX Onboard Analog window will now be displayed. Under the analog input, we will select 0-10VDC. Our analog value is at address WX0.

Select the Analog Output tab. Our analog output will be set for 0-10VDC at address WY0. Select OK to close the Setup BRX Onboard Analog window. Select OK to close the system configuration window.
BRX PLC Program

We will be using a modified program that we created last time in the post: Do-More Simulator MQTT Publish / Subscribe.
The first rung of our program will take the analog input signal (WX0) and divide this value by 100 using the Math instruction. This input has a 15bit resolution which means that we will see fluctuations of the voltage. To make this a stable signal we will use the division.

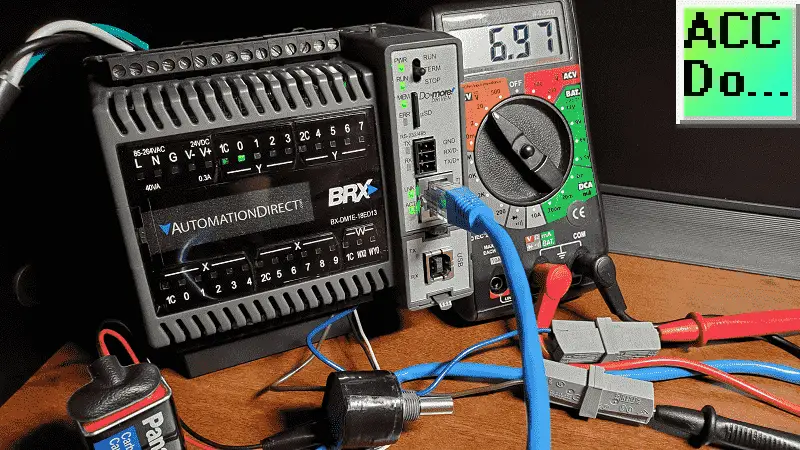
The analog voltage tester using a potentiometer and a 9VDC battery will be wired to the analog input.
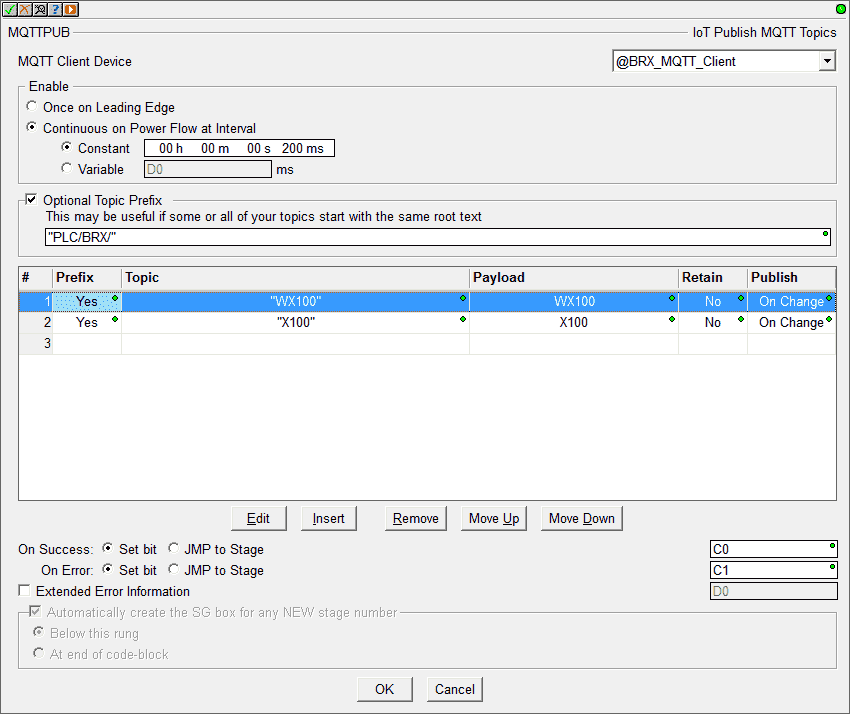
Our MQTTPUB instruction will have our @BRX_MQTT_Client set above as our MQTT Client Device.
We will enable this instruction continuously on power flow at an interval of 200 milliseconds.
Our topic prefix will be set for PLC/BRX/
On success, we will set bit C0 and on error, we will set C1.

Topic WX100 will have a payload of the value from WX100. This will be published at the 200 ms interval only if the value has changed since the last interval.
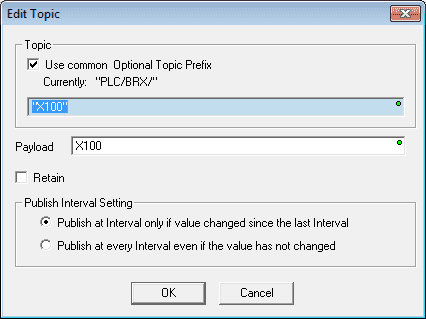
Topic X100 will have a payload of the bit value from X100. This will be published at the 200 ms interval only if the value has changed since the last interval.

Here is our completed MQTTPUB – IoT Publish MQTT Topics instruction.
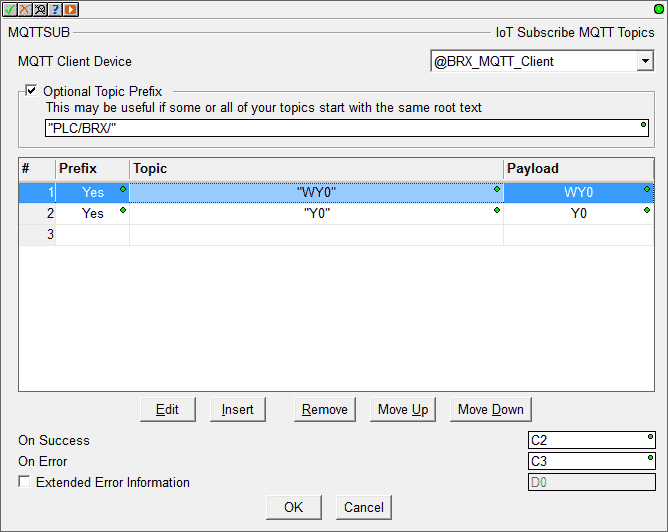
Our MQTTSUB instruction will have our @BRX_MQTT_Client set above as our MQTT Client Device.
Our topic prefix will be set for PLC/BRX/
On success, we will set bit C2 and on error, we will set C3.
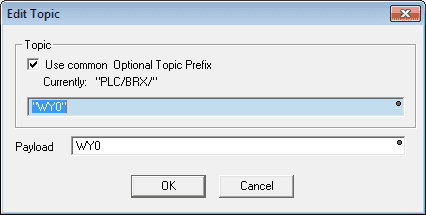
Topic WY0 will have a payload of the value from WY0.
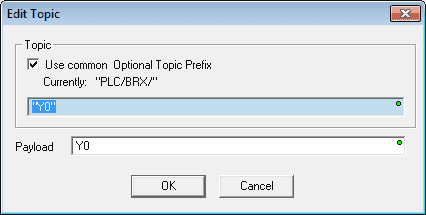
Topic Y0 will have a payload of the bit value from Y0.
These subscribed items will set the outputs directly in our example. Every application would be different and usually, this would set internal bits and registers before setting the actual physical outputs.
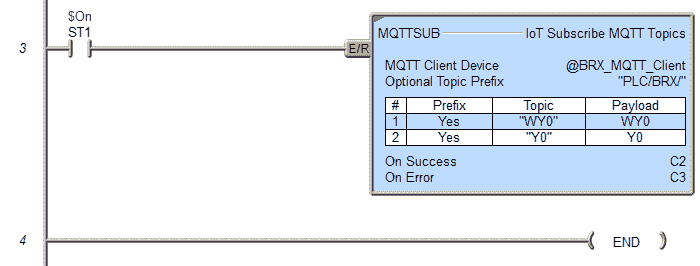
Here is our completed MQTTSUB – IoT Subscribe MQTT Topics instruction.

Here is our completed ladder logic for our sample MQTT communications.
We can now download our program to our BRX PLC.
Firmware Update
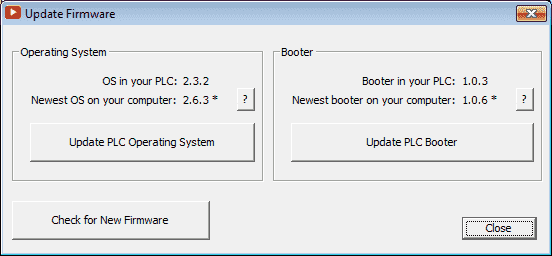
Our firmware must be 2.3 or higher for our instructions to work correctly. We will update our PLC operating system and booter.
Select Update PLC Operating System.
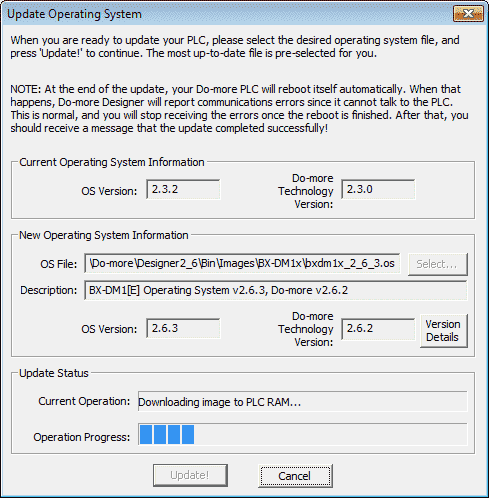
Our system will now be updated from version 2.3.0 to 2.6.2.

We will receive the message OS update complete! Select Exit.
Select Update PLC Booter from the Update Firmware window.
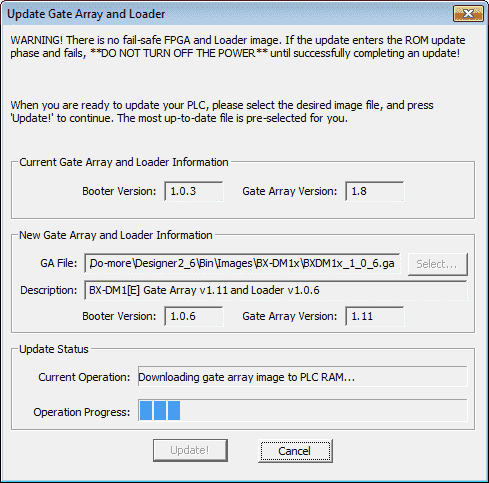
Our Gate Array and Loader are now being updated.

We will receive this message when the update has been completed. Select OK.
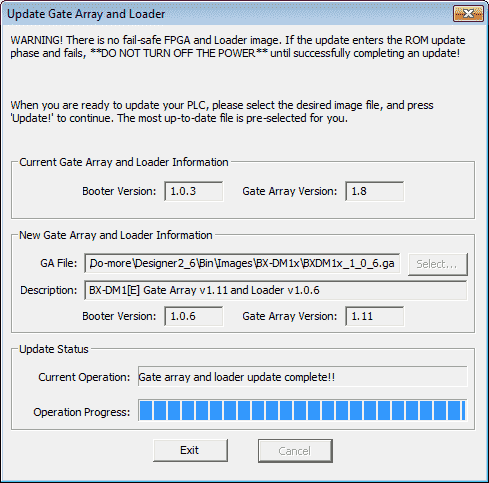
We must now cycle power to the PLC to load the new image information.
Running our BRX Client PLC
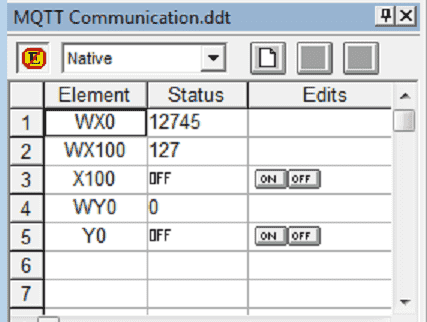
We can monitor information published and subscribed by using the Data View.
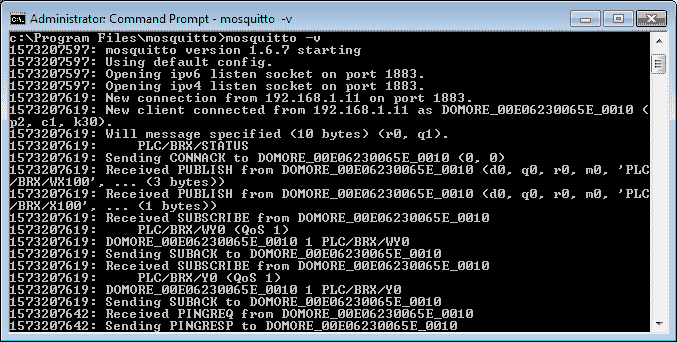
Looking at our broker you can see the BRX connecting, publishing and subscribing using MQTT communications.
Watch the video below to see this in action.
MQTT Lens Client

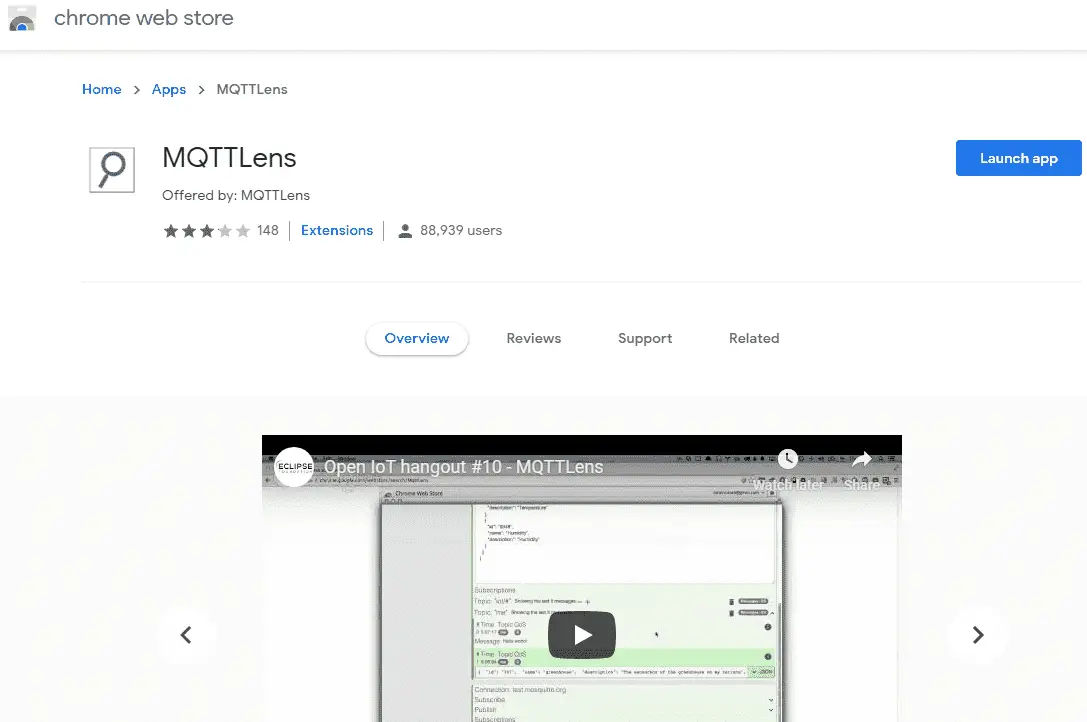
MQTT Lens is a Google Chrome application that connects to an MQTT broker and is able to subscribe and publish to MQTT topics.
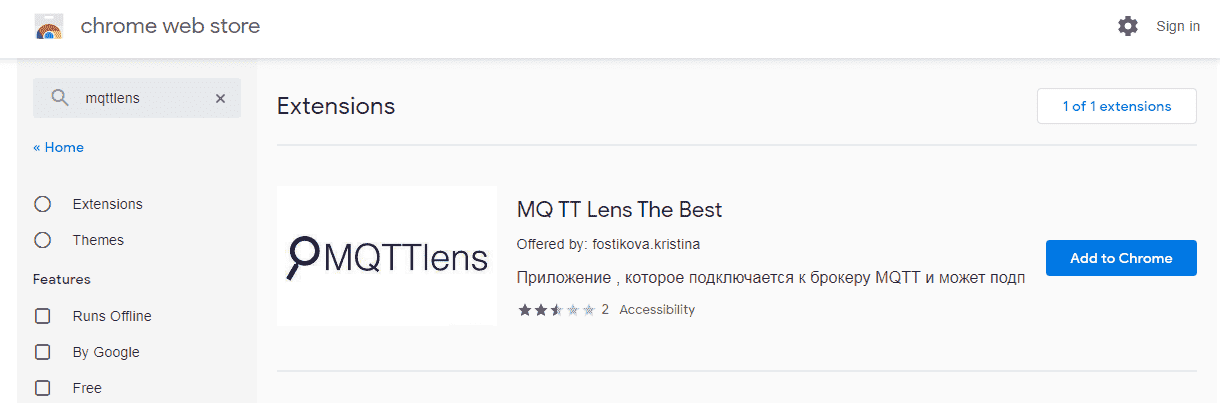
MQTT Lens can be added to Google Chrome free at the following chrome web store.
Once installed, we can run MQTTLens from our apps. (chrome://apps)
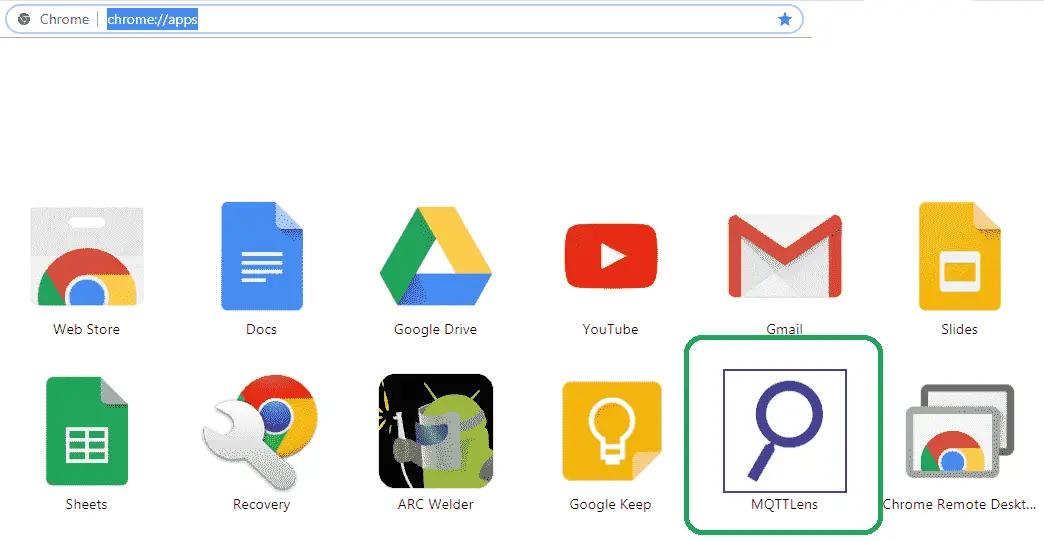
Click on the MQTTLens icon.
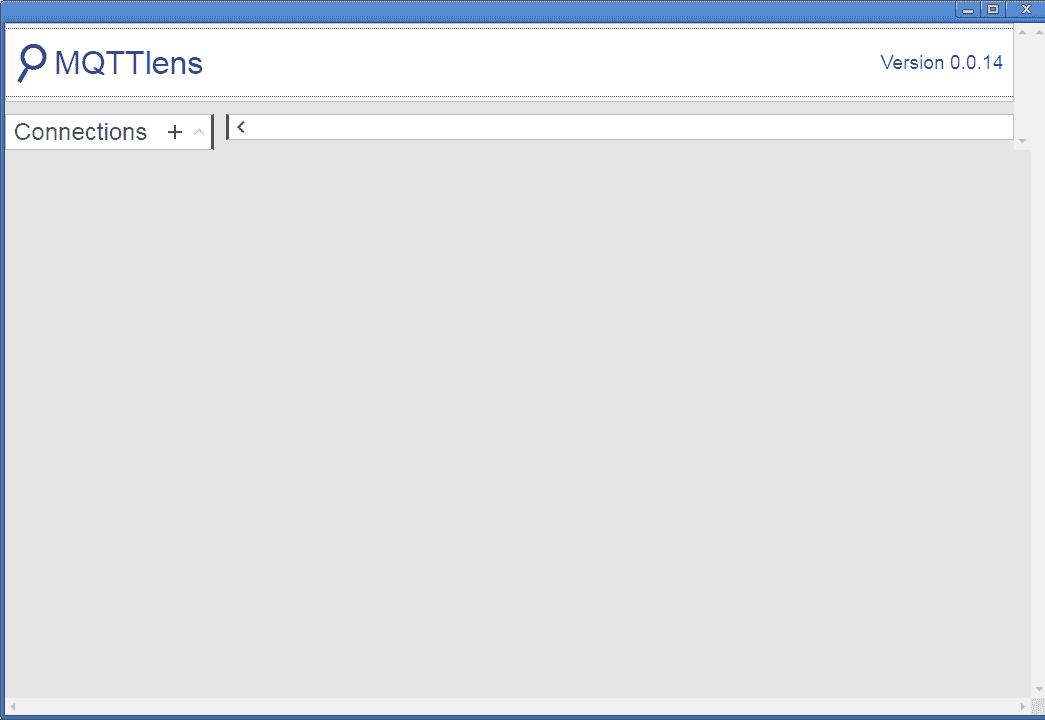
MQTTLens will open in a separate window. Click on the Connection +.
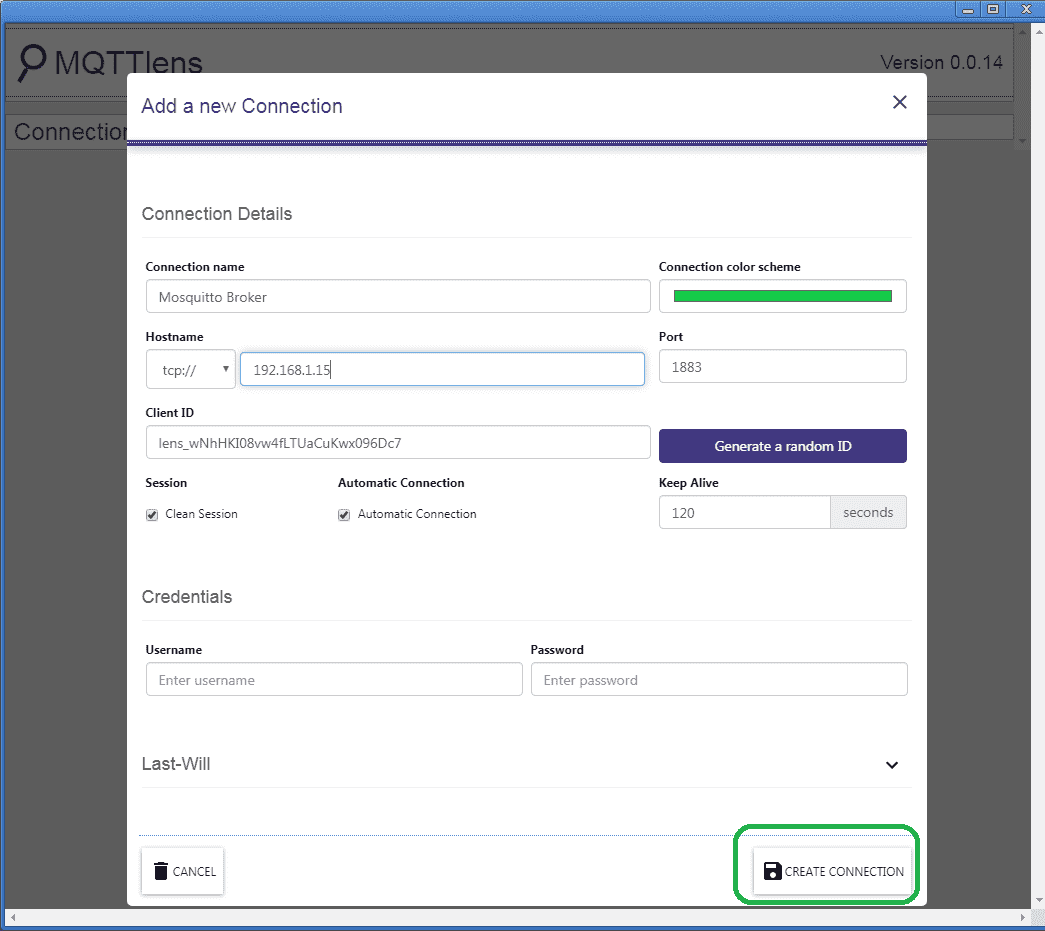
We can now add a new connection to our MQTT client. Mosquitto Broker will be our connection name. The hostname will be our IP address determined above for the broker. We will leave everything else as their default. Select the Create Connection button.
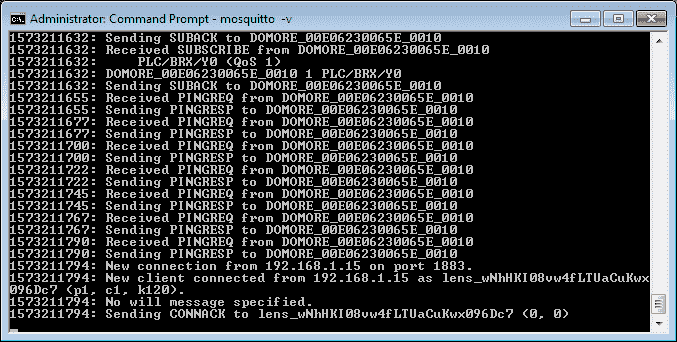
Looking at our broker you can see our MQTTLens connecting.
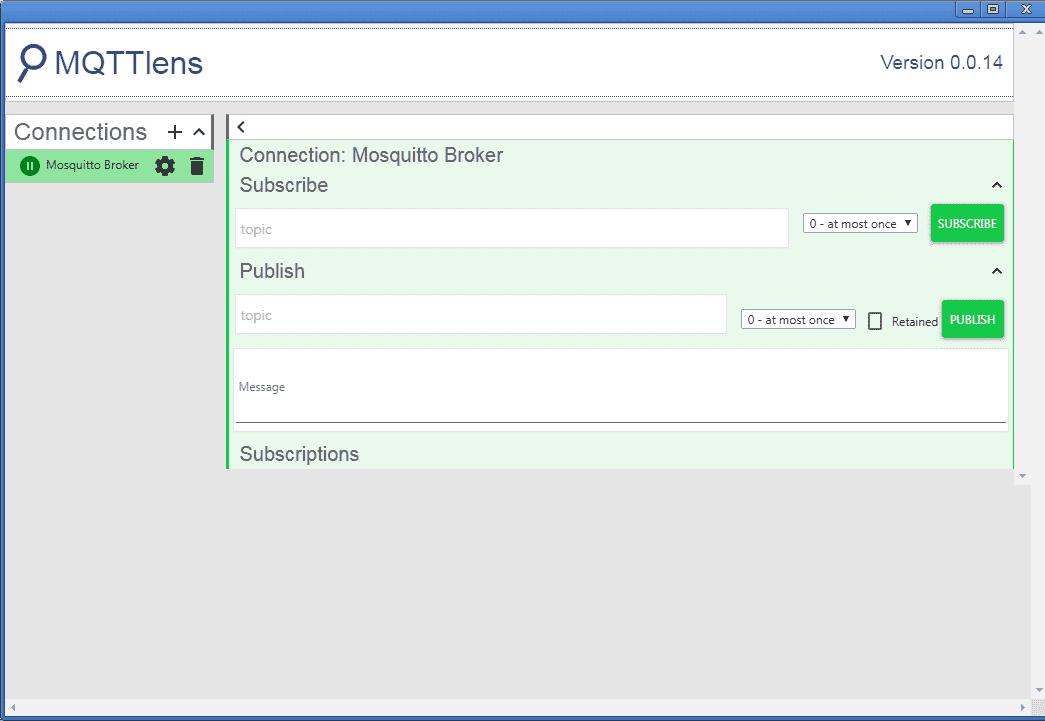
Under the connections, you will now see our Mosquito Broker named. We can now Subscribe to topics in our broker. Under subscribe enter PLC/BRX/X100 and hit the subscribe button. We will leave the QoS at 0. Now enter PLC/BRX/WX100 and hit the subscribe button.
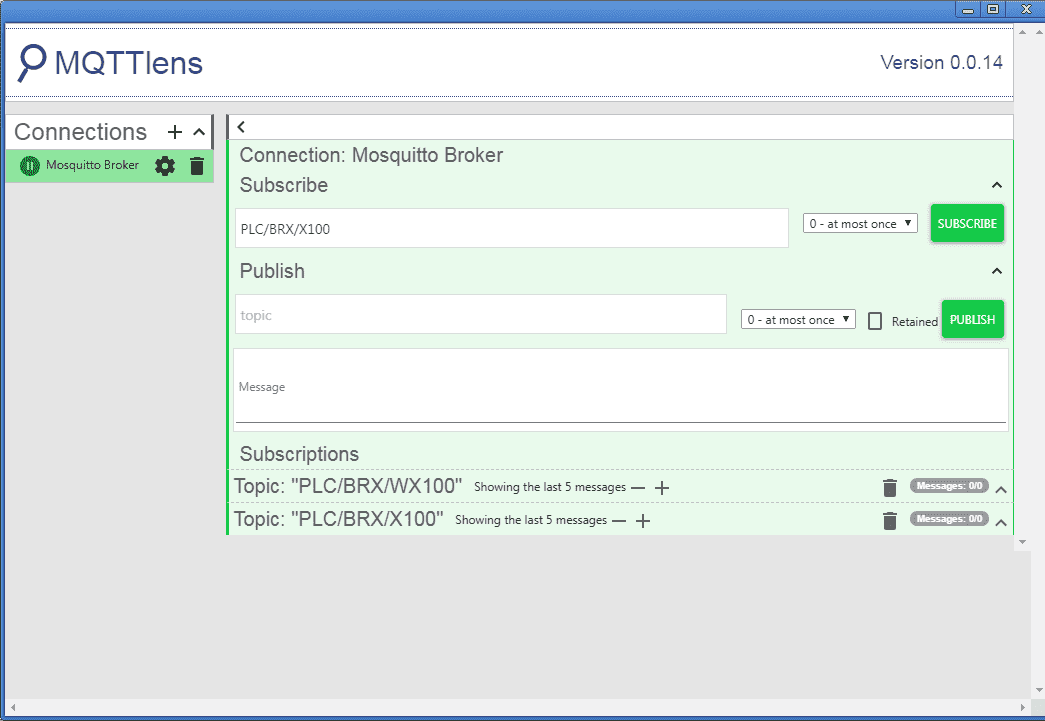
Our subscriptions will appear at the bottom of the screen. This will show the last 5 messages as the default setting.
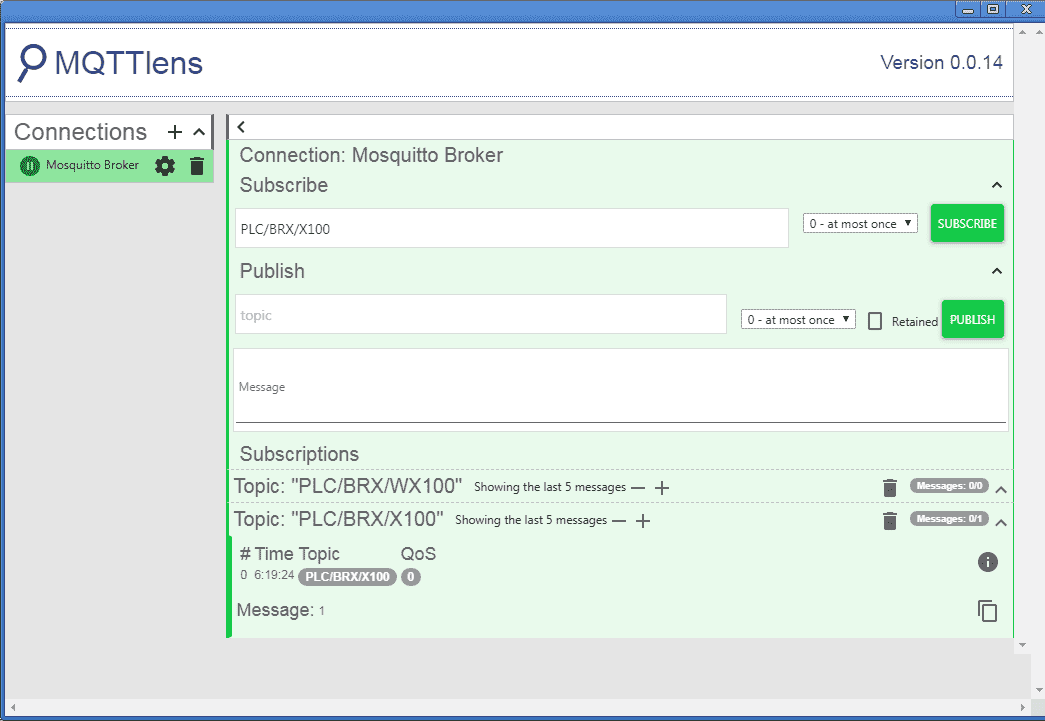
If we turn on bit X100 in our PLC it will publish to the broker. The broker will then send this information to our MQTTLens client that has subscribed to the topic.
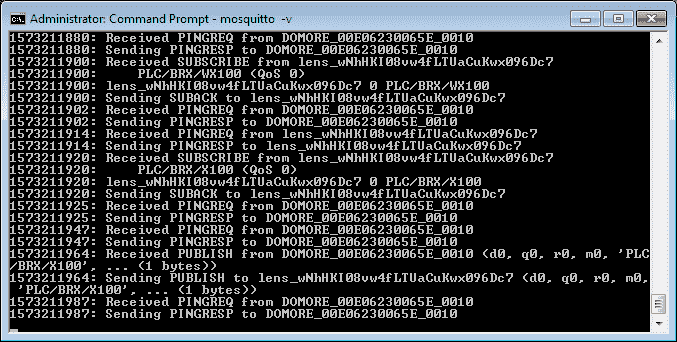
You can see this communication through our broker.
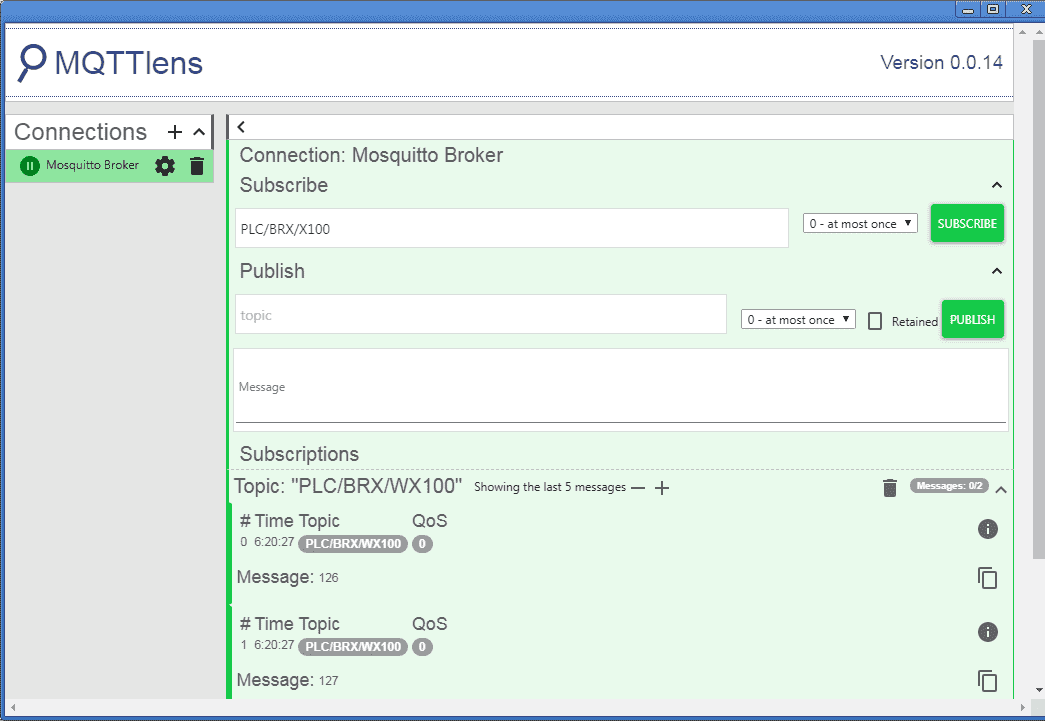
The same thing will happen with our other topic information when the BRX publishes WX100 to the broker.
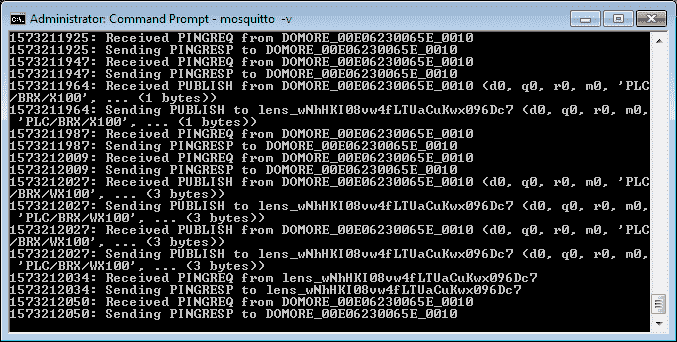
Our Mosquitto Broker will also show the WX100 information received and sent.

Under the Publish heading enter the topic PLC/BRX/Y0. In the message, space enter the value of 1. Hit the Publish button.
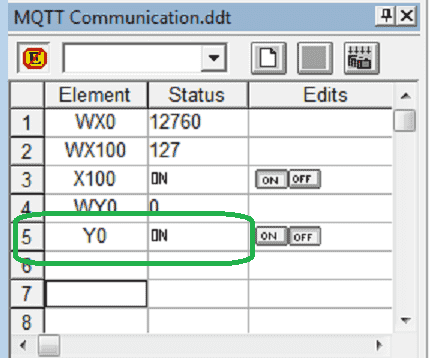
The data view will show the output turning on. The BRX PLC will turn on the first output.
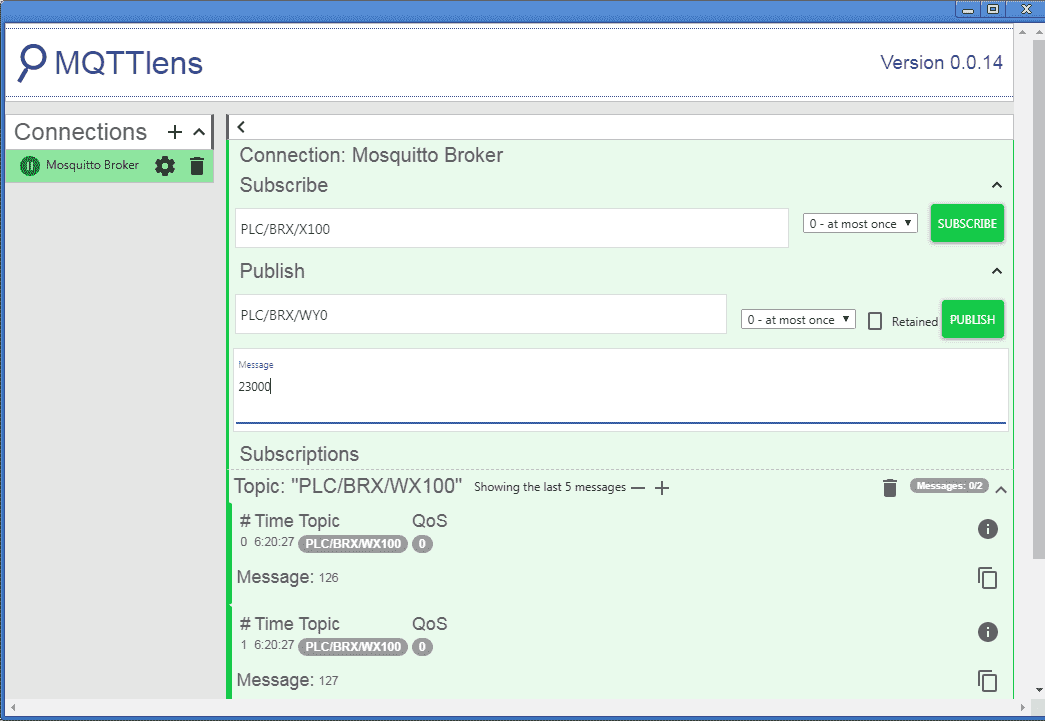
Enter the topic PLC/BRX/WY0 and enter 23000 for the message. Hit the Publish button.
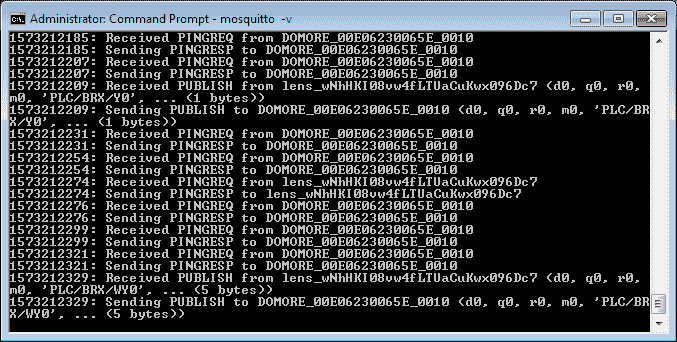
Our broker will receive and send this information to the BRX PLC.
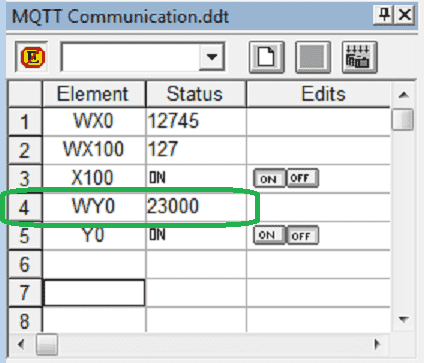
Here is the data view of our analog out value.
Watch the video below to see the ramp soak profile instruction in action on our BRX Series PLC.
You can download the program here.
BRX Series PLC from Automation Direct – Power to deliver
Overview Link (Configure and purchase a system)
Manuals and Product Inserts (Installation and Setup Instruction)
Do-More Designer Software v2.0.3 (Free Download Link) – The software will contain all of the instruction sets and help files for the BRX Series PLC.
Watch on YouTube: BRX Do-More PLC MQTT Communications
If you have any questions or need further information please contact me.
Thank you,
Garry
If you’re like most of my readers, you’re committed to learning about technology. Numbering systems used in PLC’s are not difficult to learn and understand. We will walk through the numbering systems used in PLCs. This includes Bits, Decimal, Hexadecimal, ASCII and Floating Point.
To get this free article, subscribe to my free email newsletter.
Use the information to inform other people how numbering systems work. Sign up now.

The ‘Robust Data Logging for Free’ eBook is also available as a free download. The link is included when you subscribe to ACC Automation.