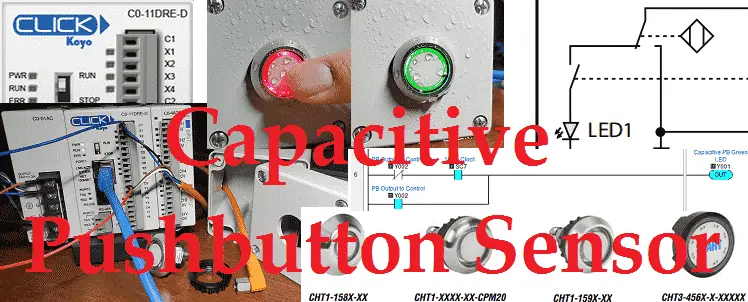
We will now look at the capacitive pushbutton sensor switch and indicator.
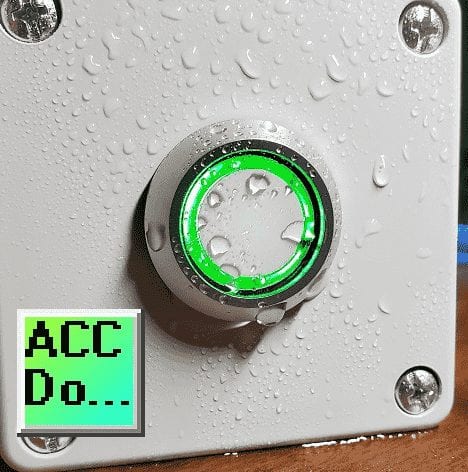
Normal pushbuttons on a panel are usually a mechanical device. They can become “sticky” when too much dirt or oil is present. Capacitive push buttons do not have moving parts to stick, so the life expectancy is increased. Disinfectant sprays can be applied directly to a capacitive pushbutton and left to dry so it can be more effective for the safety of your operators.

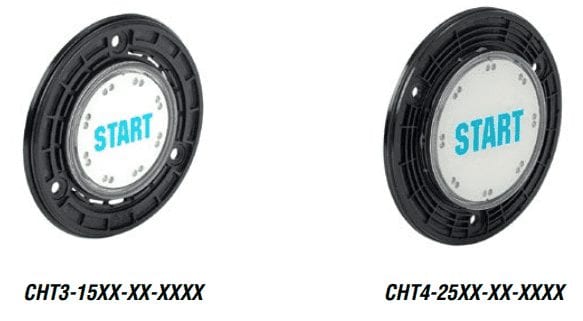

Captron pushbutton sensor switches use capacitive sensing to detect when a hand or body part nears the device surface; built-in or stand-alone indicators provide multi-color signaling options. The robust IP69K design provides wear-free operation, plus resistance to water, oil, and harsh environments. These PNP NO DC-operated devices are available in 22mm, 50mm, and 60mm mounting diameters. Construction materials include plastic and stainless steel, aluminum, or polycarbonate. The corresponding 22mm LED signal indicator lights are also IP69K rated and have a 20mm diameter illuminated area; green, red, yellow, white, orange, and magenta signal colors are available.
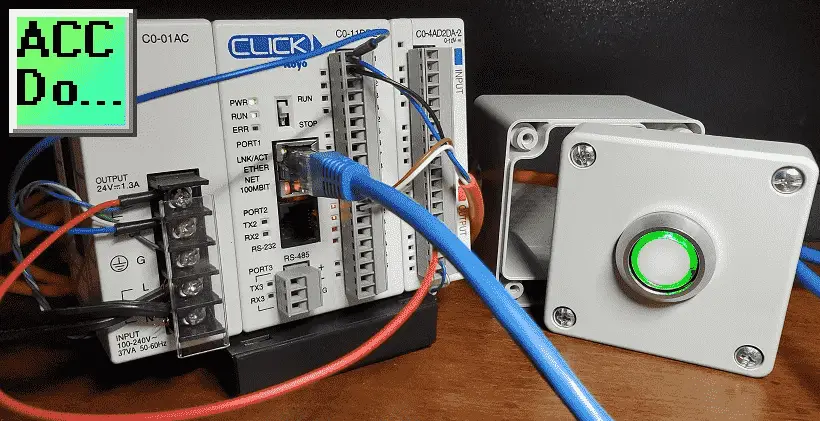
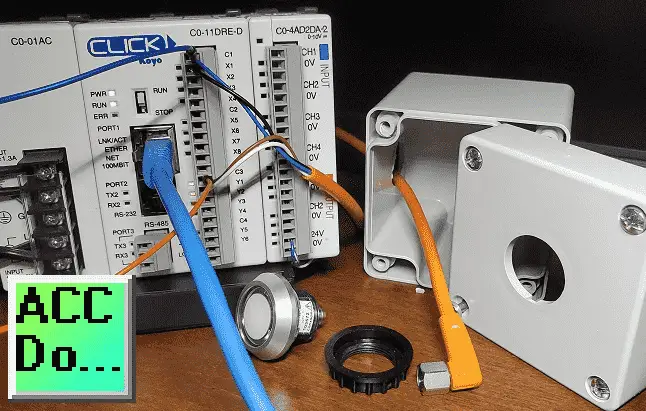
We will be wiring a 22mm captron pushbutton to a click plc. Upon activating the sensor for half a second output on the click plc will turn on. The green LED on the captron will turn solid green. When the sensor is selected again, the output will turn off. The Green LED will then blink indicating that the output is off.
Let’s get started!
Additional component connections to PLC include the following:
Wiring 3 Wire DC NPN and PNP Sensors – Video
Here’s a Quick Way to Wire NPN and PNP Devices
– Wiring NPN Sensor to PLC Video
– Wiring PNP Sensor to PLC Video
– Wiring Contact Discrete PLC Inputs Video
Wiring Interposing Relays
– Wiring NPN and PNP sensors into the PLC with an Interposing Relay Video
Click PLC HMI Rotary Encoder Dial Input – Video
Wiring Stack Light to Click PLC – Video
Wiring Push Buttons and Selector Switch to Click PLC – Video
– Test and Assembly of Push Buttons and a Selector Switch – Video
Wiring an Inductive Proximity NPN PNP Sensor to the Click PLC – Video
Wiring a Capacitive Proximity NPN PNP Sensor to the Click PLC – Video
Wiring an Ultrasonic Proximity Sensor to the Click PLC – Video
– Unboxing our UK1F Ultrasonic Proximity Sensor – Video
Universal Signal Conditioner and Isolator – Video
Watch the video below to see the wiring and operation of our Captron Capacitive Sensor switch to the Click PLC.
Operation of the capacitive pushbutton sensor:
Captron sensor buttons have a determinate sensing distance, which may be altered by varying the approach speed and/or damping factor. A quickly approaching finger will achieve a higher sensing distance than a slowly approaching finger. A hand, with its larger damping surface, will achieve a greater sensing distance than a finger at the same speed. The LED signals on the switch provide feedback no the operation for the operator.
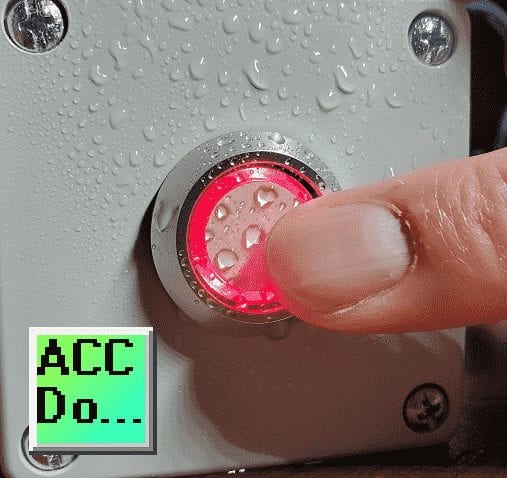
The switch comes in three different types:
Static – the output signal is continuously on as long as the sensor area is activated
Dynamic – the output signal length is limited to settable milliseconds when the sensor area is activated
Toggle – the output signal turns on when the sensor area is activated and stays on until the sensor area is activated again.
CAPTRON Pushbutton Sensor Switch Stress Test (IP69K)
Watch on YouTube: CAPTRON Pushbutton Sensor Switch Stress Test
Wiring the Capacitive Pushbutton Sensor Switch
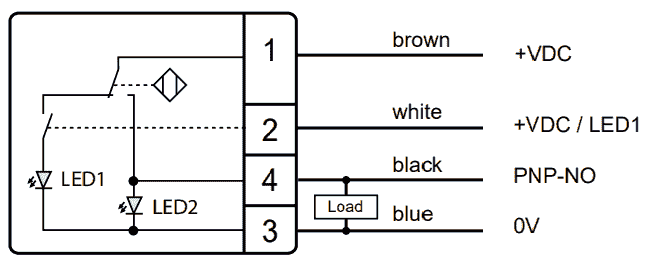
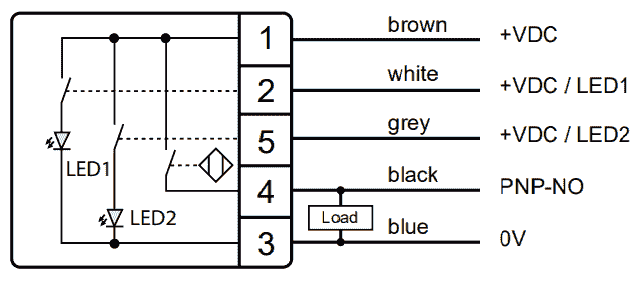
The LED control determines either a 4 pin or 5 pins M8 quick-connect cable.
Semi-Automatic – Red LED is controlled automatically by the switch detection. This is a 4 pin M8 connector.
Manual – The red and green LED lights are controlled separately. This requires a 5 pin M8 connector.
We have a 22mm semi-automatic sensor. This means that the black wire will be wired up to the first input of the Click (X1). The common for the input will be wired to 0VDC and the blue wire from the sensor.
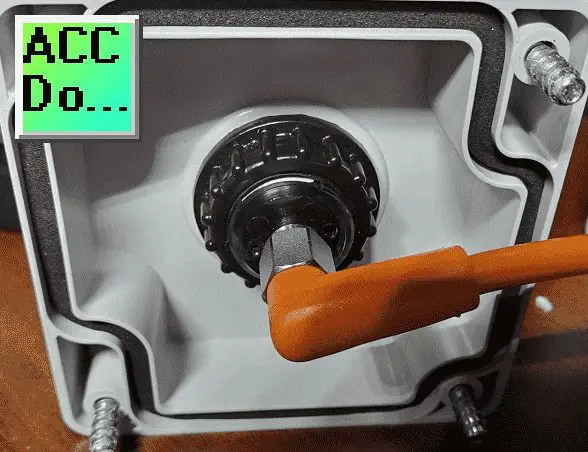
The LED1 (green light) will be wired to the first output Y1 of our click. 24VDC will be wired to the brown wire of the sensor and the common of the Y1 output.
Y2 will be the output that we will be controlling on the Click PLC.
PLC Capacitive Pushbutton Program
This uses the Captron Capacitive Switch to turn on an output.
The input is PNP NO. Hold the switch for more than 0.5 seconds to turn the output.
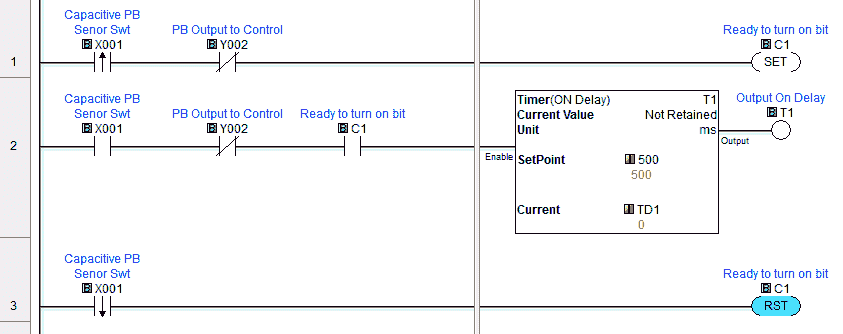
The output will be set once the time delay has expired. The switch is held for more than one half of a second.

If the output is on and you have a leading edge of the capacitive switch, then reset the output.

The green LED light on the capacitive switch will be flashing if the output is off and on solid when the output is on. This will indicate what the next operation will be for the switch. (Start or Stop)

This program is similar to a flip flop circuit. (toggle mode) See the following post.
Creating a flip flop circuit in the PLC
See this program in action in the video below.
Download the Click PLC program here.
Captron Capacitive Pushbutton Sensor Switch Features:
• Easy install via M8 connections
• Touch control, no mechanical pressure required
• Feedback – visual signals through LEDs
• Shock-resistant and vandal proof
• 100% water & oil-proof – IP69K
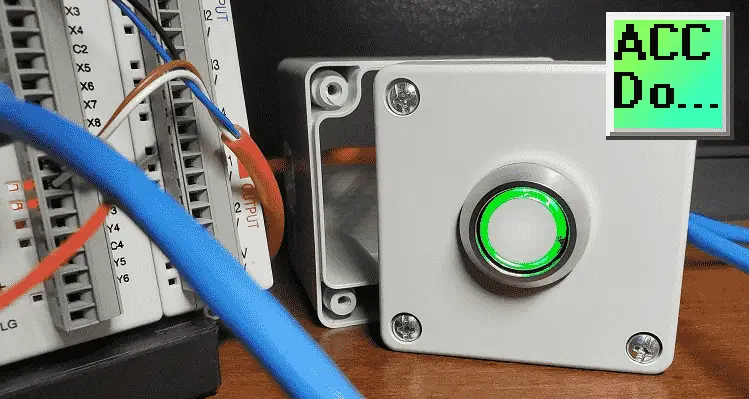
Please watch the video below to see the wiring and operation of our Captron capacitive pushbutton to the Click PLC.
Watch on YouTube: Capacitive Pushbutton Sensor Switch and Indicator
Here is some additional information on wiring PLC inputs.
Wiring 3 Wire DC NPN and PNP Sensors – Video
Wiring NPN Sensor to PLC
https://youtu.be/Z09l3HKMpqs
https://accautomation.ca/heres-a-quick-way-to-wire-npn-and-pnp-devices/
Wiring PNP Sensor to PLC
https://youtu.be/nP33k5e_Y-k
https://accautomation.ca/heres-a-quick-way-to-wire-npn-and-pnp-devices/
Wiring Contact Discrete PLC Inputs
https://www.youtube.com/watch?v=xh5dE2Z09d0
https://accautomation.ca/how-plc-inputs-work/
Wiring Stack Light to Click PLC
https://accautomation.ca/wiring-stack-light-to-click-plc/
https://youtu.be/gwDIVtNSXfs
If you have any questions or need further information please contact me.
Thank you,
Garry
If you’re like most of my readers, you’re committed to learning about technology. Numbering systems used in PLC’s are not difficult to learn and understand. We will walk through the numbering systems used in PLCs. This includes Bits, Decimal, Hexadecimal, ASCII and Floating Point.
To get this free article, subscribe to my free email newsletter.
Use the information to inform other people how numbering systems work. Sign up now.
The ‘Robust Data Logging for Free’ eBook is also available as a free download. The link is included when you subscribe to ACC Automation.

