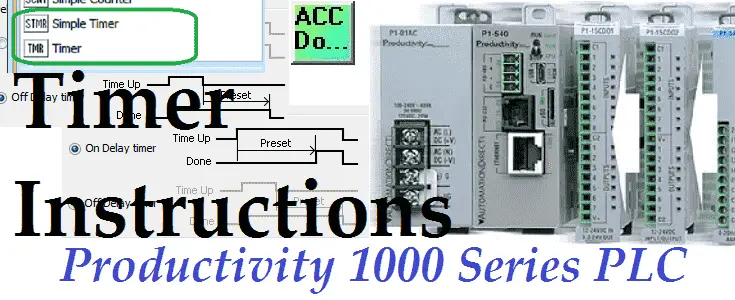
Just about every programmable logic controller (PLC) program will include a timer instruction. The Productivity 1000 Series PLC has several different timer instructions for your program. We discussed the timed coil (TMC) and flasher coil (FLS) last time as part of the contacts and coil discussion. (Contact and Coil Instructions – Video)
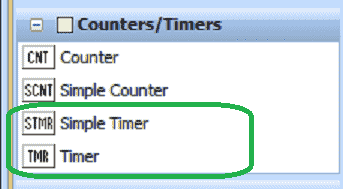
We will now look at using the Simple Timer (STMR) and the Timer (TMR) instructions in the productivity suite software. Let’s get started.
Previously in this Productivity 1000 series PLC we have discussed:
System Hardware – Video
Installing the Software – Video
Establishing Communication – Video
First Program – Video
Documenting the Program – Video
Monitoring and Testing the Program – Video
Online Editing and Debug Mode – Video
Numbering Systems and Tag Database – Video
Contact and Coil Instructions – Video
Timing Diagrams – Productivity Timer
Timers are used in the majority of PLC programs. There are also a wide variety of off the shelf industrial timers that you can use. The implementation of timers can be vast; however, it all starts with a TIMING CHART. We have covered timing charts in the following post: The Secret of Using Timers
Here is the URL of the video for the same post: https://youtu.be/Bt6i8G8P0Fk
Simple Timer (STMR)
On Delay Timer
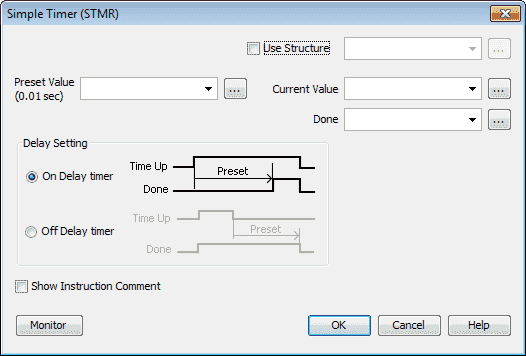
We will first use the simple timer as an On Delay timer. The addresses can be entered individually or through the Structure. Using the structure, the preset value, current value, and done bit are automatic.
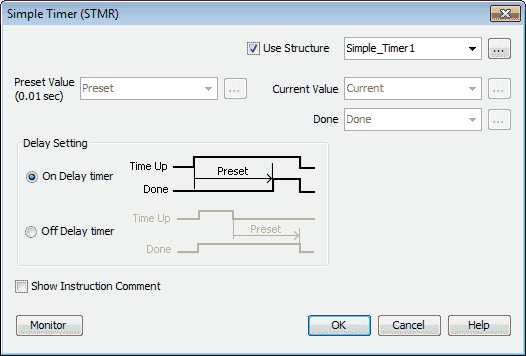
Select Use Structure. The name will be Simple_Timer1. When we do this the following parameters are set:
Simple_Time1.Current – 32bit integer
Simple_Time1.Done – Boolean
Simple_Time1.Preset – 32bit integer
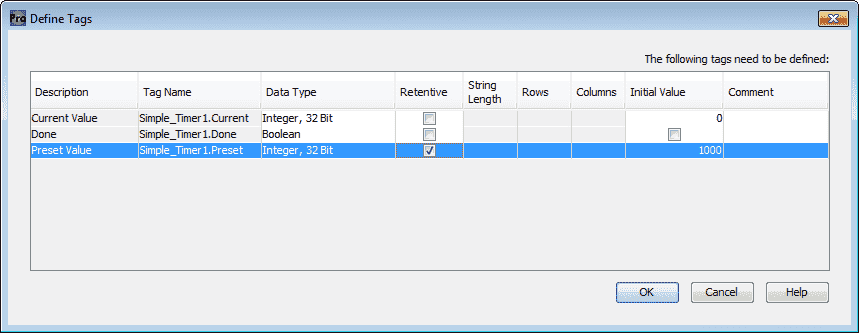
The following tags are then displayed. We will choose the preset value to be retentive and the initial value to be 1000. (1000 x 0.01 seconds = 10.00 seconds)

When the rung condition is on with switch 1 the timer will start to time. After the time (10 seconds) has expired the output bit (Simple_Timer1.Done) will turn on. The second rung of your ladder will turn on Out1 when the Done bit is on.
Off Delay Timer
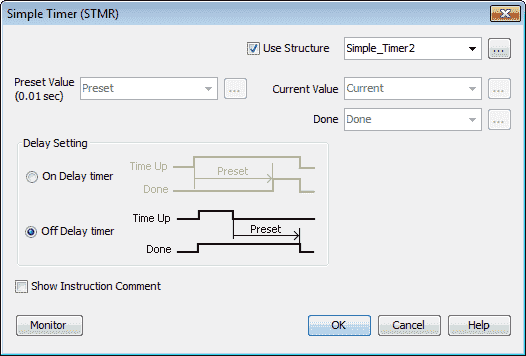
Our off delay timer will turn off the output done bit after the time set has expired. See the above timing chart.
We will use the structure named Simple_Timer2.
Simple_Time2.Current – 32bit integer
Simple_Time2.Done – Boolean
Simple_Time2.Preset – 32bit integer
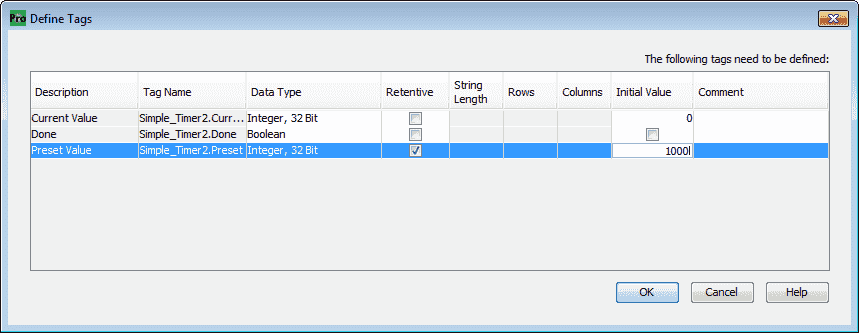
Under the define tags we will set the preset value to memory retentive and the initial value to 1000. (1000 x 0.01 seconds = 10.00 seconds)

When our rung input (Switch 2) turns off, the output (Simple_Timer2.Done) will remain on until the timer (10.00 seconds) expires. The second rung will then control the Out2 bit from the timer done bit.
Timer (TMR) – Productivity
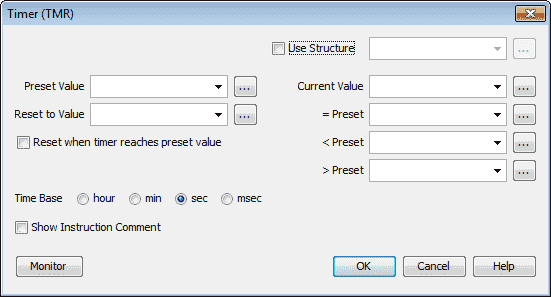
We will use the structure name of Timer1. The Time Base will be set for seconds (sec).
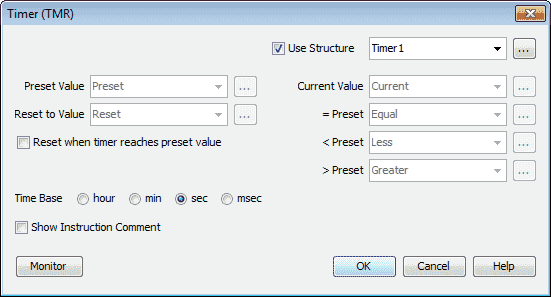
This will set up the following parameters:
Timer1.Current – 32bit integer
Timer1.Equal – Boolean
Timer1.Greater – Boolean
Timer1.Less – Boolean
Timer1.Preset – 32bit integer
Timer1.Reset – 32bit integer
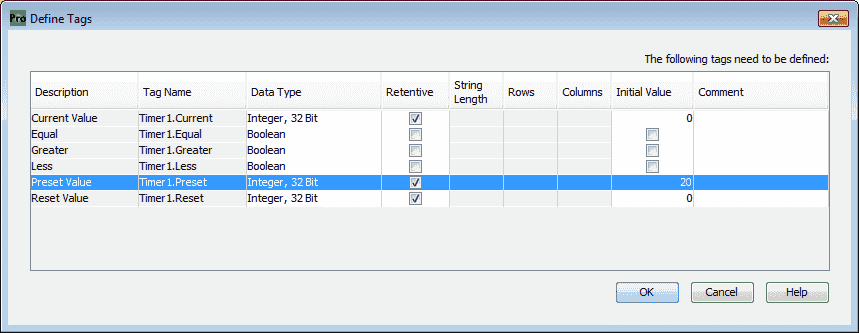
The following tags will now be defined. We will make the preset, reset, and current one’s memory retentive. The preset value will be set for 20. This represents 20 seconds for our timer.

Our first input (Switch3) will be the time up. When this is on the timer will time up at the time base rate we selected above.
The second input (Switch4) will be the time down. When this is on the timer will time down at the time base rate. When both time up and time down inputs are on at the same time the timer will not count.
The reset input will be done with Switch5. When this is activated the reset value will be placed in the current value.
Watch the video below to see the timer instructions used in our Productivity 1000 Series PLC.
Download the PLC program here.
Productivity 1000 Series PLC from Automation Direct
Overview Link (Additional Information on the Unit)
Configuration (Configure and purchase a system – BOM)
User Manual and Inserts (Installation and Setup Guides)
Productivity Suite Programming Software (Free Download Link)
This software contains all of the instruction sets and help files for the Productivity Series.
Next time we will look at counter instructions in the Productivity 1000 Series PLC.
Watch on YouTube: Productivity 1000 Series PLC Timer Instructions
If you have any questions or need further information please contact me.
Thank you,
Garry
If you’re like most of my readers, you’re committed to learning about technology. Numbering systems used in PLC’s are not difficult to learn and understand. We will walk through the numbering systems used in PLCs. This includes Bits, Decimal, Hexadecimal, ASCII and Floating Point.
To get this free article, subscribe to my free email newsletter.
Use the information to inform other people how numbering systems work. Sign up now.
The ‘Robust Data Logging for Free’ eBook is also available as a free download. The link is included when you subscribe to ACC Automation.

