C-More CM5 (HMI) programming software programs the CM5 series of controllers. This software and hardware can be used in various industries, such as manufacturing, automotive, and food processing. It is known for its user-friendly interface and powerful features that make designing and implementing HMI applications easy. Each of the C-More series will have its own software package.

This blog post will provide a step-by-step guide on installing C-More CM5 programming software. Let’s get started.
Step 1: Download the C-More CM5 installation file
The first step is downloading the C-More CM5 installation file from the AutomationDirect website. The download link is on the C-More CM5 product page. Once you click the download link, you must acknowledge the license agreement. Click on the box to indicate you have read and acknowledged the agreement. Select Close. Clicking on the download link again will start downloading to your computer once you have entered an email address or logged into your account.
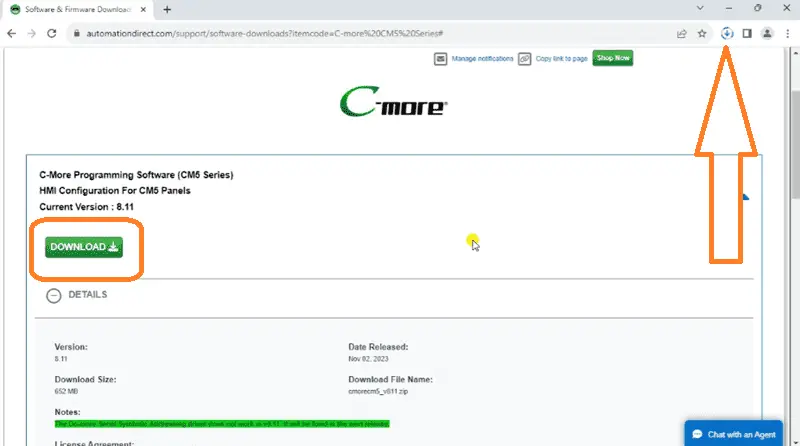
The file is saved in your downloads folder.
Step 2: Run the installation file
After downloading the installation file, locate it on your computer. Right-click on it and select “Extract All…”. We will save the file to the default directory. Ensure that the “Show extracted files when complete” is selected. Press the Extract button. Once the files are extracted, double-click on the extracted file to show all files in the folder.

Right-click on the CM5_Setup file and select “Run as administrator”. The User Account Control will ask you to verify if you want this installation script to make changes to your device. Select Yes. The installation wizard will guide you through the installation process.
Step 3: Accept the license agreement
You’ll be prompted to accept the C-More HMI Ver8.11 CM5 software license agreement. Read it carefully and click “I accept the terms of the license agreement” if you agree to its terms. You must agree to continue the installation.
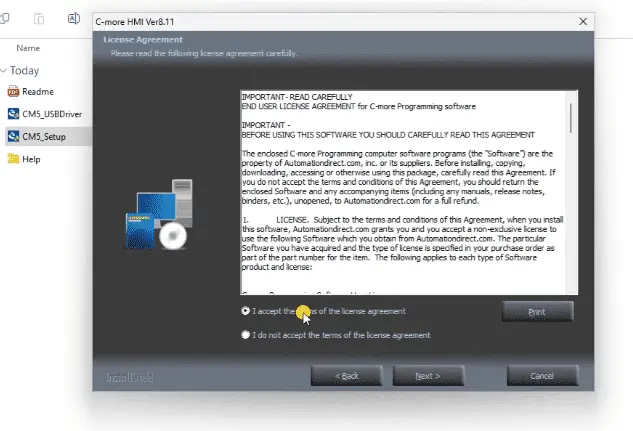
Select next.
Step 4: Choose the installation location
The installation wizard will then ask you to select the installation location. Choose the area where you want to install the C-More CM5 programming software and click “Next.” In our case, we are using the default directory. Select next. The installation is now ready to start. Select install.

The program will now be installed on your Windows 10 or 11 computer.
Step 5: Choose the options…
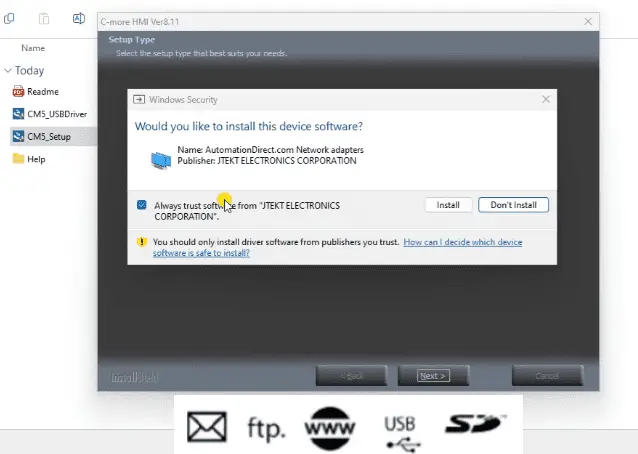
Next, you’ll be asked to select the following options: create a desktop icon and launch the USB driver’s installation. Both options are on by default. Select next. The desktop icon will be created, and the InstallShield wizard window for the C-More CM5 USB Driver will start. Follow the prompts and select the default installation directory. Select the install button. When the Windows security window is displayed, select Install. I will also select “Always Trust” for the driver.
After the wizard is complete, the driver for the CM5 will be installed. Select Finish.
Step 6: Restart the computer
When the InstallShield wizard completes for the C-More CM5 Programming Software, you will be prompted to restart the computer. Select “Yes, I want to restart my computer now”.

Select the Finish button.
When your computer reboots, you will see the Icon for the C-More HMI Ver8.11 on the desktop.
Our software has now been successfully installed.
Step 7: Run the software
Double-click on the desktop icon to start the CM5 programming software. A splash screen will appear as the software loads. Since this is the first time this software version has been run, a “What’s New Feature Guide” will be displayed. This will list the firmware and software’s new features, improvements, and fixed bugs.
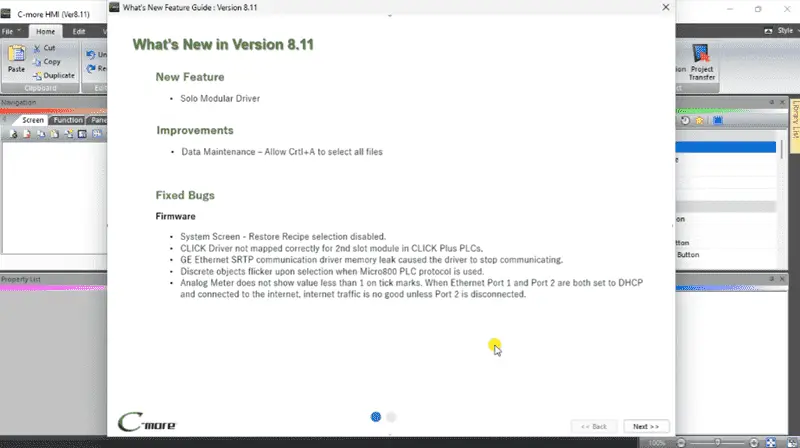
A “Don’t show again” selection can be done before selecting the Close button.
The “Start a Project” window will now be displayed. This is selected by default, allowing you to quickly start a new project or read it from the computer or the panel.

Select the cancel button.
Like the EA9 programming software, the CM5 has a main menu with icons at the top of the screen. Windows around the work area perform multiple functions. Each of these windows has a pin that can be used to reduce the window. This can be restored by hovering over the pinned item. This feature can make our workspace larger and easier to work with. The X on each of the windows will close the window. We can then open the window again under the view on the main menu.

Congratulations! You have successfully installed the C-More CM5 programming software and started it.
Watch the video below to see the installation of the CM5 programming software for our C-more CM5-T7W.
C-More CM5 Features: “4”, “7”, “10”, “12”, “15”, and “22” widescreen options
- 16.7M colors and LED backlights
- 800MHz (4″, 7″) or 1.6GHz Quad Core CPU (10″ or higher)
- 43MB project memory
- 12 to 24 VDC powered
- Built-in real-time clock with 30-day backup (no battery required)
- NEMA 4/4X (indoor use only), IP65
- FREE HMI programming software with powerful design tools and a project simulator
- CM5 series HMIs support any EA9 series project (created with V6.73 or later) for an easy panel upgrade
Frequently Asked Questions (FAQ)
Product Brochure
C-more CM5 Overview
CM5-T7W Cut Sheet – Tech Specifications / Protocols
CM5 User Manual – Hardware
CM5 Quick Start Guide
C-More Programming Software (CM5 Series)
CM5 User Manual – Software On-Line
AD C-More CM5 Sample Projects (CM5-T7W)
Watch on YouTube: Installing C-more CM5 HMI Software Step-by-Step
If you have any questions or need further information, please contact me.
Thank you,
Garry
If you’re like most of my readers, you’re committed to learning about technology. The numbering systems used in PLCs are not difficult to learn and understand. We will walk through the numbering systems used in PLCs, including Bits, Decimal, Hexadecimal, ASCII, and Floating Point.
To get this free article, subscribe to my free email newsletter.
Use the information to inform other people how numbering systems work. Sign up now.

The ‘Robust Data Logging Easily’ eBook is also available for free download. The link is included when you subscribe to ACC Automation.