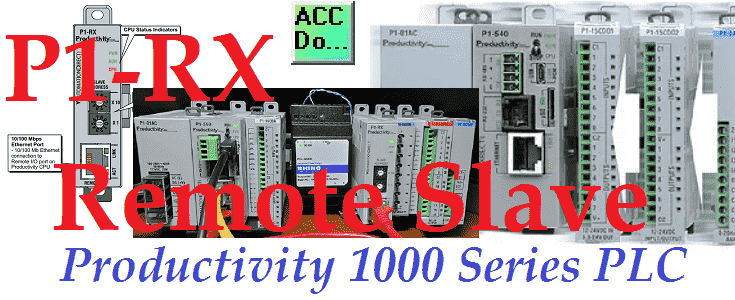
You can add a remote PLC slave rack of productivity 1000 series modules using a P1-RX. Up to 4 remote I/O base controllers can be added to the P1000 system.
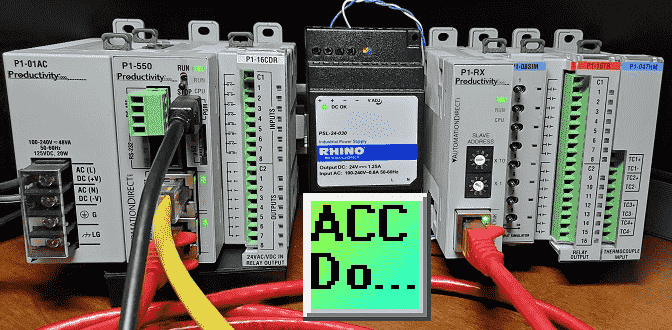 We will update our P1-540 CPU unit to a P1-550 CPU to take advantage of remote IO. A P1-RX remote IO-based controller will be added and configured. Let’s get started.
Previously in this Productivity 1000 series PLC, we have discussed:
Productivity Suite Simulator – Video
System Hardware – Video
Installing the Software – Video
Establishing Communication – Video
First Program – Video
Documenting the Program – Video
Monitoring and Testing the Program – Video
Online Editing and Debug Mode – Video
Numbering Systems and Tag Database – Video
Contact and Coil Instructions – Video
Timer Instructions – Video
Counter Instructions – Video
Math Instructions – Video
Data Handling Instructions Part 1 – Video
Data Handling Instructions Part 2 – Video
Array Functions Part 1 – Video
Array Functions Part 2 – Video
Array Functions Part 3 – Video
Program Control – Video
Drum Sequencer Instructions – Video
Data Logger – Video
Web Server – Video
Modbus RTU Serial Communication – Video
Modbus TCP Ethernet Communication – Video
Firmware Update – Video
AdvancedHMI Modbus TCP Ethernet Communication – Video
Email and Text Communication – Video
PID Instruction – Video
PID Ramp Soak Instruction – Video
Modbus ASCII Protocol – Video
Stride Field Remote IO Modules Modbus TCP Ethernet
– Unboxing SIO MB12CDR and SIO MB04ADS Video
– Powering and Configuring Video
Productivity 1000 PLC to Stride Field IO Modbus TCP – Video
Modbus RTU TCP Remote IO Controller BX-MBIO
– BX-MBIO Hardware Video
– BX-MBIO Powering and Configuring Video
Productivity 1000 PLC to Modbus TCP RTU Remote IO Controller BX-MBIO – Video
Click EtherNet/IP Remote I/O – Video
BRX Do-More EtherNet/IP Remote IO – Video
Our entire P1000 series can be found here.
The programming software and manuals can be downloaded from the Automation Direct website.
Watch the videos below to see the upgrade from a productivity PLC P1-540 CPU to a P1-550 CPU, P1-RX Remote IO Base hardware, and programming of our remote IO.
Productivity 1000 PLC Upgrade P1-540 to P1-550
The remote IO capabilities are the only difference between the two PLC CPUs (central processing units).
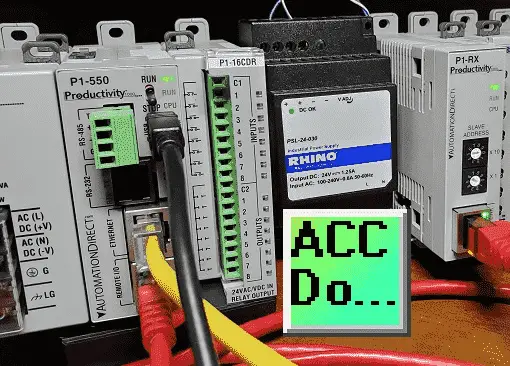
Each CPU unit has up to 50 MB of ladder memory, a micro SD card slot, an RS-232 port (RJ12), RS-485 (4-Pin terminal), and a micro B USB port few features of this modern PLC controller. This adds an extra Ethernet port for the remote IO. Watch the following video on upgrading the P1-550 CPU with remote IO.
Watch on YouTube: Productivity 1000 PLC Upgrade P1 540 to P1 550
Here are the specifications of the P1-550 controller.
Productivity 1000 PLC P1-RX Remote IO Base Hardware
The P1-RX is a full-featured, high-performance, Remote Slave Module with Productivity1000 and Productivity2000 systems.
The P1-RX Remote Slave Module supports a maximum of 8 I/O modules. If you need additional I/O, consider adding other P1-RX systems.
Configuration can quickly be done using the online configuration tools here. The P1-550 productivity controllers will support 4 of the P1-RX remote IO base controllers.
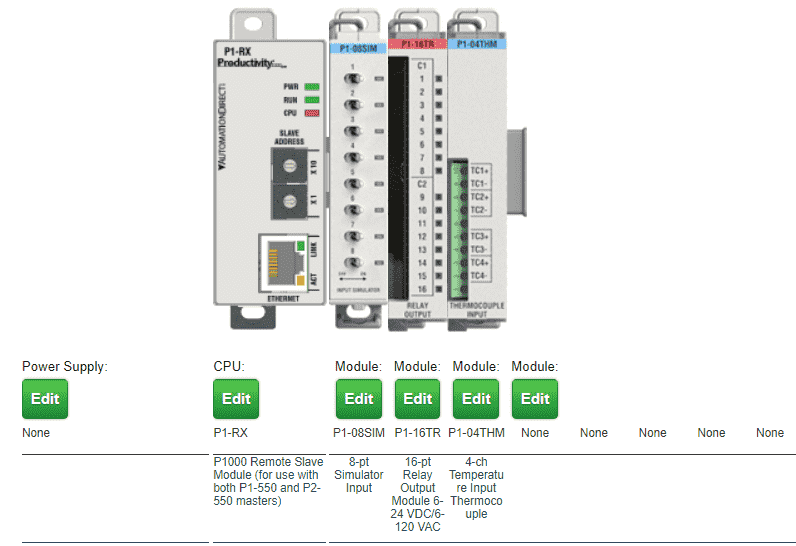
Select the P1-RX for the CPU unit and add up to 8 modules to the remote base unit.
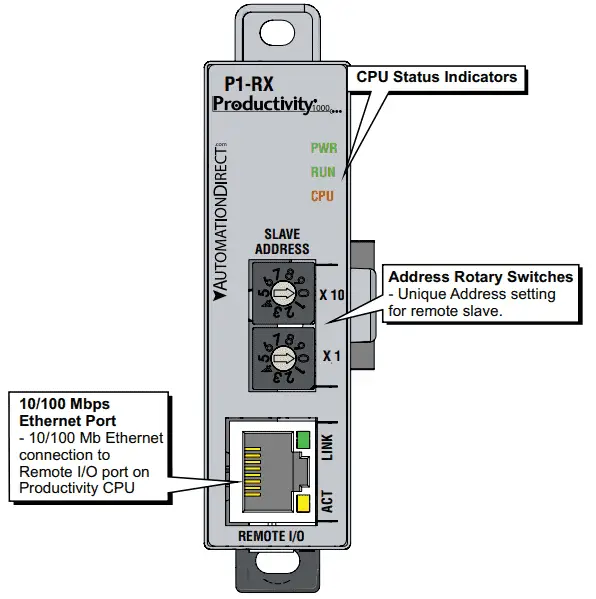
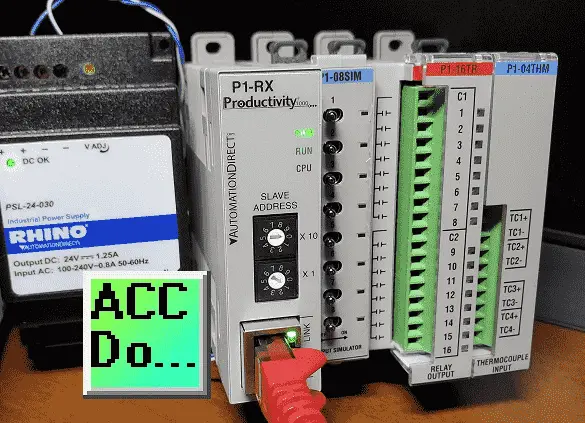
The supply voltage to the P1-RX is 24VDC. This can come from an external or productivity 1000 power supply.
Rotary dials will select the unique address for the unit. This can be anywhere from 1 to 99. 00 is the default and must be set before powering up the unit.

The Ethernet RJ45 communication cable can be a crossover or straight through. Either will work between the PLC P1-550 Remote IO port and the P1-RX remote slave module.
Watch the following video on the P1-RX hardware and connection to our productivity 1000 PLC system. When using more than one remote device, utilize an industrial Ethernet switch.
Watch on YouTube: Productivity 1000 PLC P1 RX Remote IO Base Hardware
Here are the specifications for the P1-RX remote IO base controller.
Productivity 1000 PLC Remote P1-RX Configuration
Using the productivity suite software, connect to the PLC. This was done in the post establishing communication. You must have version 3.10 or higher to use the P1-RX remote slave module.
Select Choose CPU from the main menu to connect.

The software will look at the ports of your computer to find CPU connections. These will then be listed in a table.
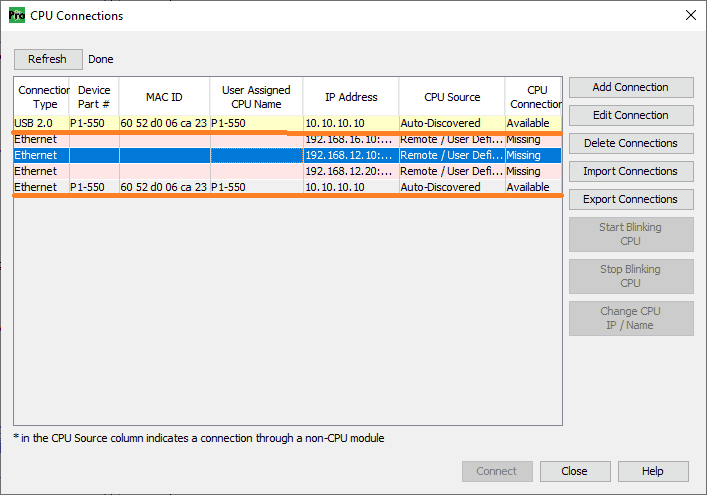
Select the USB 2.0 connection that is available.

Select Connect to establish the communication.
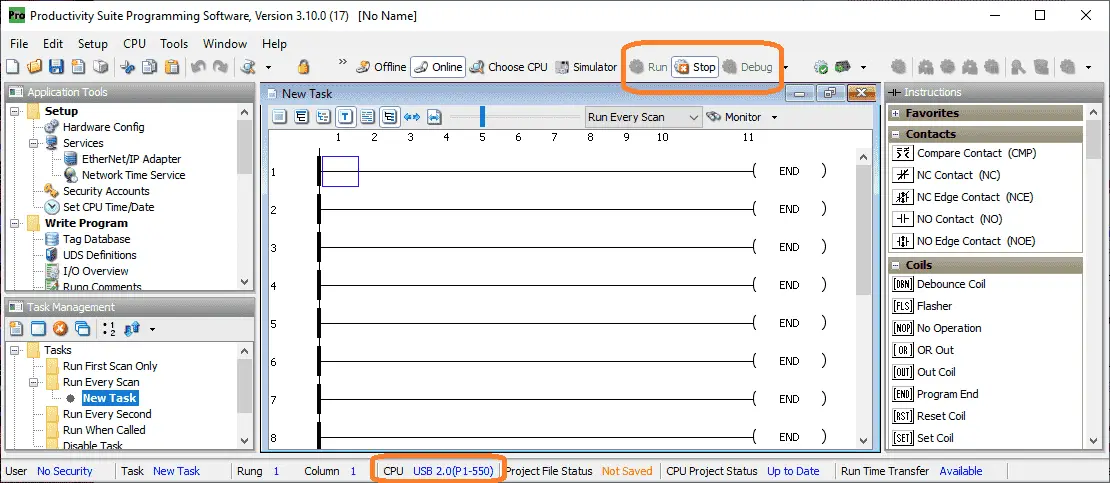
The status bar at the bottom of the productivity suite software will show that we are connected to the USB 2.0 port, and the CPU is a P1-550.
Ensure that the PLC is in stop mode. This can be done with the switch on the front of the PLC.
Select main menu | Setup | Hardware Config. The hardware configuration window can also be called by selecting Hardware Config under the setup in the Application Tools window.
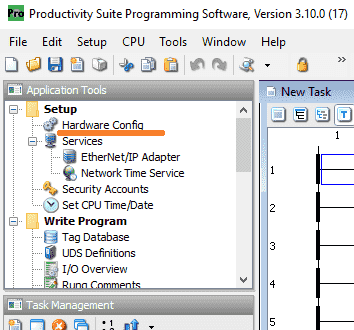
The hardware configuration window will now be displayed.
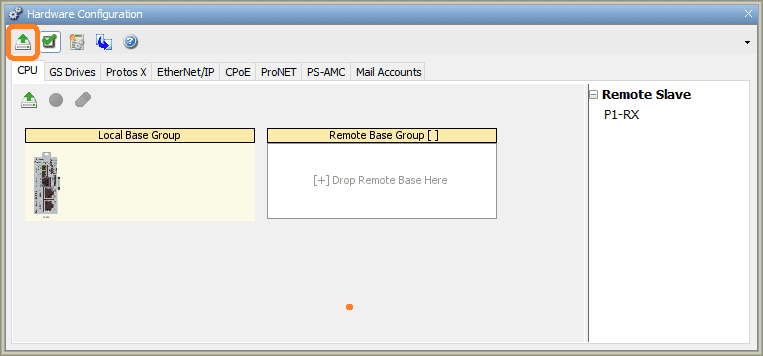
Select the read system configuration. This can only be done in the stop mode of the controller.
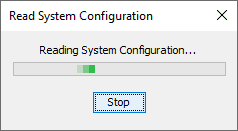
The software will now read the attached configuration of the PLC.
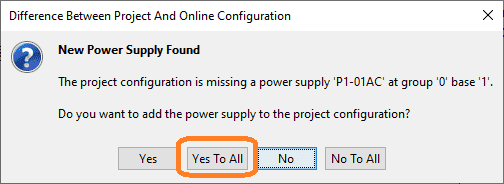
As new hardware is found in the configuration, it will prompt you to add the component to the PLC system. Select yes to all to automatically add the components that were found.
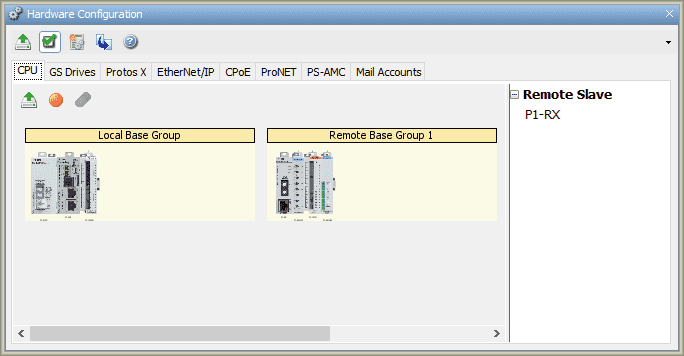
Here is our completed configuration that matches our hardware.
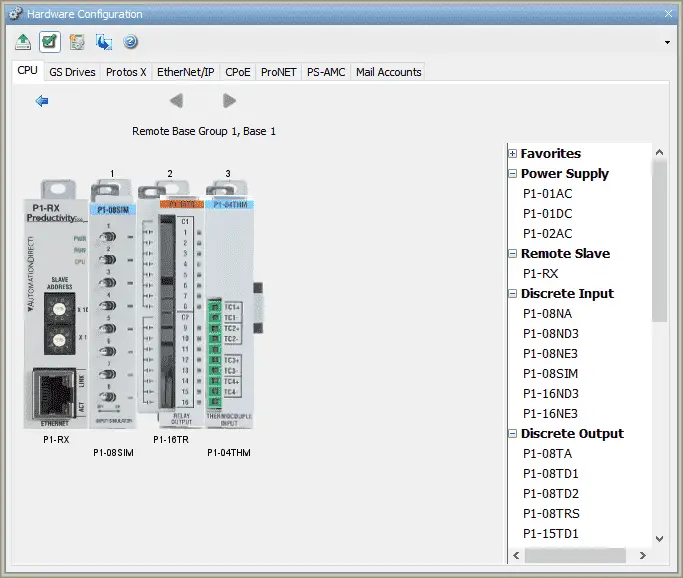
We can now click on the hardware to set up the addresses or use the assigned defaults.
See the video below showing the configuration of our remote IO P1-RX on our Productivity 1000 PLC controller.
Productivity 1000 Series PLC from Automation Direct
Overview Link (Additional Information on the Unit)
Configuration (Configure and purchase a system – BOM)
User Manual and Inserts (Installation and Setup Guides)
Productivity Suite Programming Software (Free Download Link)
This software contains all the instruction sets and helps files for the Productivity Series.
Watch on YouTube: Productivity 1000 PLC Remote P1-RX Remote Slave
If you have any questions or need further information, please contact me.
Thank you,
Garry
If you’re like most of my readers, you’re committed to learning about technology. Numbering systems used in PLCs are not challenging to learn and understand. We will walk through the numbering systems used in PLCs. This includes Bits, Decimal, Hexadecimal, ASCII, and Floating Point.
To get this free article, subscribe to my free email newsletter.
Use the information to inform other people how numbering systems work. Sign up now.
The ‘Robust Data Logging for Free’ eBook is also available as a free download. The link is included when you subscribe to ACC Automation.

